Traveling and photography is an integral part of our lives and we want every travel photo to be captivating. Whether it’s family travel photos, road trips, honeymoons, or a weekend getaway with friends, our goal is to capture as many emotions as possible in our photos.
Yes, traveling offers the best possible opportunity to capture unique footage that you won’t find in your day-to-day surroundings. It can be an incredible view of the rising sun over the snow-covered mountain peaks, or a simple, but beautiful shot of a deserted road. Although the idea of travel photography looks pretty simple, it’s actually an art. Just a modern camera and a great view in front of your eyes is not enough for you to take a great shot. There are more than a few examples of awesome travel blogs with beautiful visuals that prove this statement.
But what do you need for this? It’s simple – you have to prepare correctly and use the right approach. The following travel photography tips will help you be fully armed! Plus, check out popular travel photography tips and trends with tons of sample images.
Table of Contents
How to Take Travel Photography – 7 Simple Tips
-
Plan your travel photos carefully
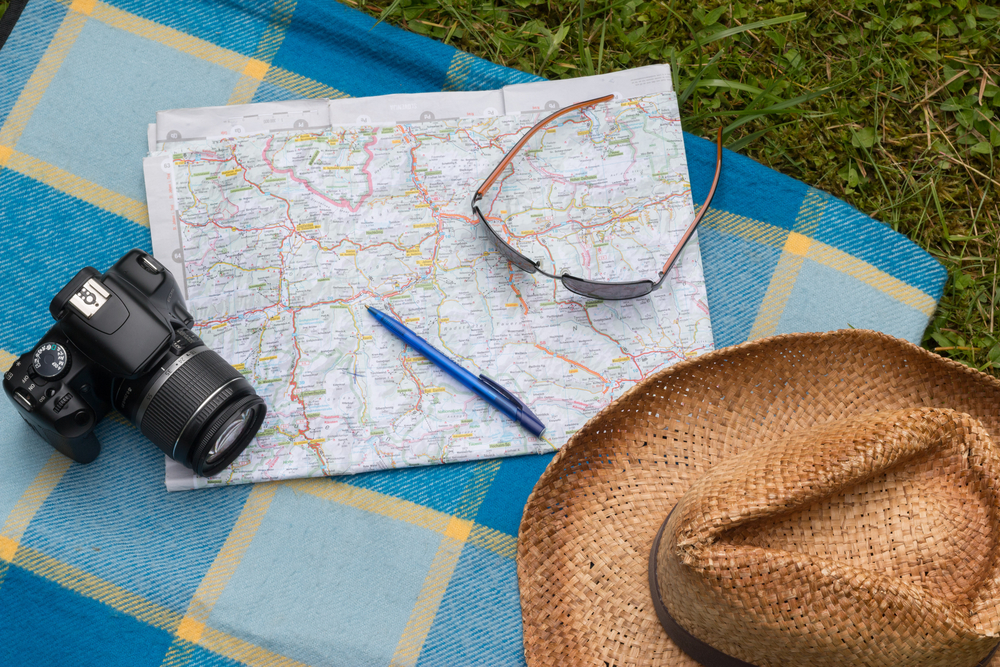
- Not sure where to go for a travel photo shoot? Here you will find the best travel destinations for 2022 and take the best travel pictures. If you’re looking for winter travel destinations, check out our list of Christmas movie winter destinations, book your tickets, and get ready for some adventure.
Imagine you arrive somewhere and see a beautiful sunset, but don’t know how to shoot it and where to go to find the best view. Such moments can be very disappointing. As a rule, you often get confused and cannot decide what and where to shoot when you arrive at the place first. So if the purpose of your trip is to bring back more eye-catching photos, you will need to plan carefully.
It is important to check the itinerary and mark points for photographing during the journey. Think about the plot and composition in advance. Now you can find terabytes of images taken from different parts of the world as references. Your tools are Instagram hashtags, geolocation, browser search, Google maps, and panoramas. Create routes so that each location has several points for shooting in good and bad weather. Any trip for a photographer is a project, and you can make it much more successful by carefully planning it.
-
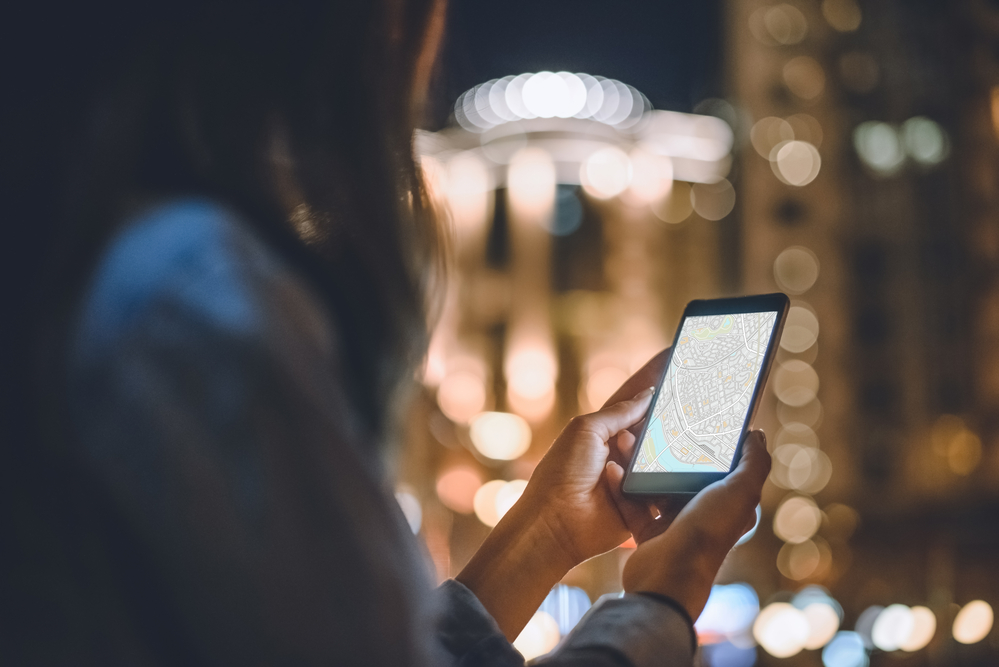
Use the map for travel photography

Each photographer should be able to use a map because this directly affects the effectiveness of future shooting. Of course, we are talking about interactive maps, not paper ones. Make sure your smartphone has offline maps that don’t require an internet connection. The best maps for tourists are services based on OpenStreetMap. You can find them in popular applications such as:
- Maps.me. A free program with a concise interface and all the basic features available.
- OSMand. Offline maps with car navigation option. They will especially appeal to those who prefer to travel by car.
- LocusPro. A great option for hiking. It includes the most detailed offline maps of various regions and makes it possible to build optimal routes, even along forest trails. The ability to create tags with photos on the map will allow you to plan a photo shoot right in the program.
Get to know your chosen application before traveling and explore its interface. However, you can use a paper map and compass if you are an old-school traveler. The big plus of this option is that you don’t depend on battery power.
-
Stock up on batteries for your traveling
Be sure to stock up on extra camera batteries and fully charge your smartphone before heading out to shoot. Also, take a power bank with you. You need about 5000 mAh per day to charge your camera and smartphone, so keep that in mind when choosing its capacity. DSLR cameras usually require a separate device to charge the battery. Therefore, look out for a USB charger to charge your battery from a power bank. Everything is much easier for mirrorless cameras: you can charge the battery by simply connecting the camera directly to a power bank or to a USB charger.
-
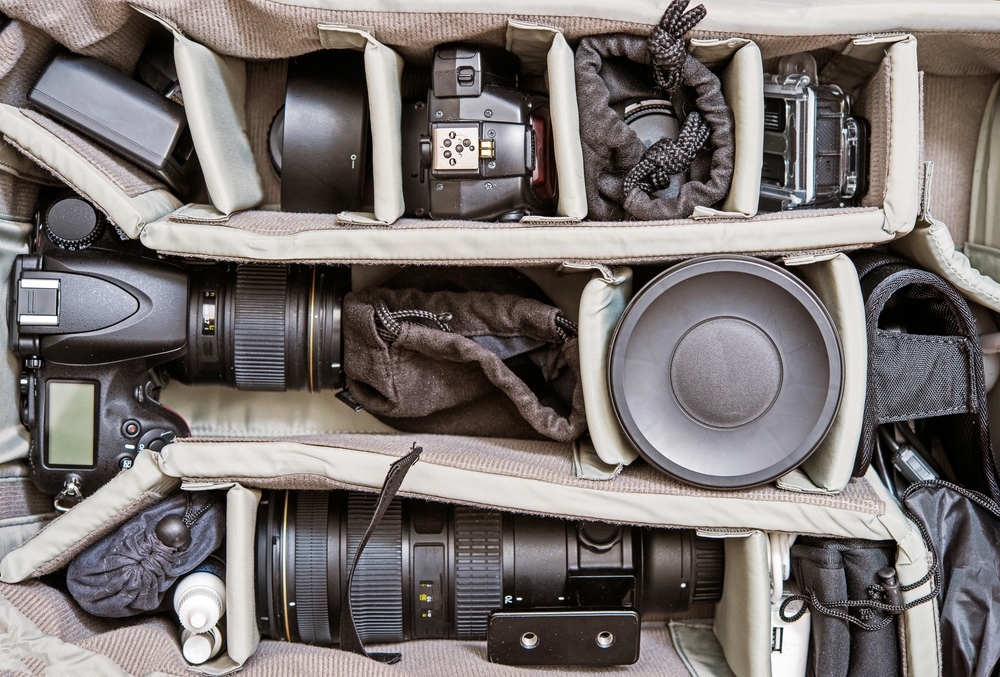
Bring the necessary travel equipment
Trekking shoes, clothing layering, membrane, airtight bag. If these words mean nothing to you, then you should look into modern travel equipment. Hiking is no longer thick jackets, massive boots, and a heavy tent. Now, a lot of light, windproof and waterproof fabrics, special shoes, as well as other useful things are available.
For example, even on a simple hiking trip in a national park, you will benefit from trekking shoes and a breathable, yet waterproof membrane jacket. At the same time, a hermetic bag is well suited for reliable protection from water. Wrapping a photo bag in it is the only right solution in case of heavy rain or traveling on water. Thanks to modern equipment, you will significantly reduce the volume and weight of non-photographic equipment, greatly increase your comfort level, and protect your things from moisture and other unpleasant factors.
Having a travel bartending set also allows you to bring your own supplies, which can be beneficial for photographers looking to take pictures of cocktails and create their own signature drink recipes while on the go. Furthermore, they can be used as props in photos, allowing you to capture stunningly creative images of your drinks.
-
Don’t forget about a tripod
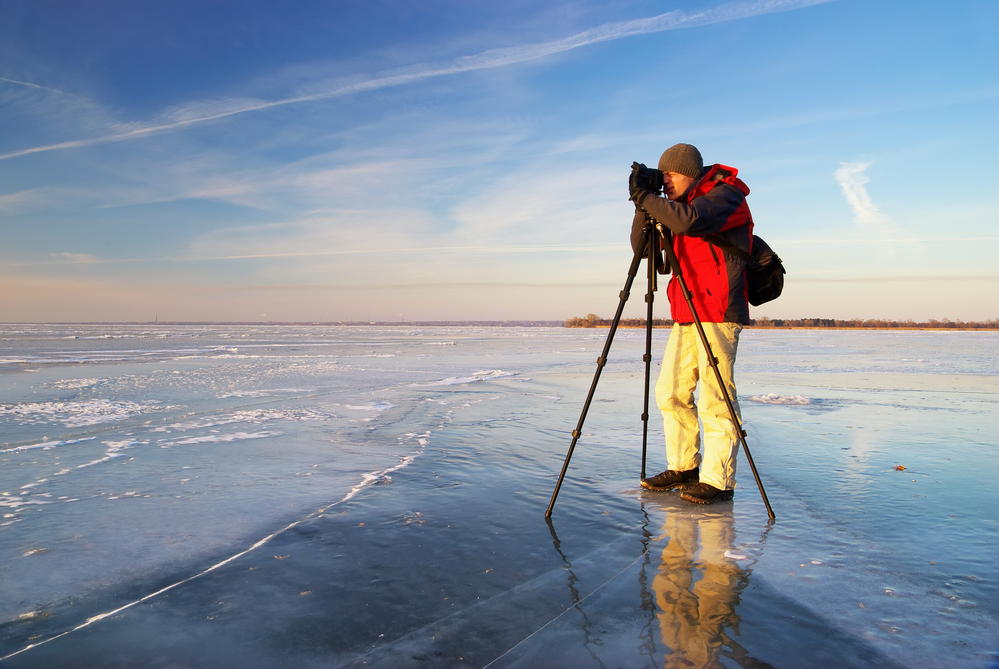
Not taking a tripod with you on a trip means not taking a single epic night view, morning landscape, or high-quality selfie. And yes, even the most effective optical stabilization is not a replacement for a tripod, but only a safety net for working at slow shutter speeds and with low ISO settings. This is especially true for low-light photography.
Equipped with a tripod, you’ll be ready to take great pictures in any condition. Long-exposure motion blur effects are only available with a tripod. If you are photographing in a city where there’s no tall grass, a compact tabletop tripod is enough for you. It makes it convenient to shoot from viewing platforms with many people around. However, make sure it holds the weight of your camera securely without vibrating or shaking.
But how do you know if a particular tripod can handle the weight of your camera? It’s all about its payload capacity. When choosing a tripod, divide this figure by five, and you get the real allowable weight of your photo device. For example, if the tripod’s payload capacity is 15 kg, then it will confidently hold a camera weighing up to three kilograms. Remember to check the lifting capacity of the tripod head as well. This is a separate accessory that has its own characteristics, even if included in the package.
-
Consider lighting, weather, and terrain
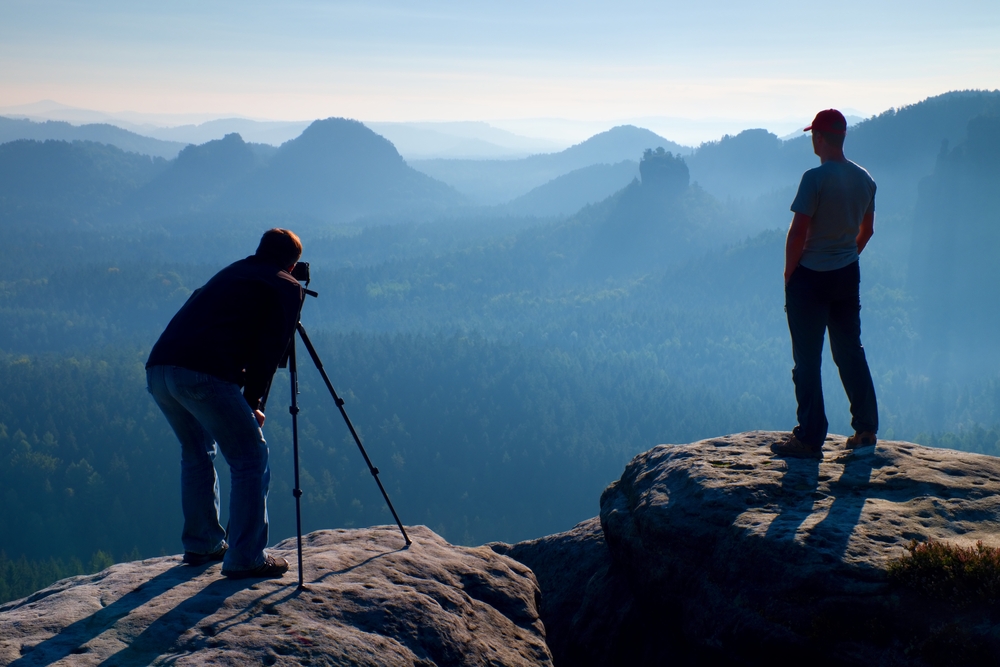
The right lighting can turn ordinary landscape photography into a true pleasure. At the same time, it depends on the time of day, weather, and relief. The most ideal time in terms of light is about an hour before/after sunrise, and an hour before/after sunset. But where and what time will the sunrise and sunset appear?
Every photographer should have a natural light planner app at hand. They are programs that allow you to see where the sun will shine at a certain time. The most popular apps are TPE, PhotoPills, and Sun Surveyor. All of them are paid, but this is a good investment anyway. In addition, Sun Surveyor also shows the position of the Milky Way, which is important for shooting stars.
Free apps include Exsate Golden Hour and the Sun Ephemeris. If you are not photographing on a plane, then it’s important to consider the relief. Therefore, look for mountains, tall buildings, and similar objects on the map, and check if the sun is hiding behind them.
- Few travel photo ideas? 15 incredible alternative views of famous tourist attractions.
Beautiful light occurs not only in the golden hour, but also during various weather phenomena. For example, during a thunderstorm or rainstorm, a black cloud will act as a huge light modifier in the manner of a reflector. However, it’s difficult to predict thunderstorms, you should rely on luck, and don’t forget about your own safety.
In order to shoot in the best possible light, you also need to keep an eye on the weather forecast, cloudiness in particular. The ideal situation is partly cloudy weather. This will create a beautiful sky with clouds and dramatic light. Clear weather is also good, but the sky can be boring. The worst scenario is cloudy weather. At such a time, perhaps, you should either take a break from photographing or focus on portraits. The advantages of overcast weather for portraits are shadowless lighting and the ability to shoot all day long. Hard midday light with thick shadows and contrasting highlights on a cloudy day won’t be an obstacle in this case.
-
Connect your smartphone to the camera
All modern cameras have the ability to connect to a smartphone. For example, Nikon provides SnapBridge technology. You can connect the camera to your smartphone via a special application. One of the most useful features here is remote shooting with LiveView mode. How does it work? You can see pictures from the camera on your smartphone, and take pictures at the same time. This is great for taking selfies. Also, applications like this make it possible to turn your smartphone into a remote control that comes in handy when shooting with a tripod. By the way, SnapBridge can send photos to a smartphone for instant sharing on social networks, and even download full-size JPEG or RAW files for post-processing.
- Don’t be afraid to take creative travel photos with your smartphone!