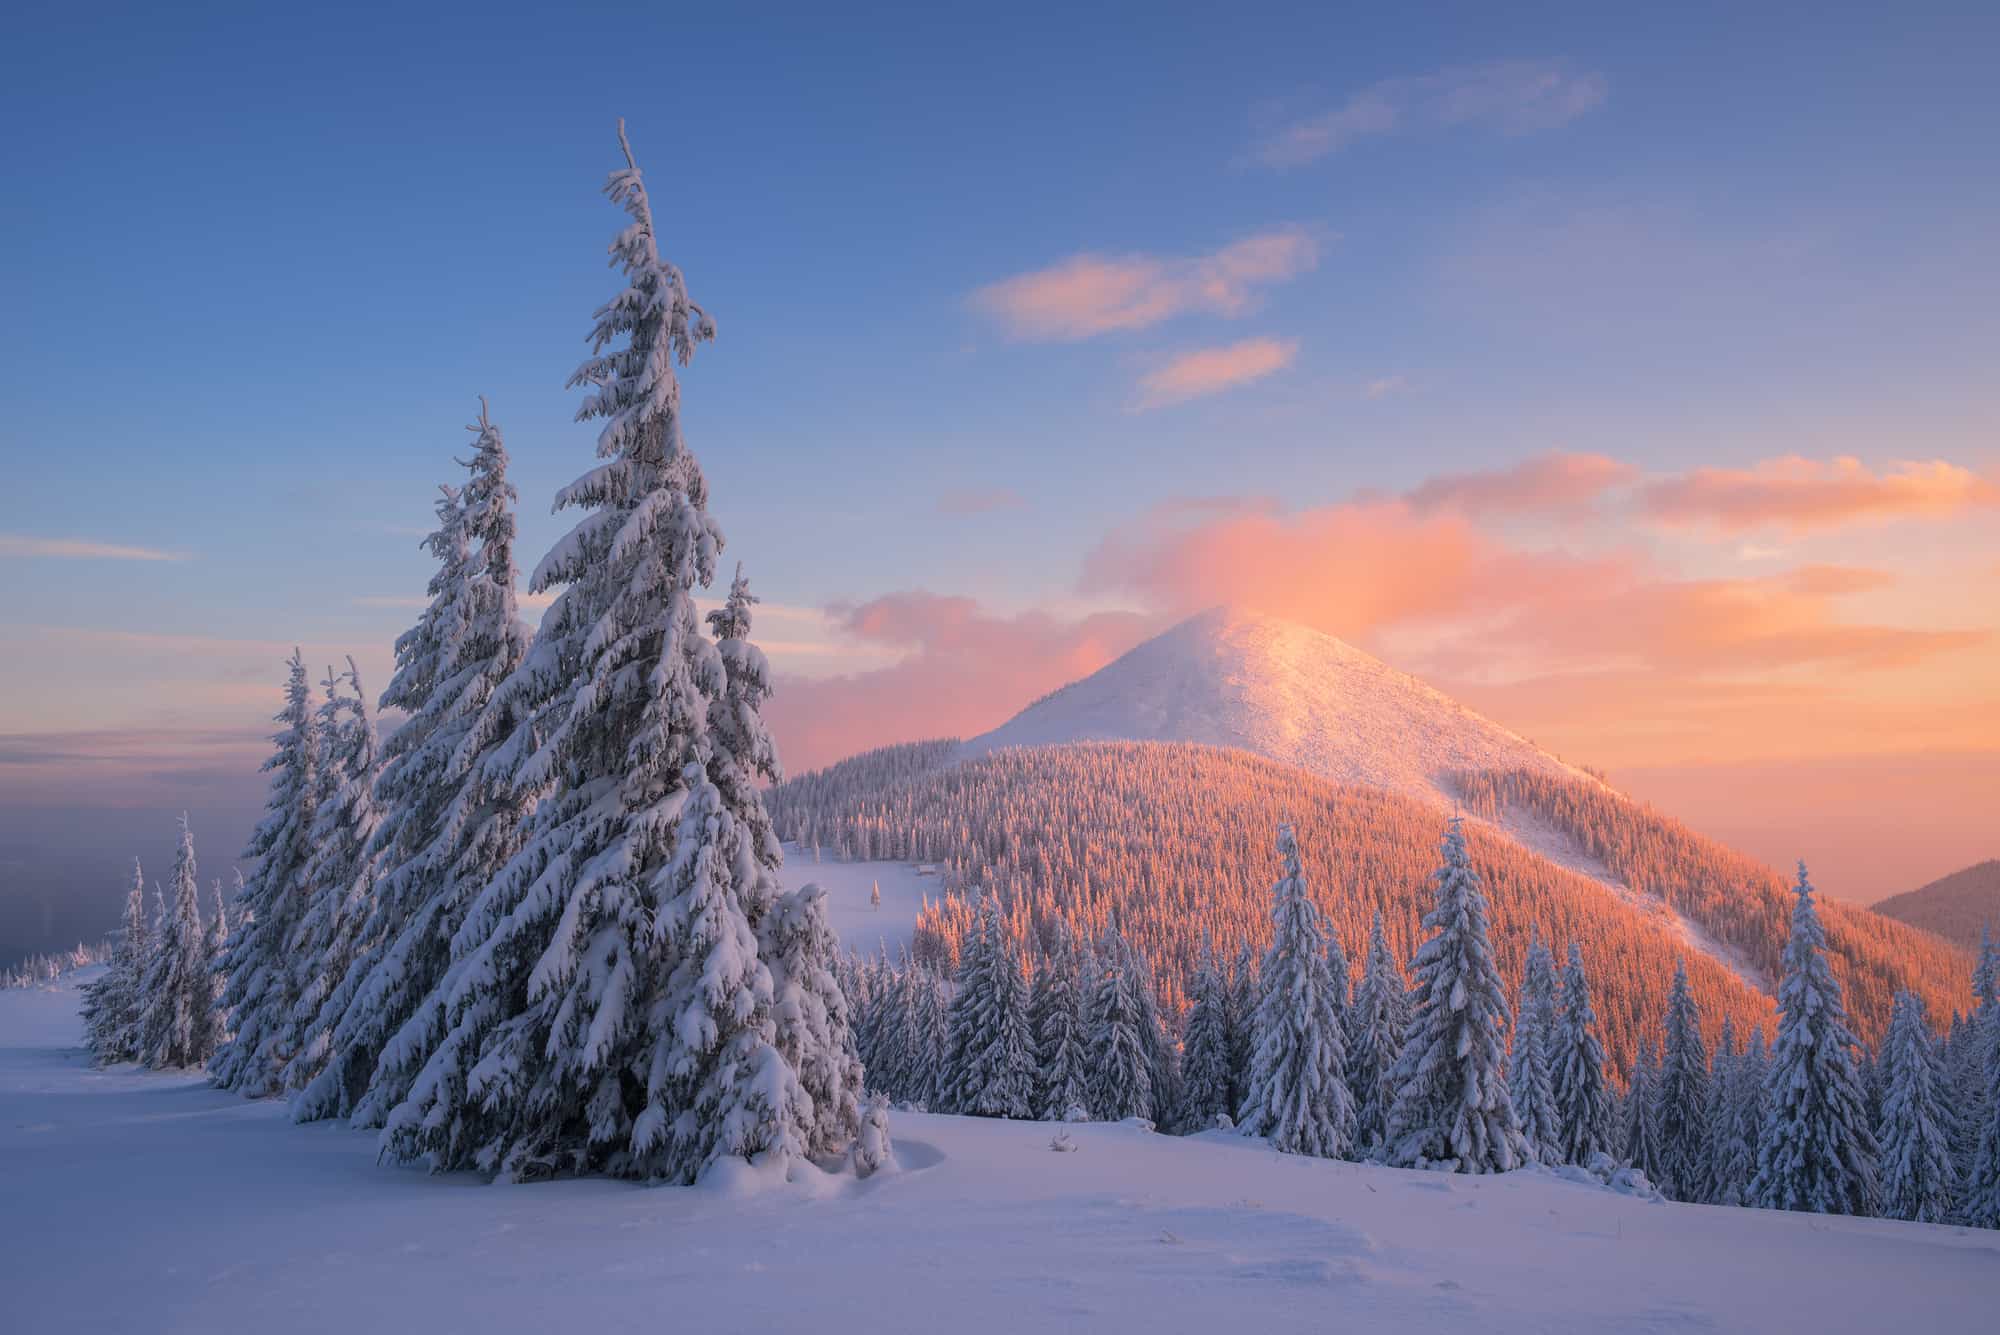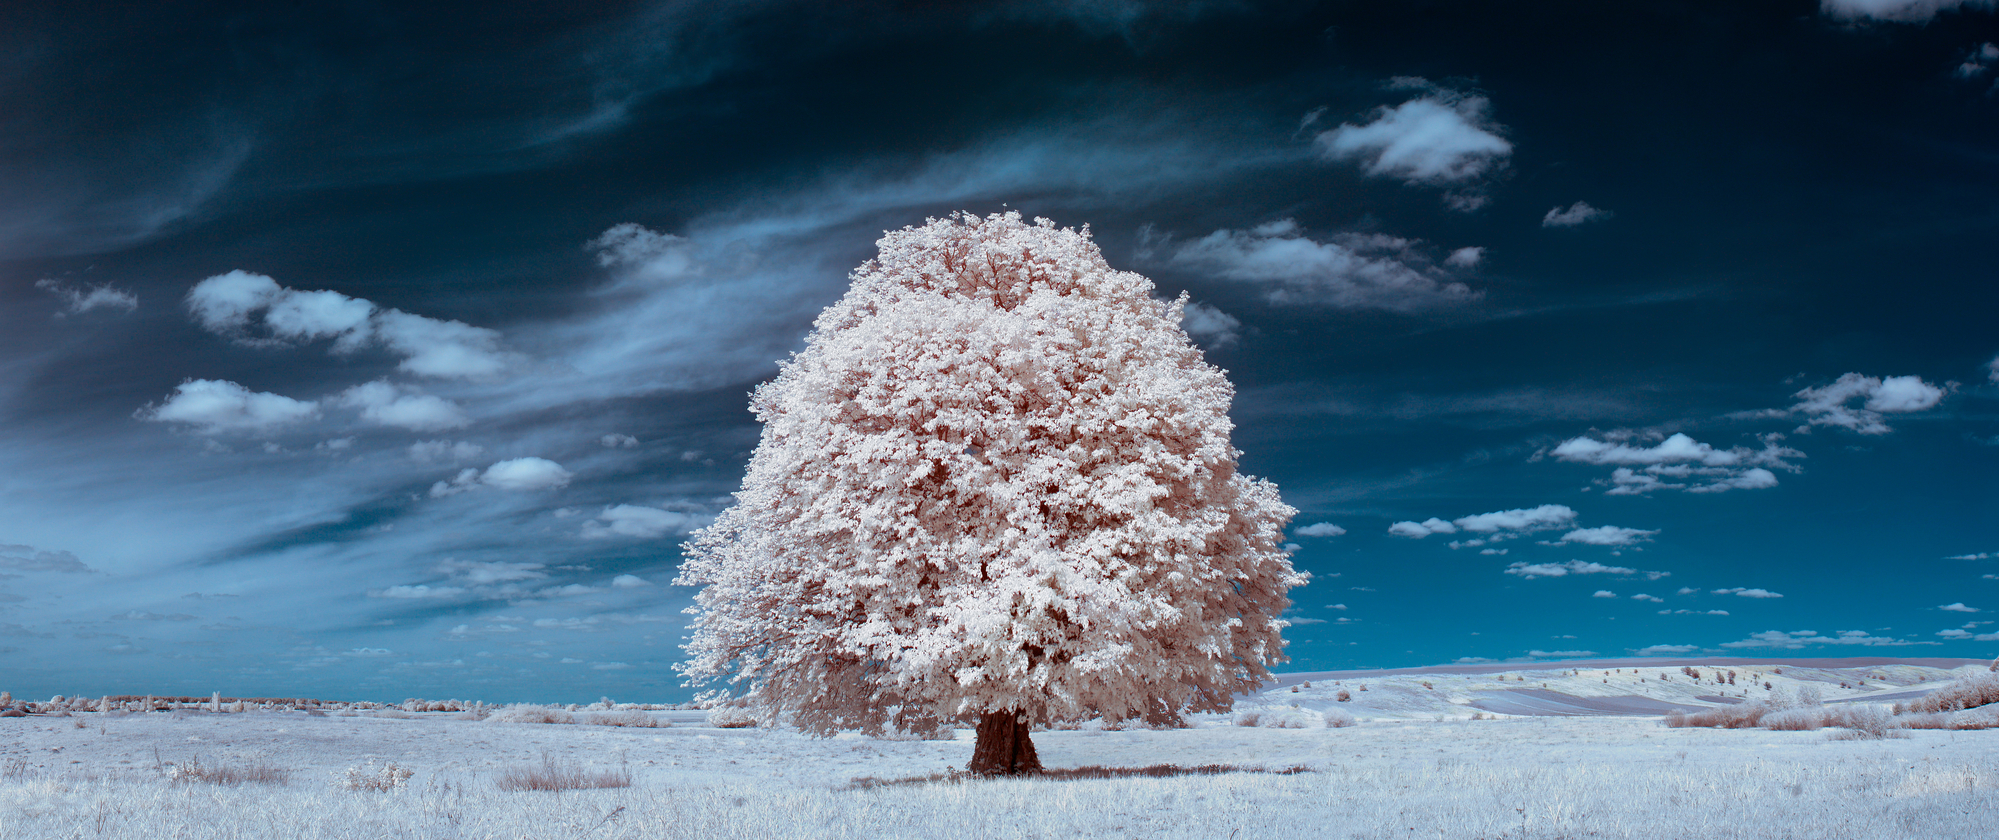
What Is Landscape Photography (And How It Is Different from Nature Photography)
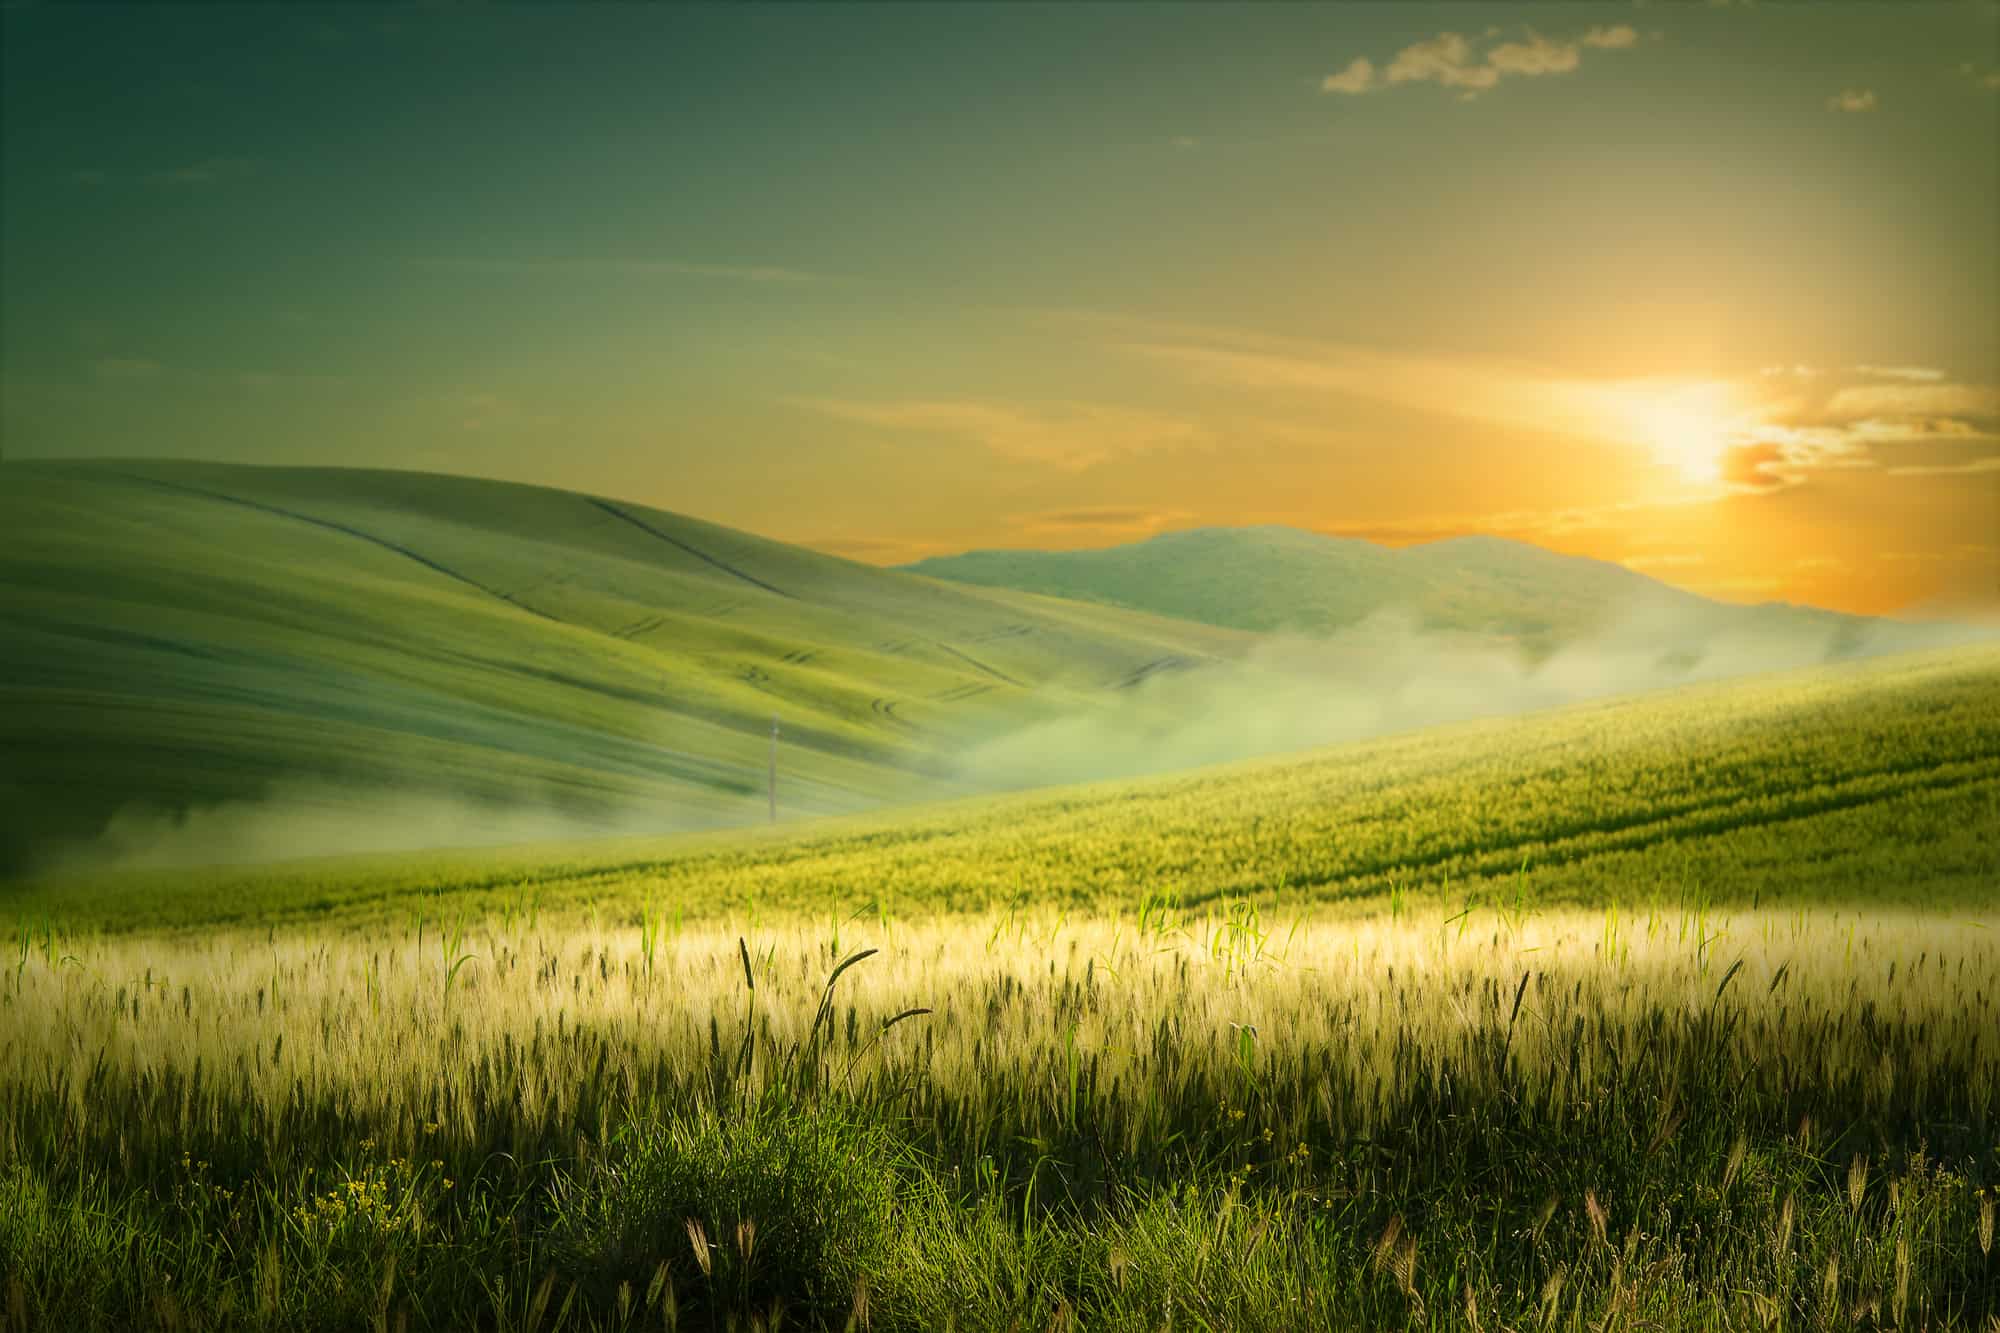
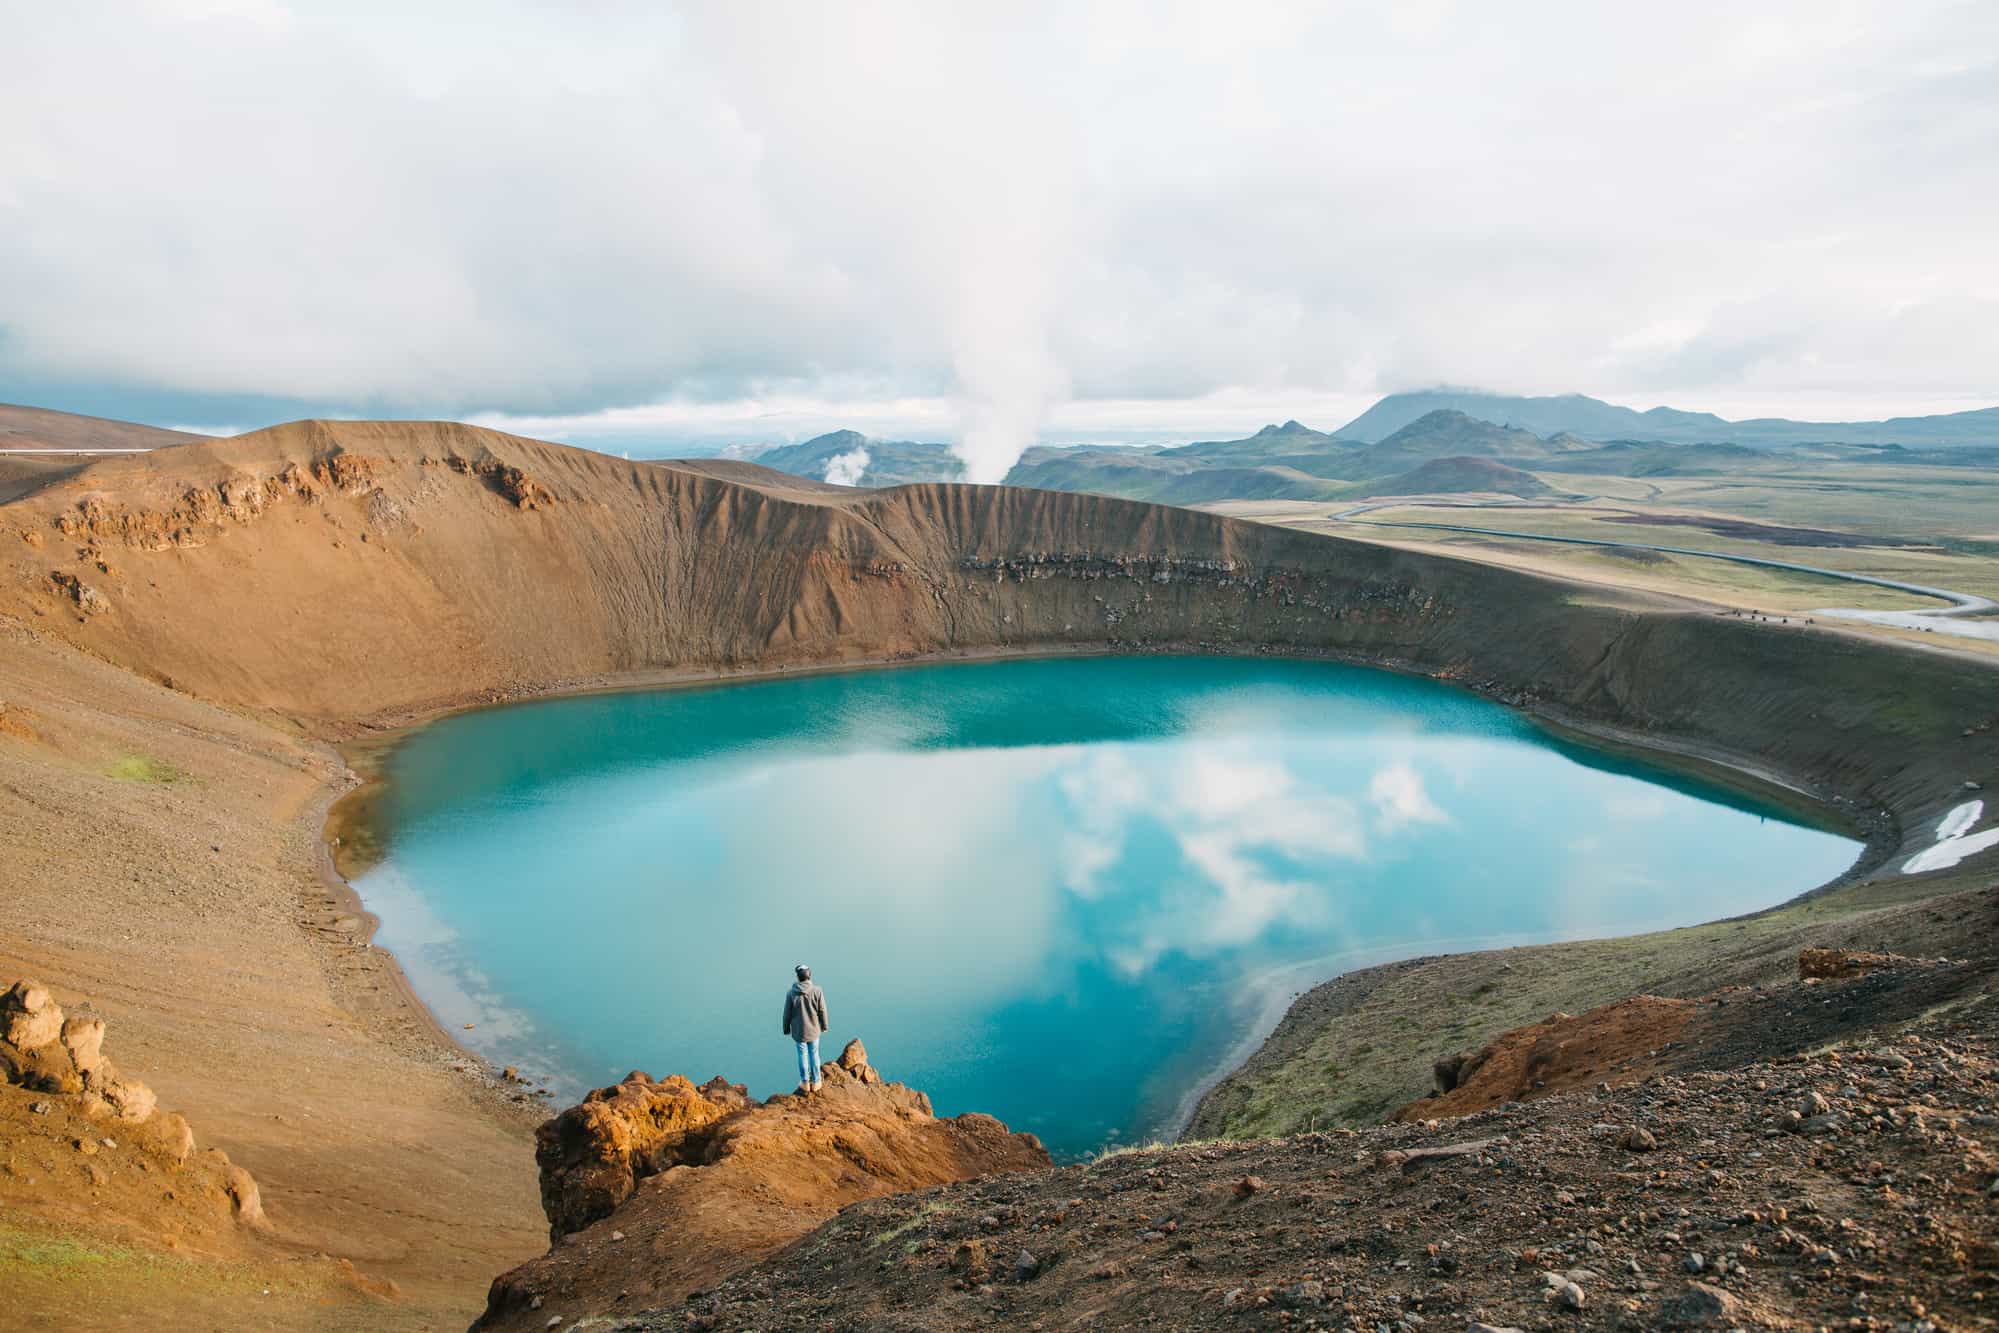
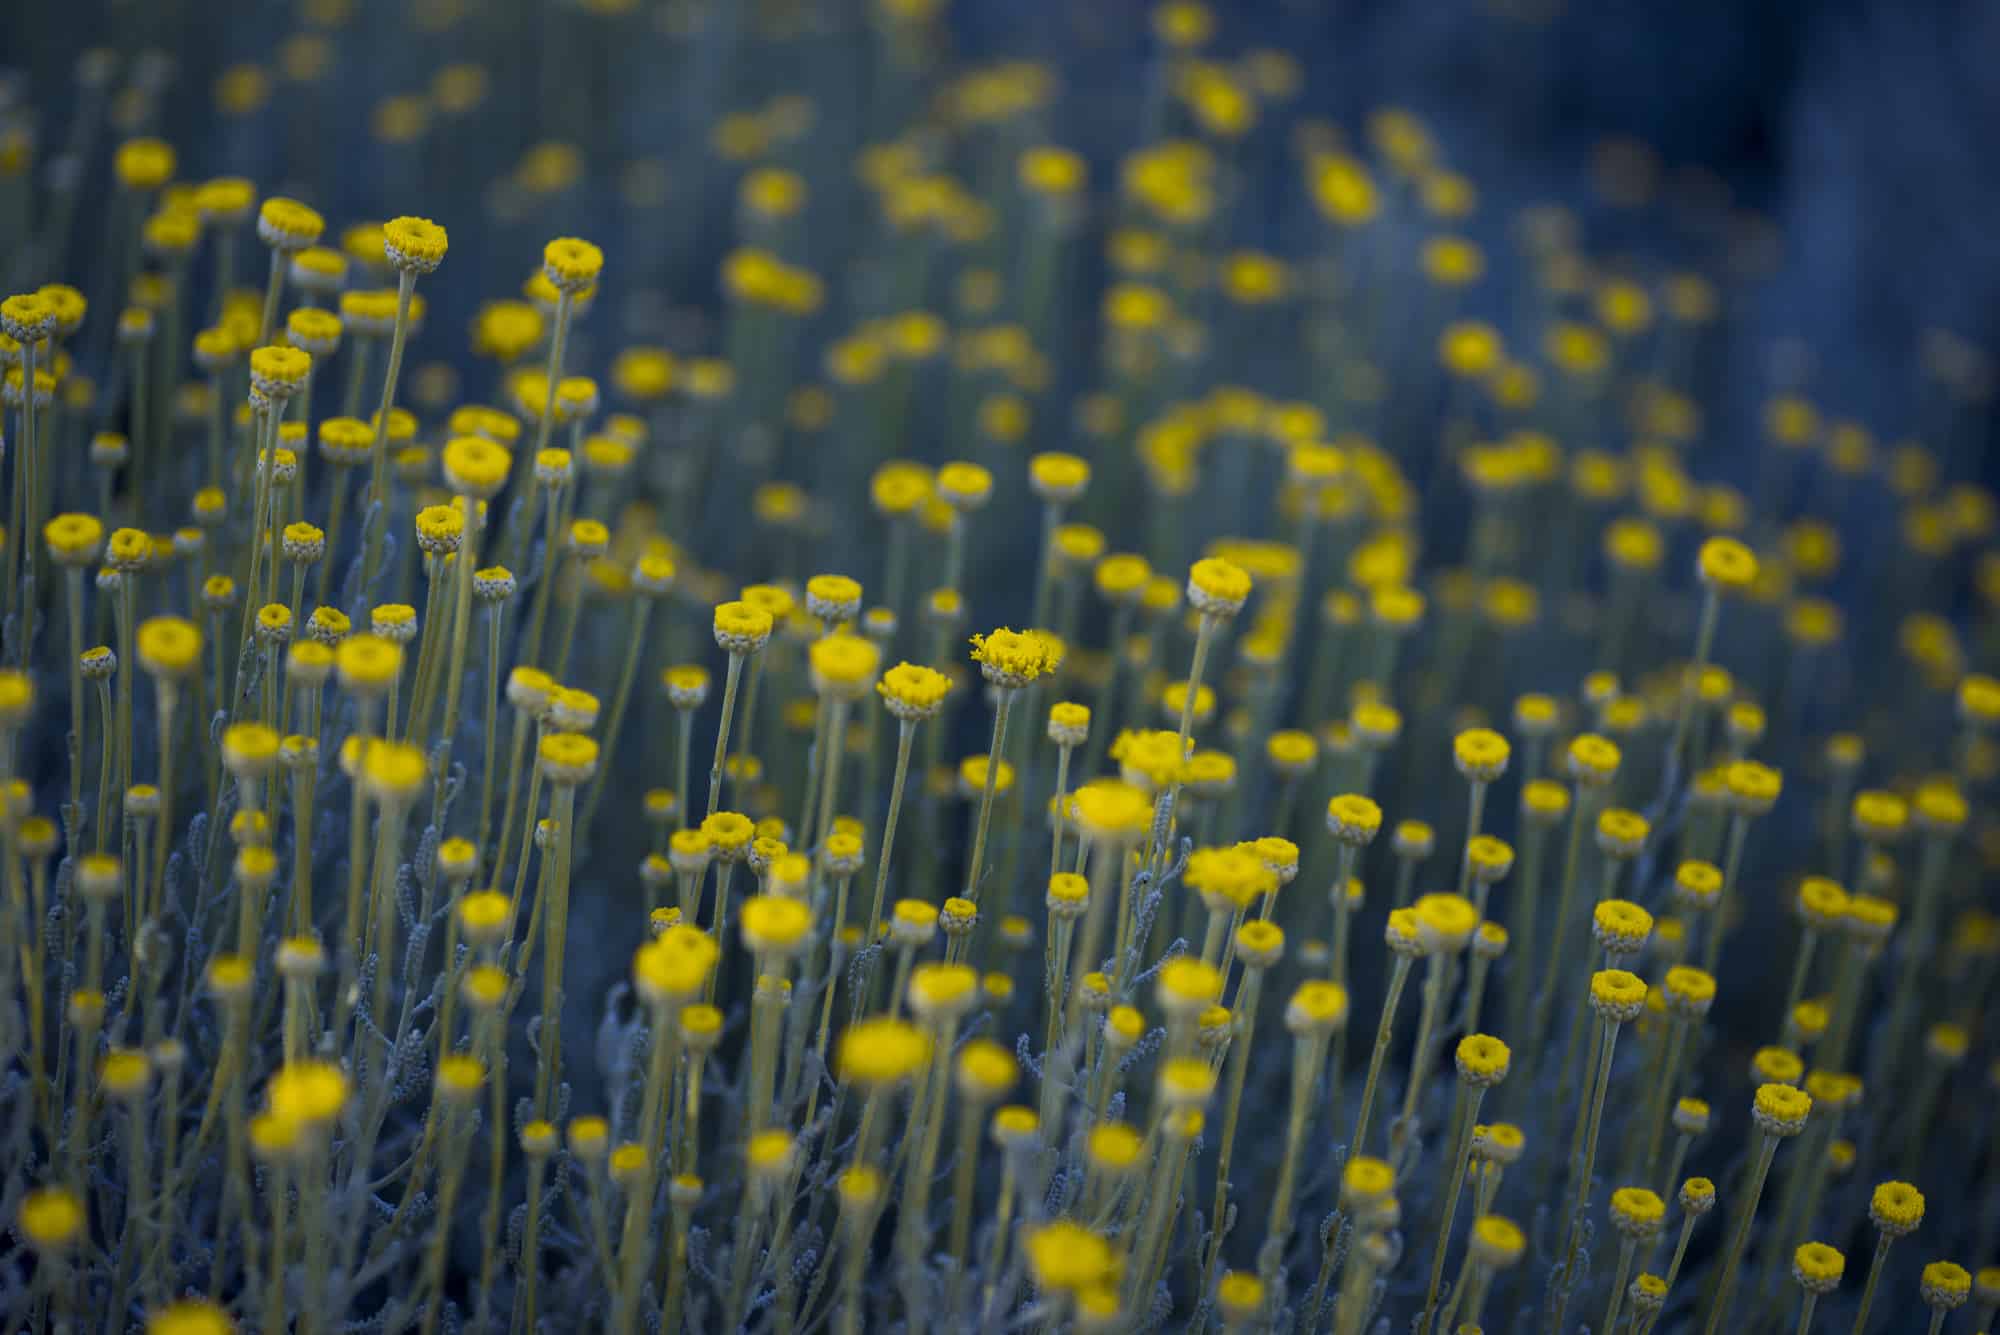
Landscape photography is a photography genre dedicated to showing nature scenes and open spaces with little to no presence of people and urban elements. Having its roots in landscape art and inspired by famous landscape paintings, landscape photography doesn’t necessarily have to depict the beauty of the world. Some photographers use landscape photography to draw attention to drastic changes in nature made by humankind. A beginner might think that landscape photography is another name for nature photography, but these actually are two photography genres with different aims and subjects, although they often overlap. Nature photography shows the details in nature. Its subjects can be animals, flowers, and greenery. While nature photography documents flora and fauna, landscape photography has a whole scene as its primary subject, a place itself becomes central. What’s more, some photographers consider landscape photography to be a subgenre of nature photography.
What Gear and Camera Settings You Need for Landscape Photography
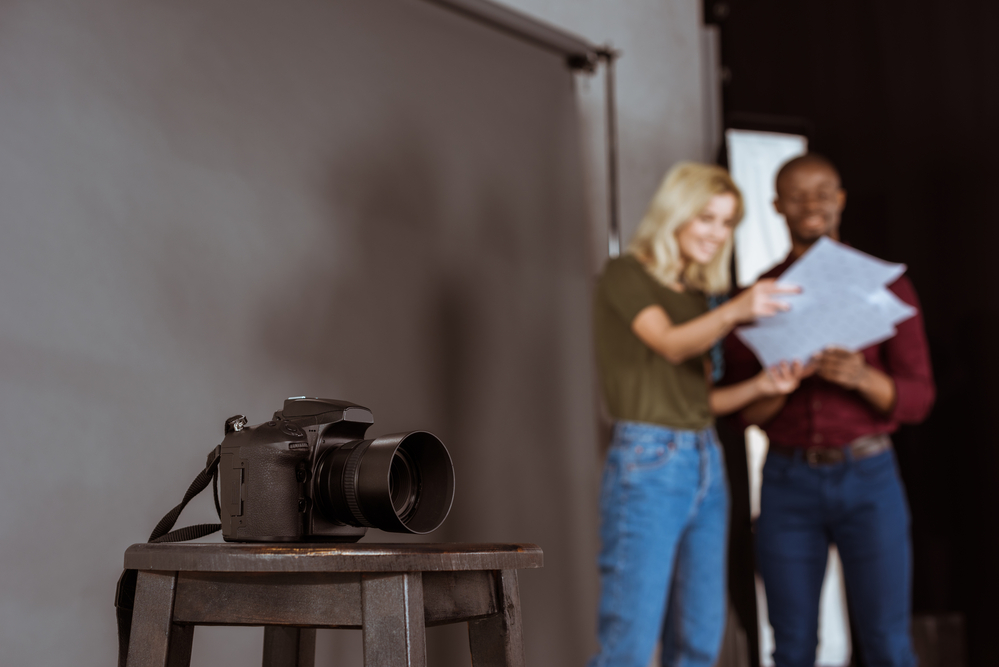
Photography equipment
Nowadays you can take a great landscape shot using any gear. Sure, a DSLR camera with a set of prime and zoom lenses is the best option for a person who is super serious about landscape photography and wants it to become more than just a hobby. However, some photographers use medium or large format film cameras for mesmerizing landscape shots, although film photography is certainly not for everyone in terms of the financial expenses and not being able to take as many photos as you want. What’s more, modern smartphones are surely capable of taking good-quality photos. Many photographers who shoot with a DSLR camera are also keen to explore mobile photography for projects. A smartphone is a convenient tool you can have with you wherever you go. Sometimes you don’t want to take your camera with you or simply go for a walk without your photography gear and see a great shot. What’s more, these days shots with flagman smartphones are sometimes hard to distinguish from pictures taken with a mediocre DSLR camera, especially if you purchase a mobile lens. The main problem of shooting with a smartphone is that it has a digital zoom, unlike a DSLR camera with a zoom lens that can zoom in with minimal loss of quality. That means you will have to keep moving and get closer to a scene yourself instead of relying on zooming in. What actually matters when you choose gear for landscape photography is how weather-resistant it is. Regardless of the equipment you use, it should be able to resist extreme weather conditions, as sometimes you will want to shoot in the rain, snow, or when it’s windy. Many cameras are susceptible to tough weather conditions, but if you find one that works well when it’s very cold or very hot, it will be very helpful for your landscape photography. A must-have piece of equipment for landscape photography is a tripod. This is something you can’t ignore if you are serious about landscape photography, as sometimes you will need to shoot with a slow shutter speed, and any disturbance or shake might ruin your shot. No one is able to hold a camera or a smartphone steady for several seconds or even minutes in a row. What’s more, the composition is a crucial thing for landscape photography, and a tripod is something that can help you not fail your horizon. A good tripod is a long-term investment that can boost many of your efforts with other photography genres as well.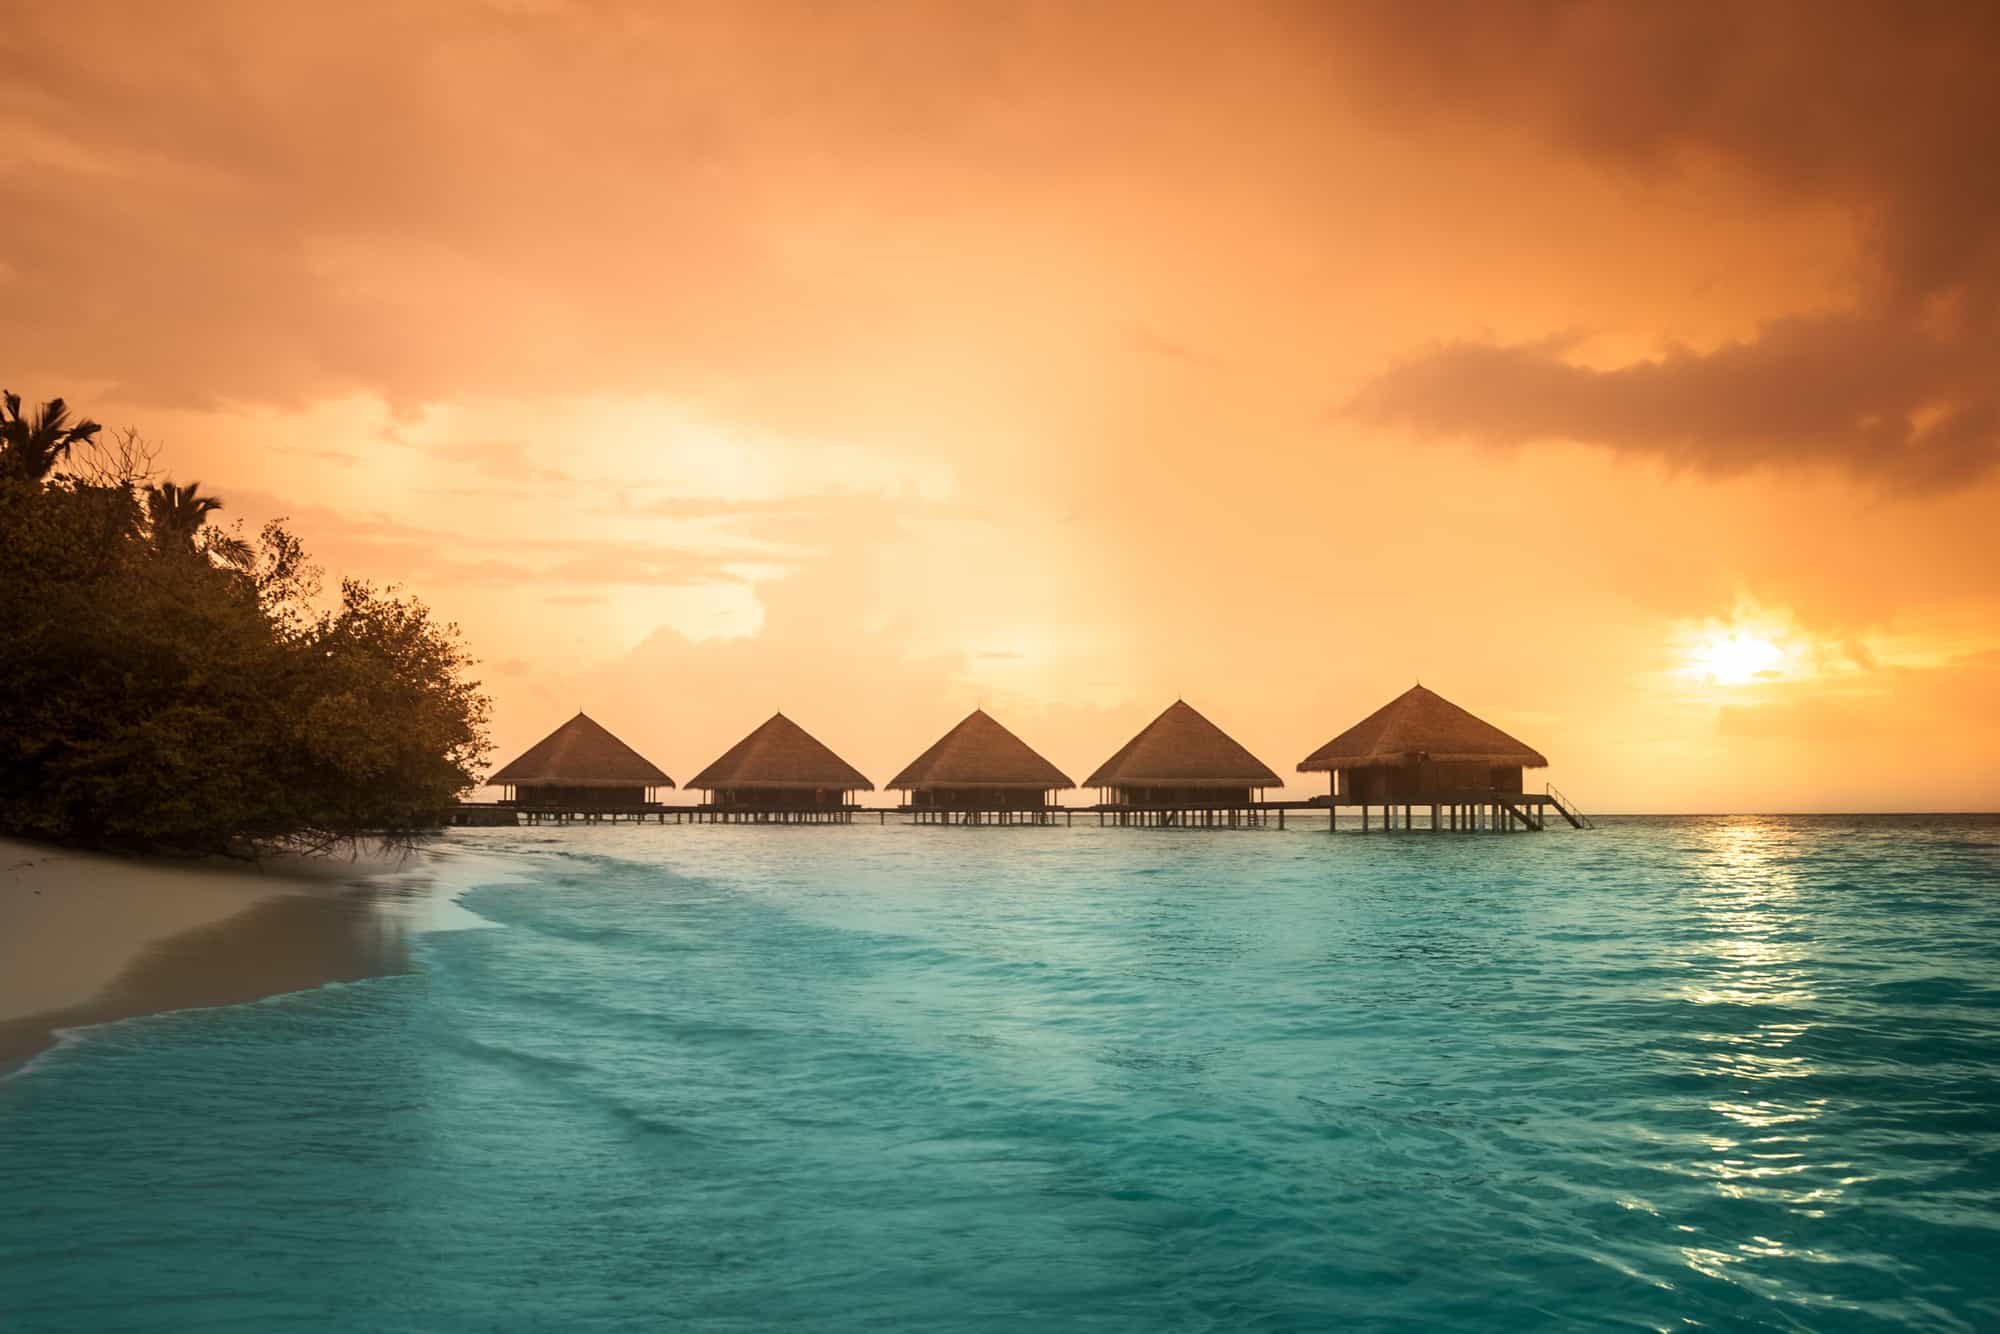
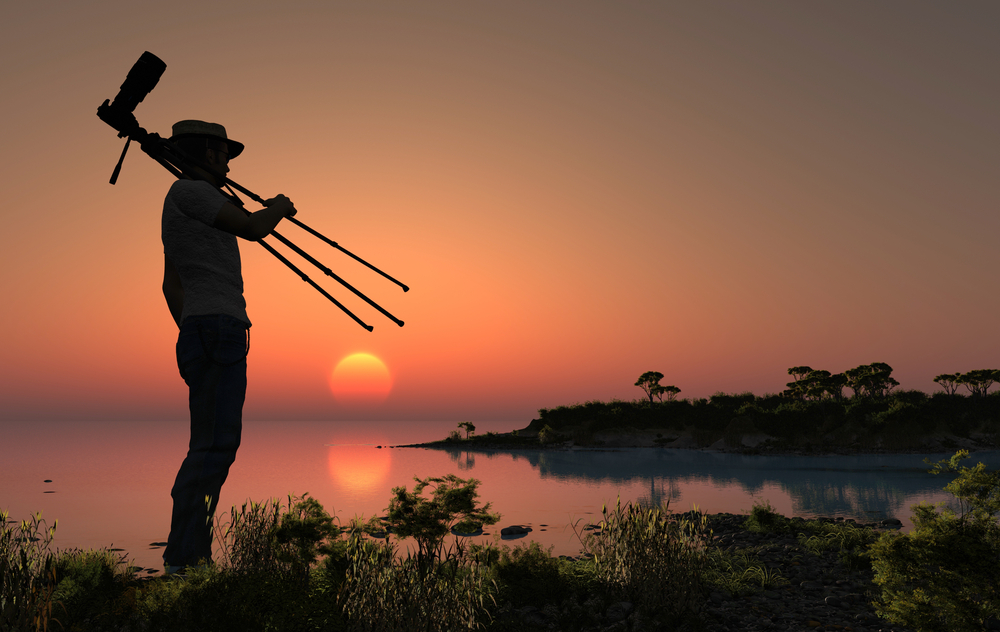
Camera settings
No matter what gear you use, you should always opt for manual mode and choose the settings yourself since it grants you more creative freedom. Even smartphones have a manual or pro mode where you can adjust the settings, and there are external apps for adjusting settings professionally. If you have a DSLR camera, relying on auto settings limits you and doesn’t allow you to get the maximum of your gear. There is no photography genre that works without exposure, but the right exposure balance is even more important for landscape photography as there isn’t much going on in a photo, so you have to make your shot appealing by adjusting the settings wisely. There are three key settings you need to keep in mind which make up the exposure: aperture, shutter speed, and ISO. Together, they are called the exposure triangle. ISO is the light sensitivity of a sensor of your camera. As you set the ISO level higher, the light sensitivity increases and results in brighter images. However, relying solely on setting ISO higher when the light conditions are dim might add unwanted grain and visible noise to your images. That’s why it’s better to keep your ISO settings low and adjust aperture and shutter speed for better exposure. Aperture indicates how open your lens is. If your aperture is wide open, more light will come through your lenses, and vice versa. Aperture is measured in f-stops, and smaller f-numbers indicate wider open apertures, which means f/1.4 is a wider open aperture than f/2.8. The tricky part here is that aperture influences the depth of field. If your aperture is wide, you will get a shallow depth of field. That simply means that objects in your foreground or in the focal point will be sharp, and objects in the background will be blurred and out of focus. While this is widely used by photographers when they shoot portraiture, allowing them to ‘isolate’ their models and create a sense of layers, shallow depth of field is often not suitable for landscape photography as you want more of a scene, in general, to be in focus and visible. Shutter speed is how fast your shutter opens and closes. A DSLR camera takes a picture while its shutter is open and light exposes its sensors. If your shutter is open for a longer period of time, your camera receives more light, and your shutter speed is higher. Shutter speed is measured in fractions of seconds, seconds, and even minutes. Shutter speed is responsible not only for the amount of light but also for how action looks like in a photo. That happens because your camera takes a shot as long as the shutter is open, meaning any movement that happens while you take a shot will be captured. While you can take a shot with a fast shutter speed when it’s very bright, when there is a lack of light, you need to opt for longer shutter speeds (and use your tripod). Landscape photographers use slow shutter speeds up to several minutes when they shoot scenes with water to make it look smooth and for night photography to capture every little detail. To learn more about this element of exposure, check out our guide on shutter speed.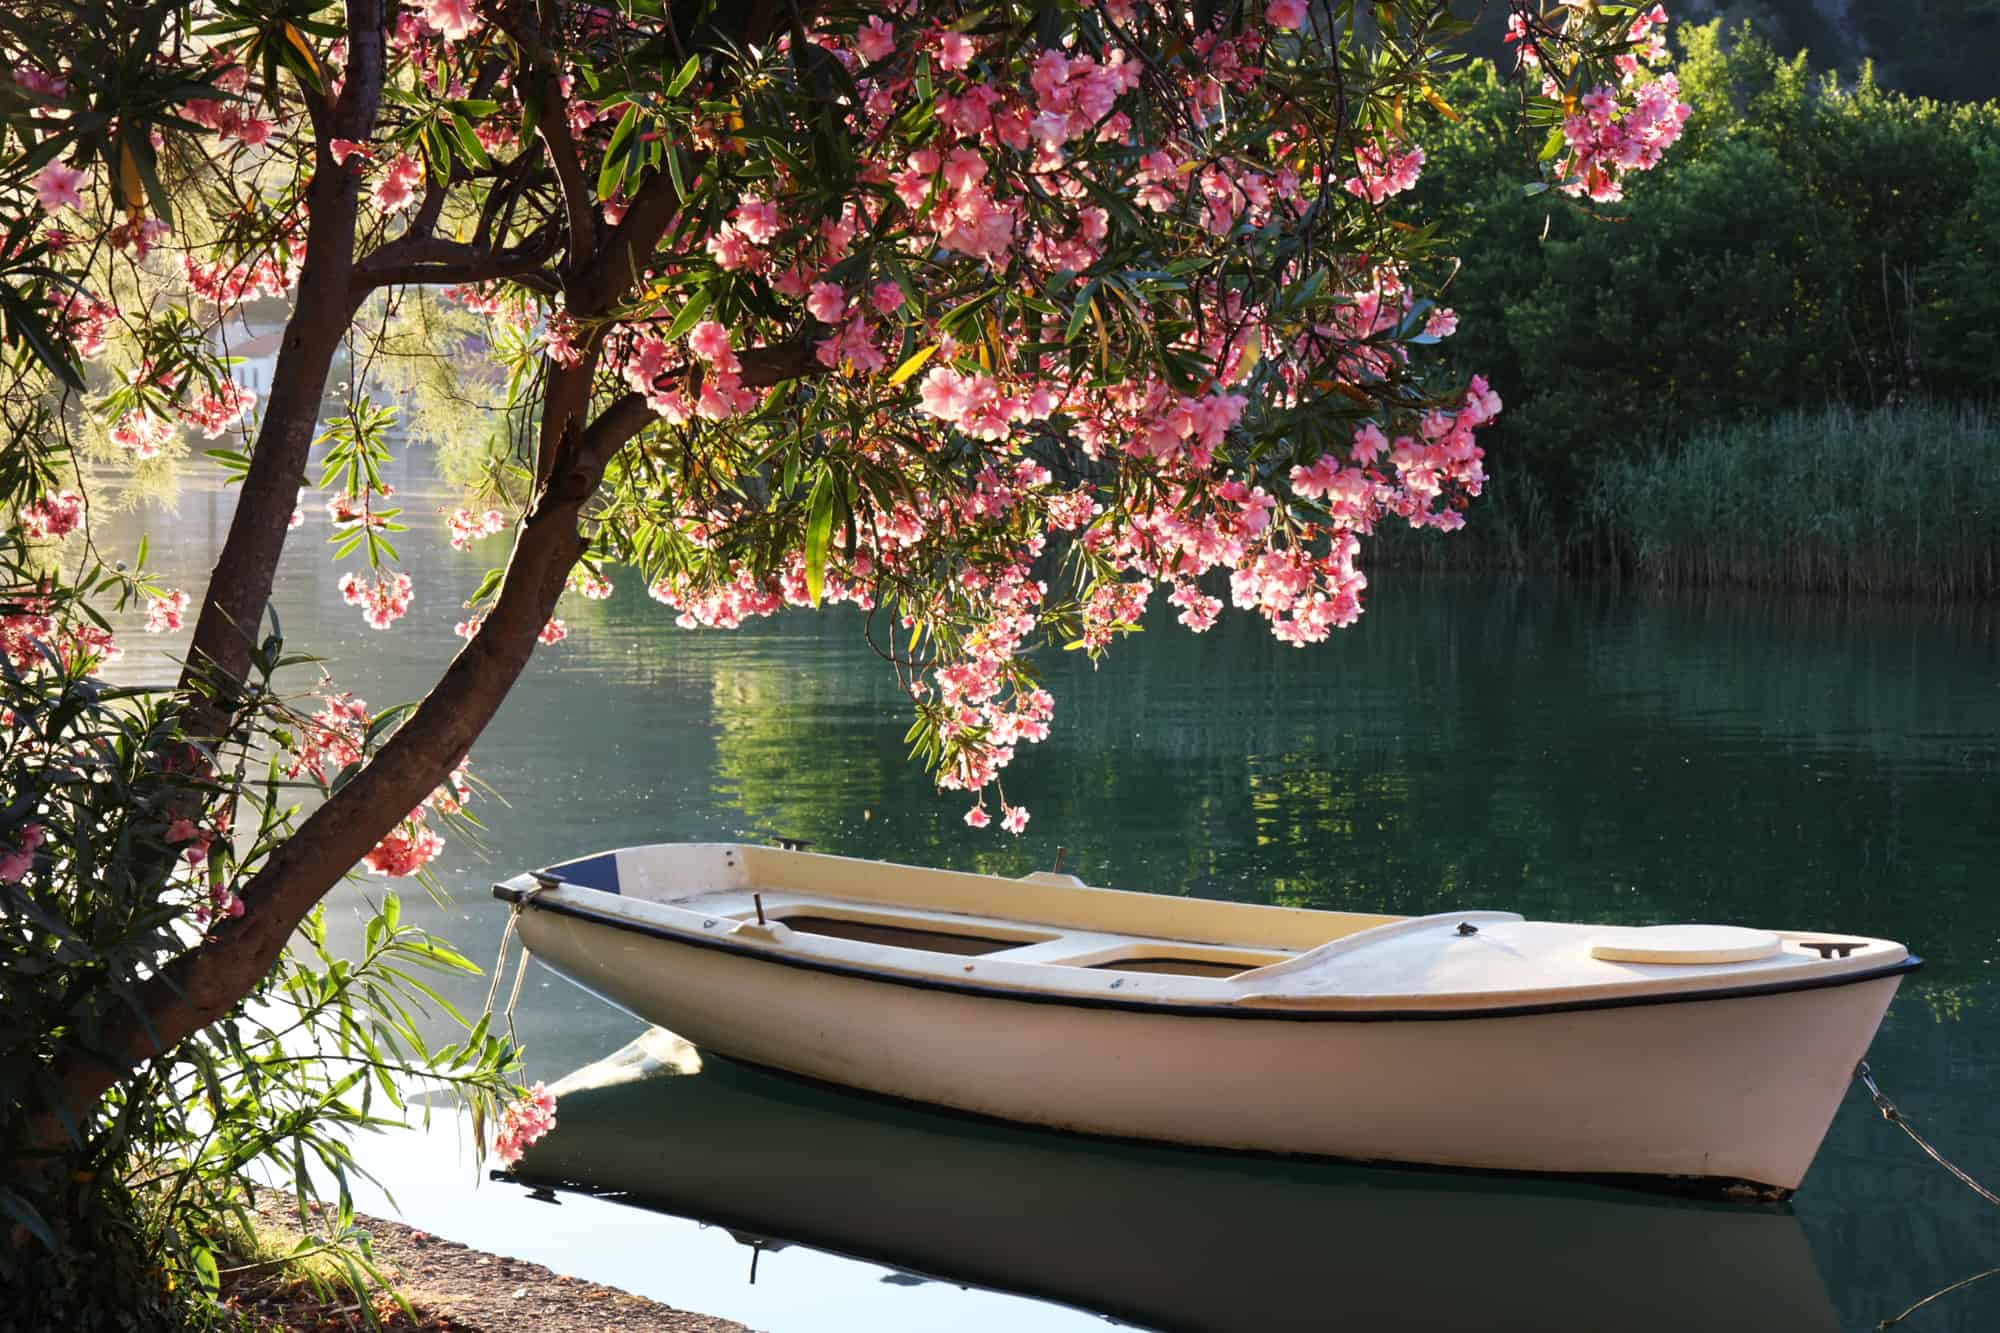
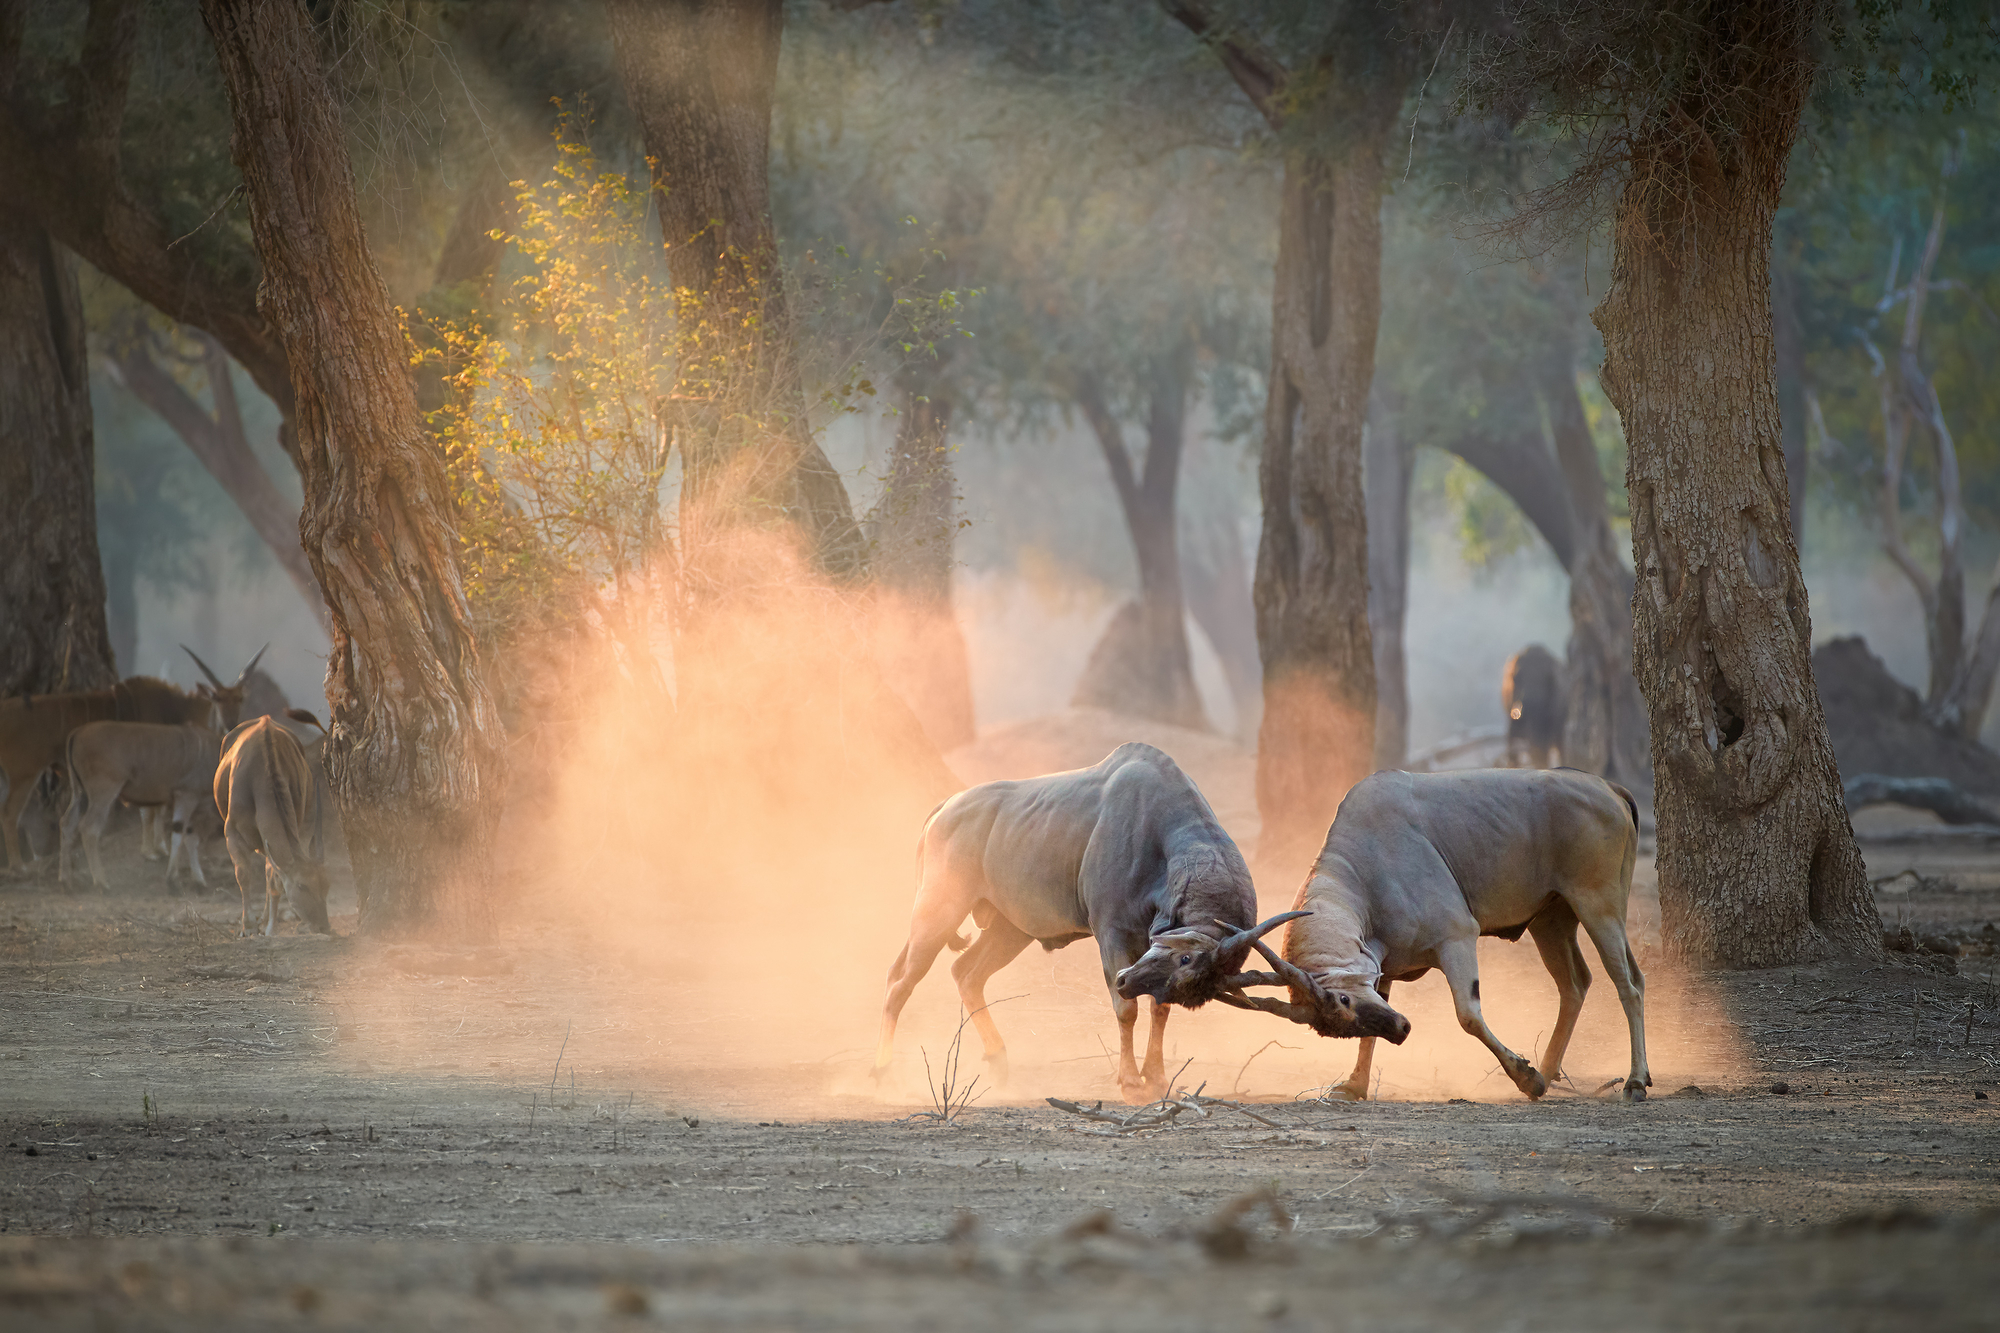
How to Frame a Composition for a Landscape Shot
As mentioned earlier, composition is very important for landscape photography. Even the slightest change in the composition of a photo can radically change the outcome of a landscape shot. There are several ways you can organize a composition of your landscape picture, so you have the creative freedom to choose from several different options or try to combine them.Rule of thirds
The rule of thirds is the most popular way to organize a photography composition in many genres, including landscape photography. To understand how it works, imagine 2 vertical and 2 horizontal lines that separate your shot into 9 equal parts. According to the rule of thirds, you need to place an interesting object (a tree, a river, a mountain, or anything that draws attention within your frame) along the intersections of these lines. Some cameras and smartphones have a gridlines option that allows you to add the lines to the screen so that you don’t need to visualize them in your head.Golden ratio
Compositions based on the golden ratio are more complex. The golden ratio is a mathematical ratio when the proportion is 1:1.618. You can separate your frame according to this proportion and place your subjects where the line separates two squares. What’s more, some cameras and smartphones support gridlines based on the golden ratio. It separates an image into 9 unequal squares, meaning a place of interest will be right in the middle of a shot. For more on compositions based on the golden ratio, read our article that explains the golden ratio, the golden number, and the Fibonacci spiral in super simple words.Symmetrical balance
A human’s eye is naturally drawn to proportional, balanced things. That’s why using symmetry in your composition is a way to appeal to more viewers. Apart from vertical symmetry that comes to mind when we think about symmetry in general (when the right and the left parts of an image are symmetrical), there is also horizontal symmetry, when the bottom and top parts seem symmetrical. For instance, if there is some water within your frame, it will mirror nature elements and create a sense of symmetry. There is also radial symmetry, which is a natural symmetry of round objects you can find around you. This is our guide to using symmetry in photography – just in case you’re wondering. Sure, you probably won’t find a perfect mathematical symmetry in natural surroundings. However, you can implement symmetry partly, or use the symmetrical balance for your photos, when there is no actual symmetry. But a shot can look symmetrical due to the same amount of elements or the same weight of two halves of a shot. You can learn more about symmetry in photography in our dedicated article.