What is infrared photography?
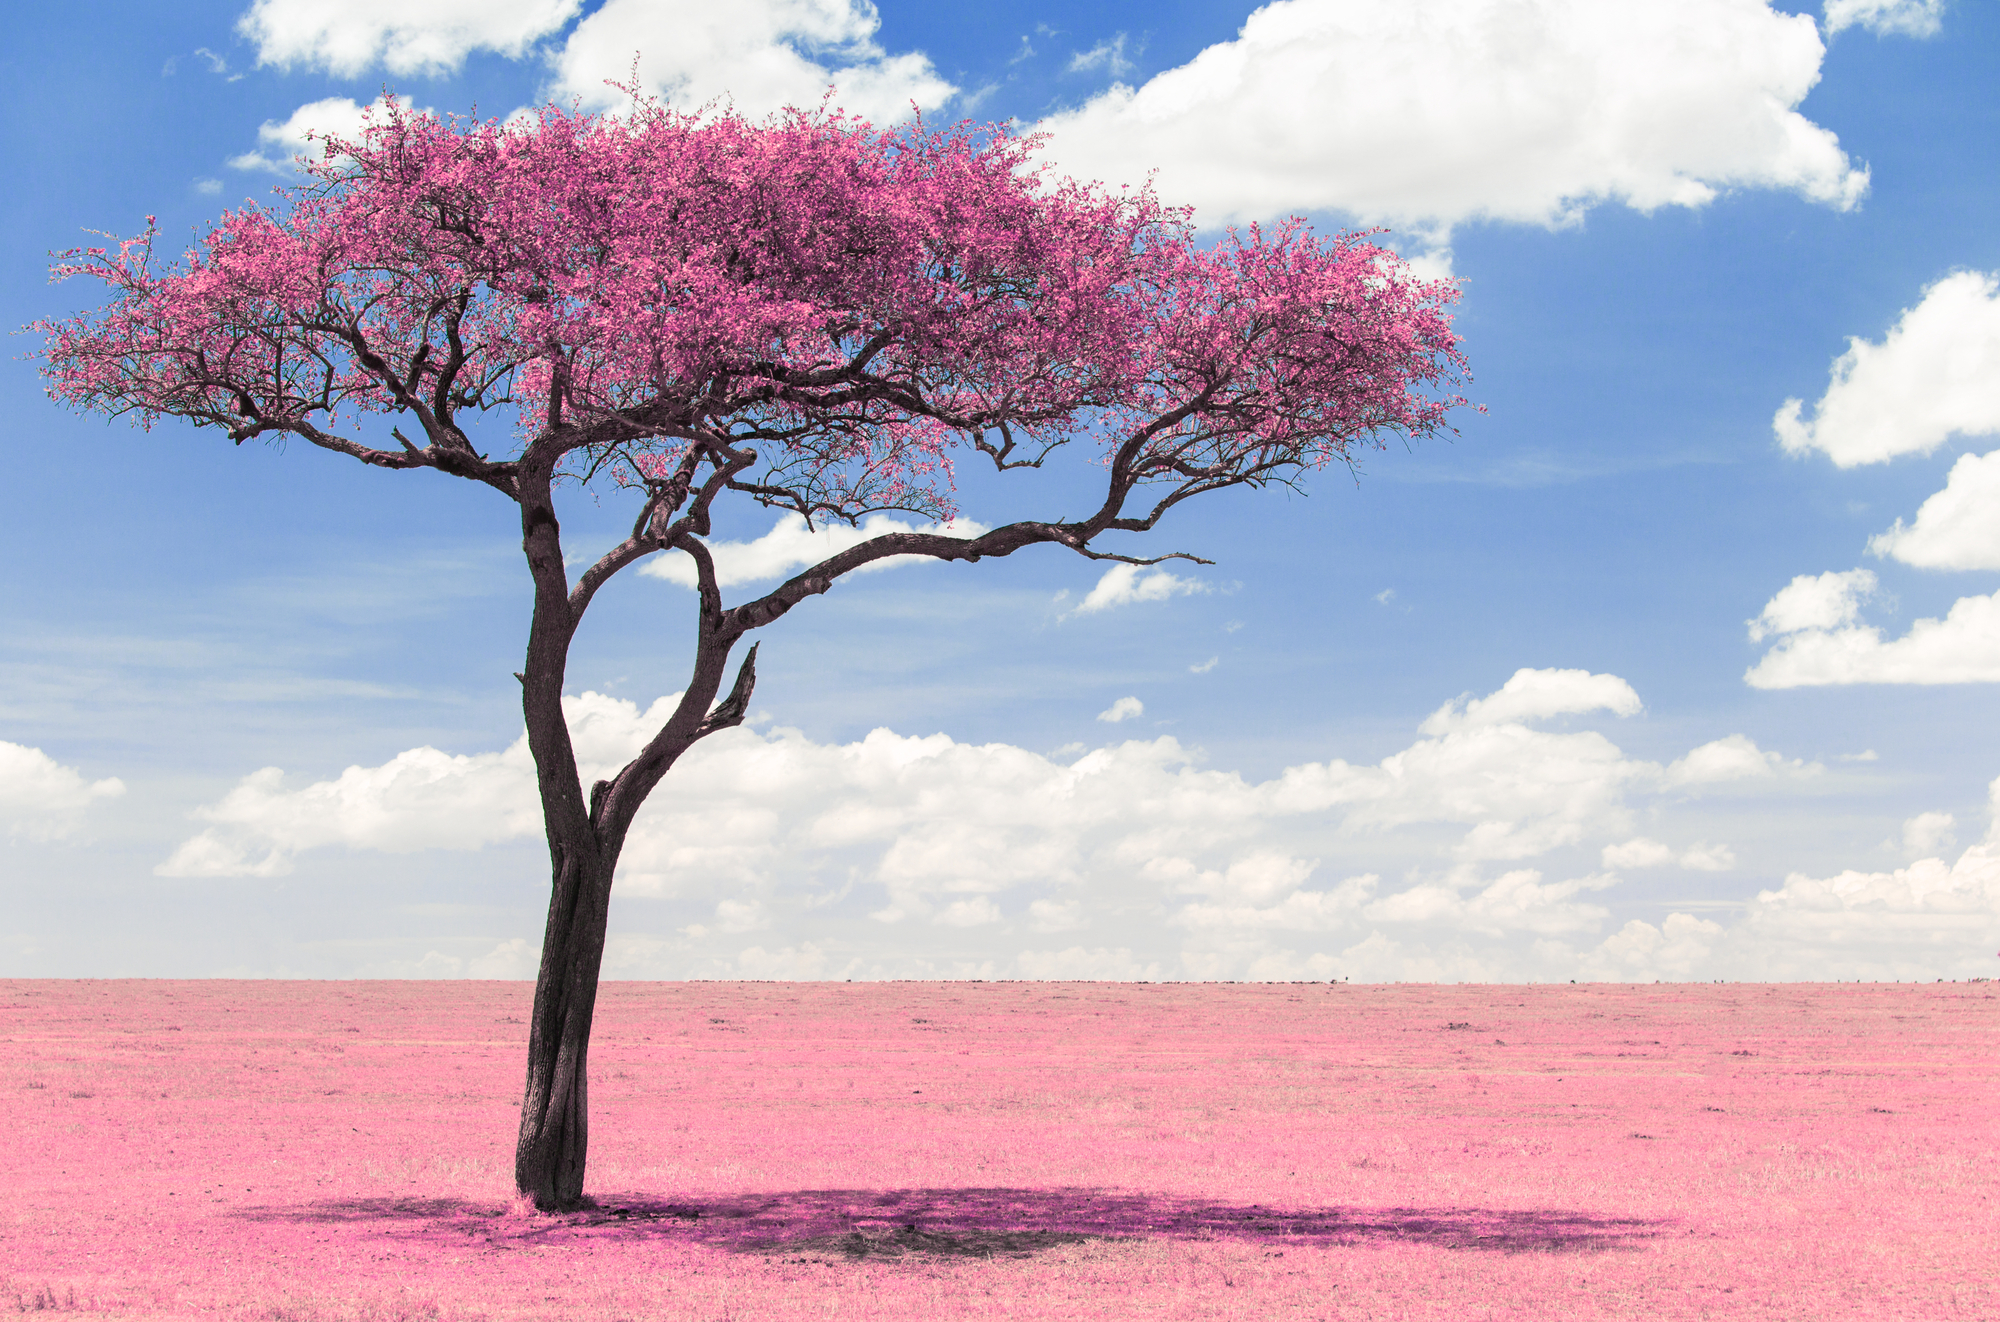
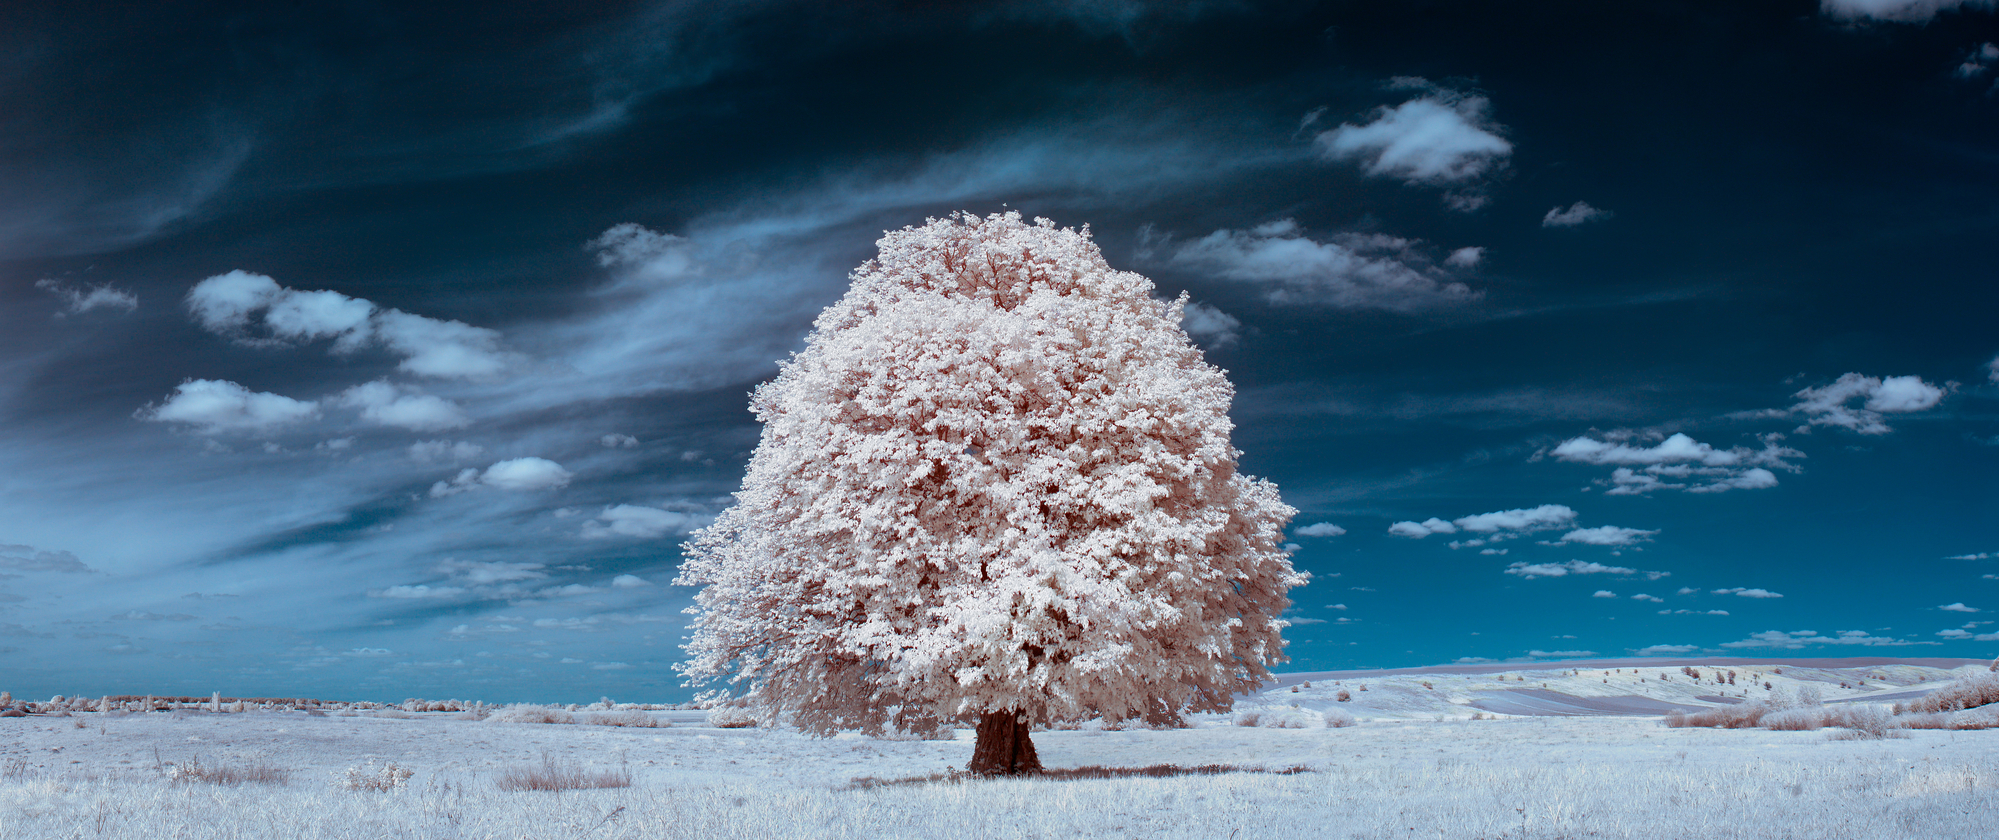
Infrared (IR) photography transforms traditional landscapes into mystical images. It completely transforms skies and bright hues. Green tones become red, pink, pale pink, or white, depending on the image processing method. Unlike other photography genres, IR captures only infrared light, which is located on the invisible part of the electromagnetic spectrum. We can’t see infrared light with our naked eyes because we’re capable of perceiving a small portion of the light spectrum. To be more specific, a wavelength of visible light ranges from 350 nanometers (violet) to 760 nanometers (red). This means that there’s an entire world unbeknown to us, but infrared photography can help us see it.
What is IR photography used for?
Infrared light is used in many different fields, in addition to photography. IR proved its necessity during World War I when soldiers used IR images to identify potential enemy targets. An infrared filter allowed them to see sharp differences between trees and camouflaged munitions factories. Nowadays, railway workers in Germany use infrared cameras to examine rails. They find hidden cracks and other defects that show up only in infrared light. Infrared spectrum radiation is also used in dentistry to detect cracks and other defects.How to take infrared shots
Compose your shot and focus before attaching an infrared filter. Once you attach the filter, you won’t see anything in the viewfinder. This is because infrared filters are designed to block out all visible light.Step-by-step tutorial on infrared photography
-
- Set up a tripod on a stable surface in front of your subject, then attach the camera to the tripod. Establish a composition. Set the focus ring to auto mode, because you’ll focus after attaching the filter.
- Set aperture and ISO values. The aperture should be f/16 to capture the entire scene in focus. The ISO value should be 100 or 200 to reduce the amount of noise in the photo.
- Shoot in RAW format! It will simplify the image editing process.
- Determine shutter speed. When the initial settings are at work, set the filter up and take a picture. The shutter speed will vary from 1 to 30 seconds, depending on the subject. Once you’ve determined the correct shutter speed, you are ready to shoot.
- Post-processing. After taking the picture, you’ll get an awful photo in red tones. Let’s take a look at Photoshop techniques that will make it better. Open Levels – Image – Adjustments. Then, move the leftmost slider to the left starting point of the histogram curve; the right slider to the right for each channel (NB: Red, Green, and Blue), and set the central one in the middle between the absolute minimum and maximum. Next, change the blue range to red, and the red range to blue in the Channel Mixer. Select the Red channel, and set the slider to 0 in the Red line, and +100 in the Blue line. Similarly, we adjust the blue channel. To adjust the tonal range, open Image – Adjustments – Shadow/Highlight.
Tips to improve your infrared photos
Now that you are equipped with professional gear and know the basics, let’s talk about key points that will help you pick more suitable subjects and conditions.-
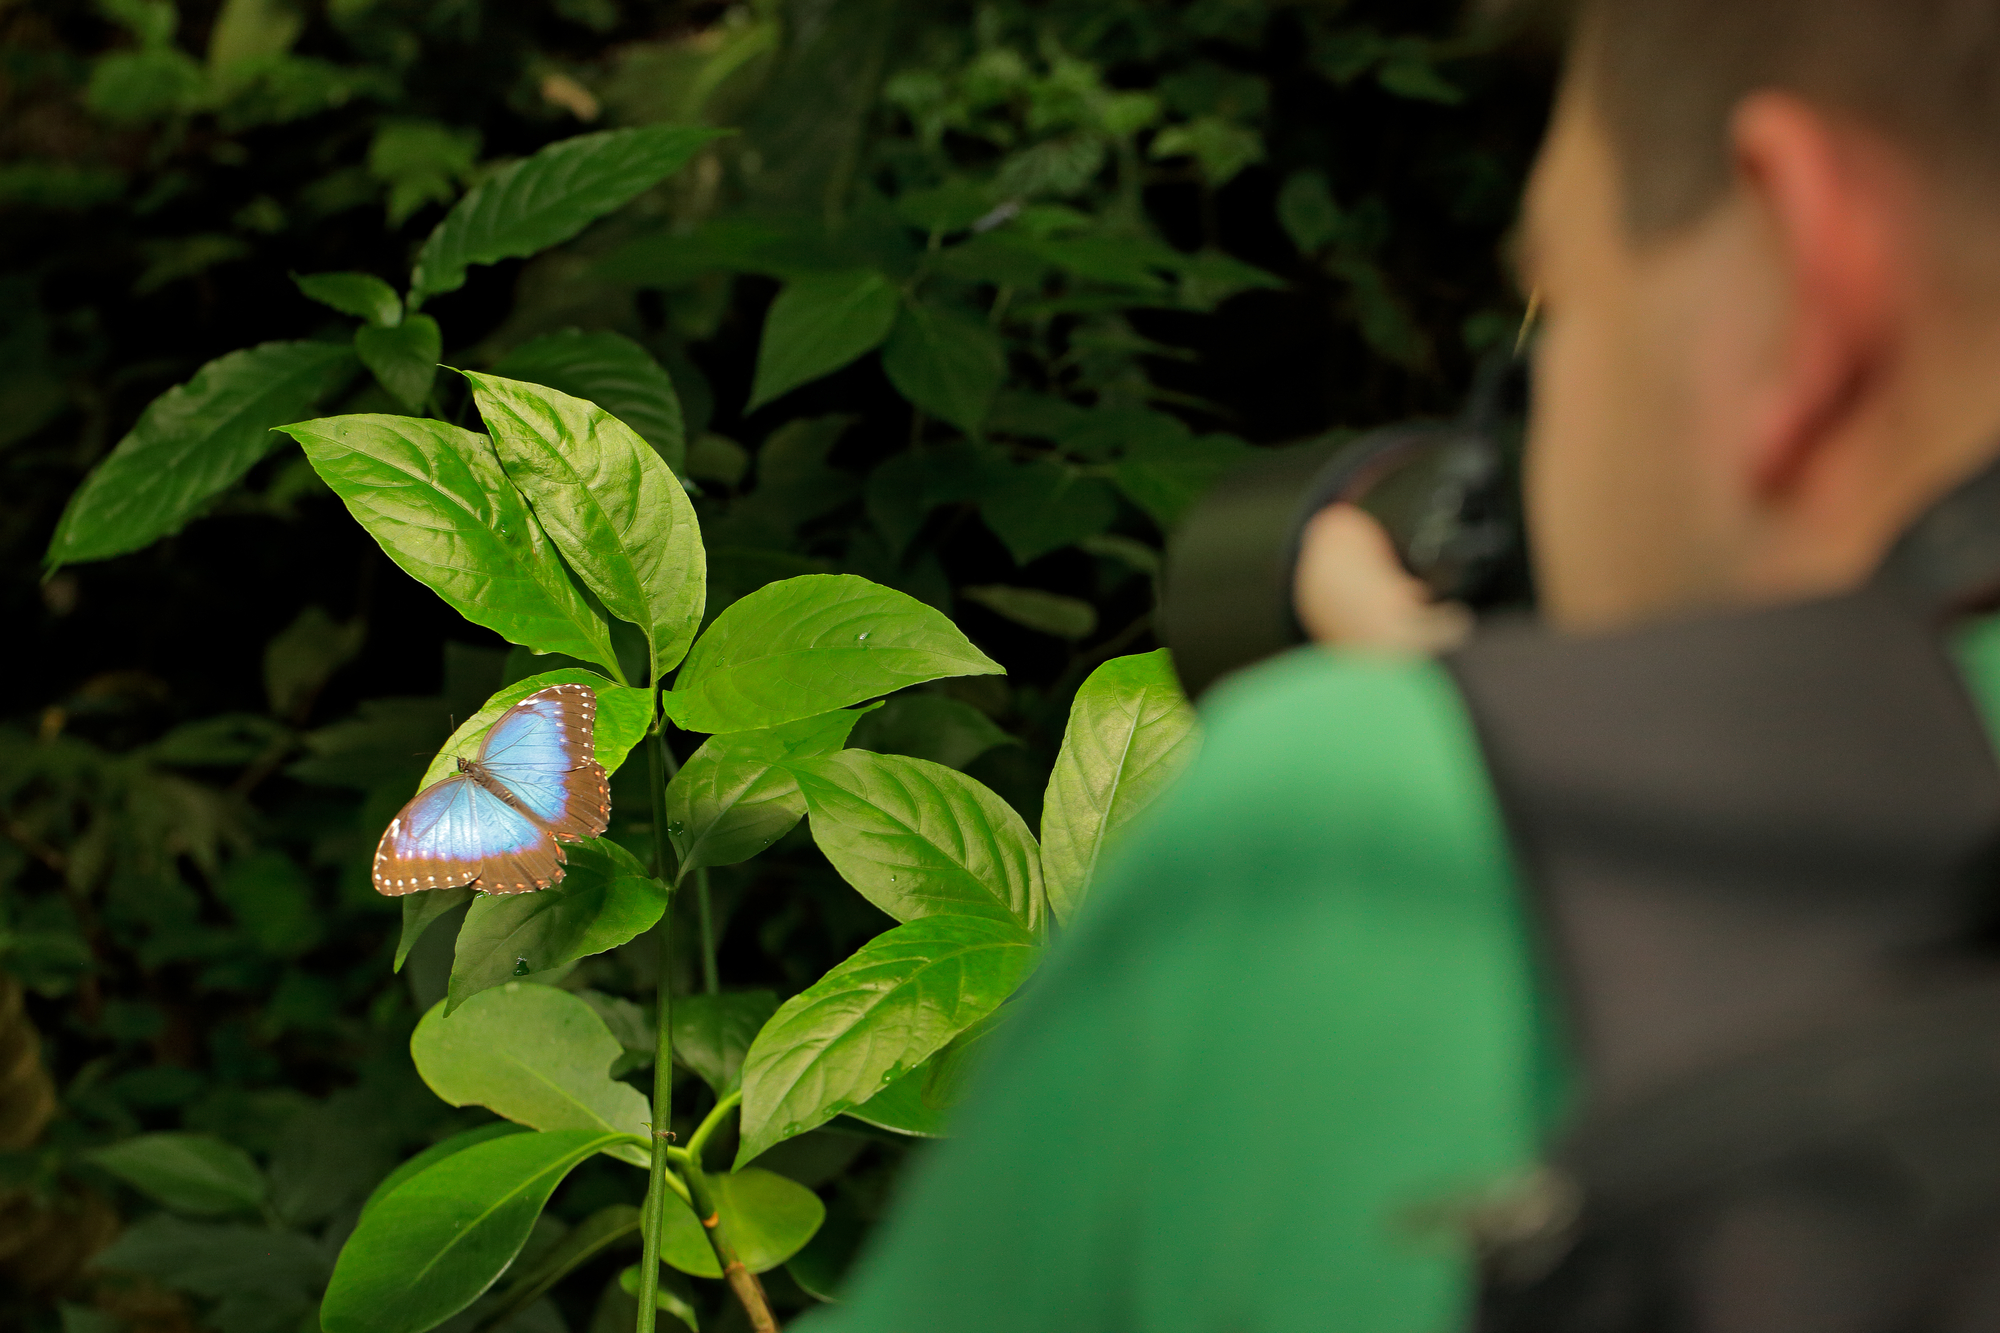
Go green
-
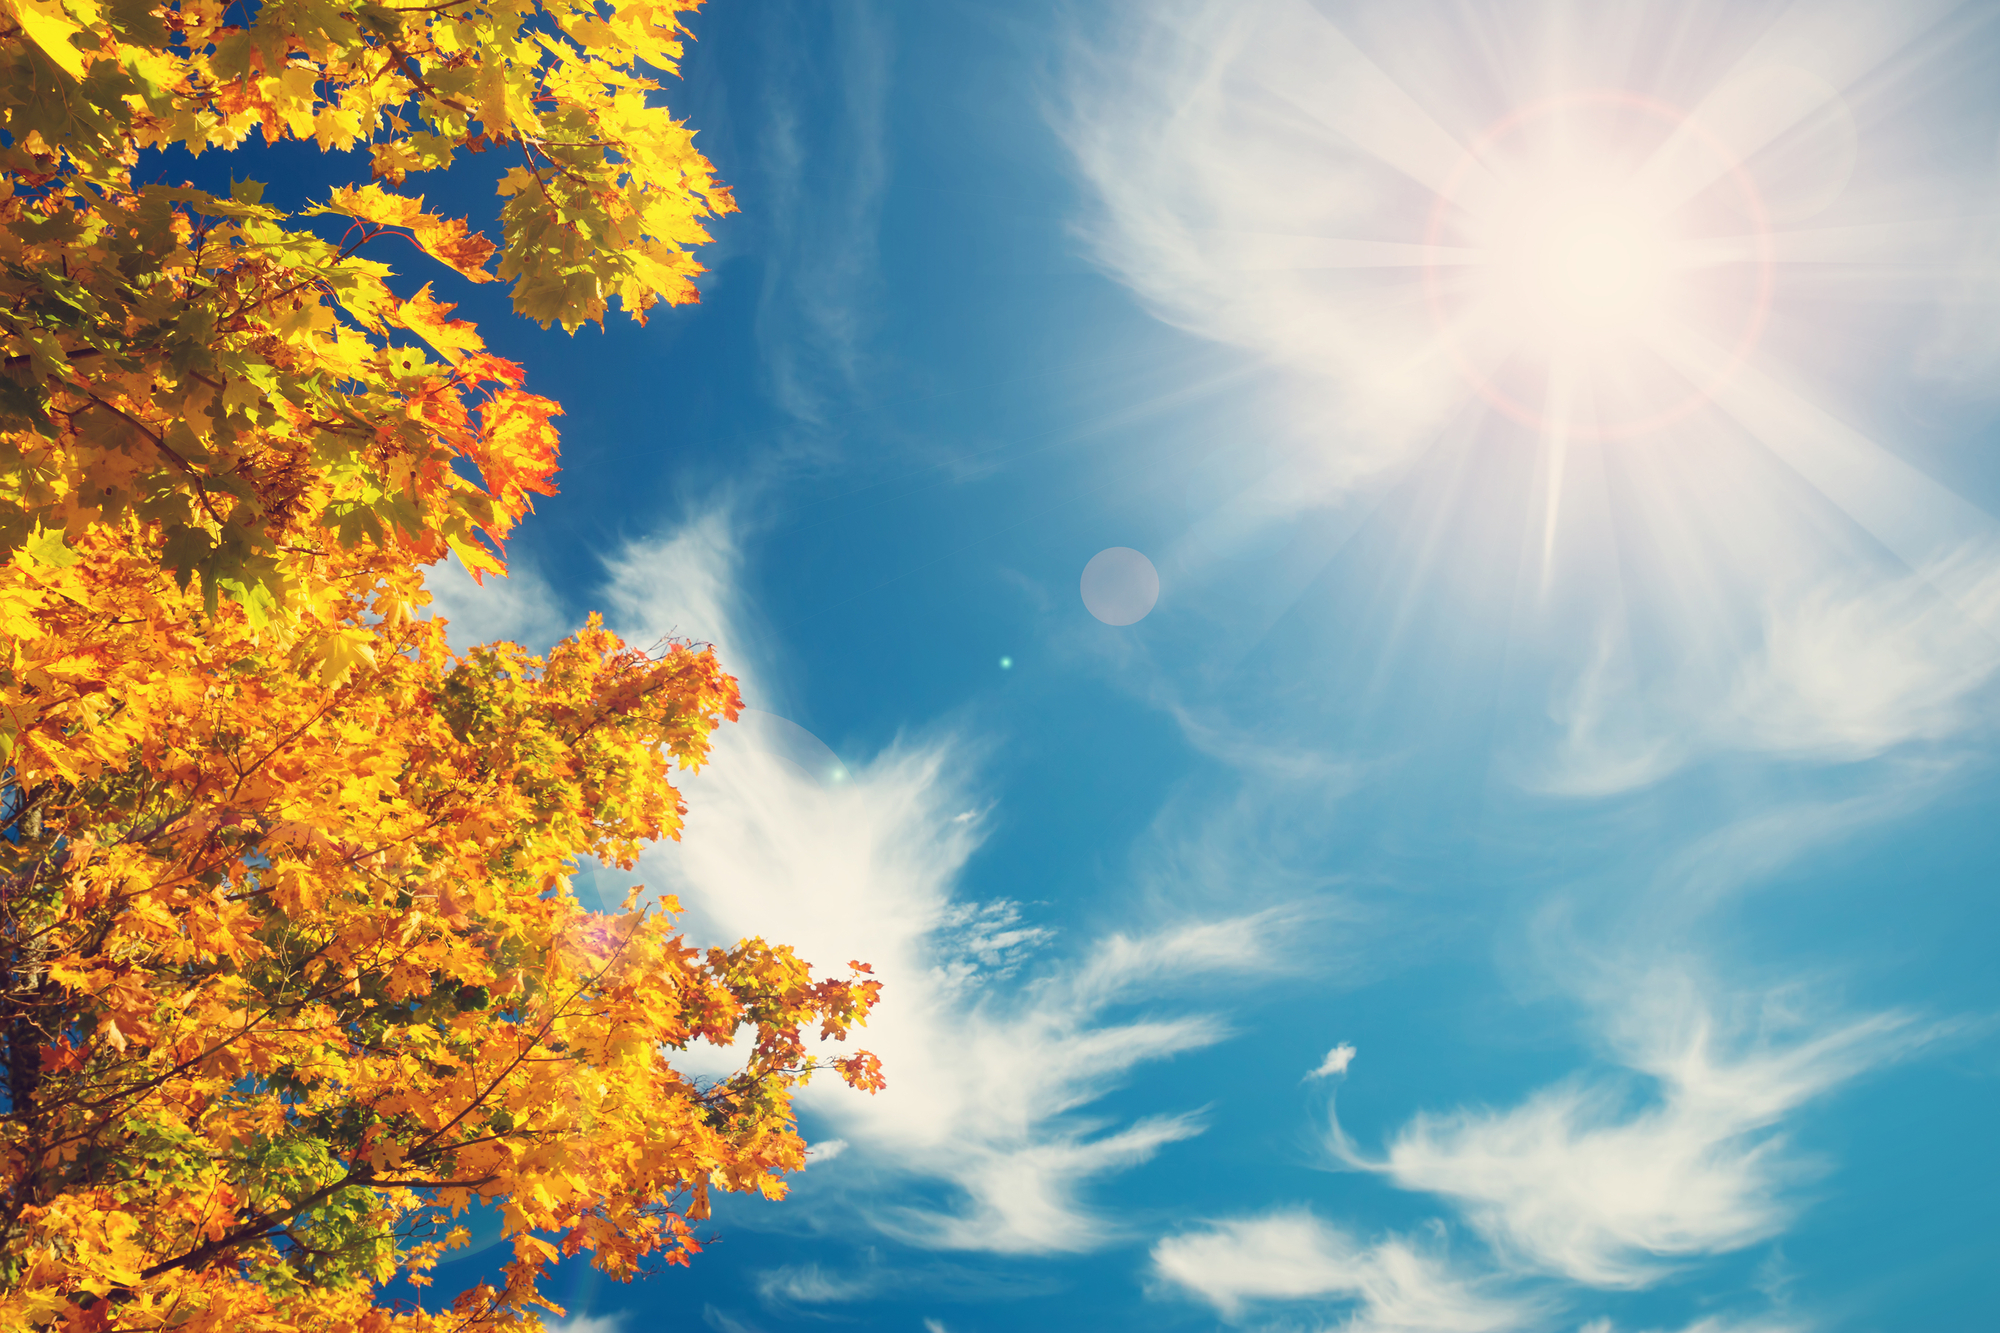
Let the light in
-
Lenses matter