Lens flare explained
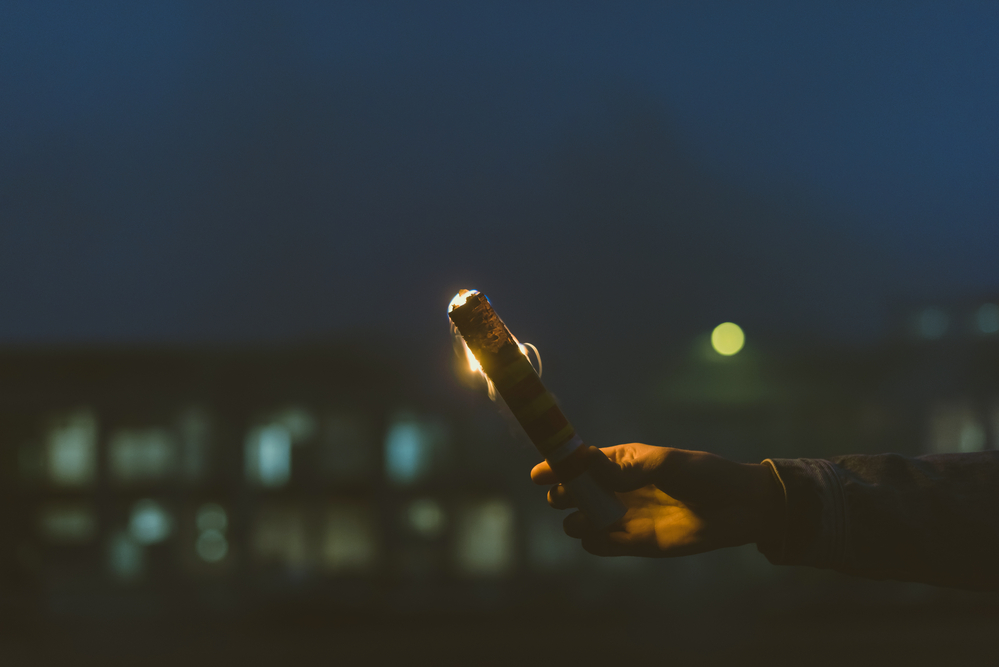
From a technical perspective, lens flare is an error that is created by how your lens processes light, causing it to flare in the lens system. Lens flares look like bright light spots or a ray of light within your shot. In simple words, this is the reflected light created by the inner parts of your lens. A lens consists of several glasses, each of which refracts light. As light comes through your lens and hits the sensor, some of it is scattered inside the lens system since the light reflects from several glasses multiple times. Most lenses have parts that protect them from lens flares on most occasions. However, if the light source is bright enough, the lens flare might still occur. Flares often have polygonal shapes (unless they are ‘thin’ like rays) because they duplicate the form of your aperture at a particular moment.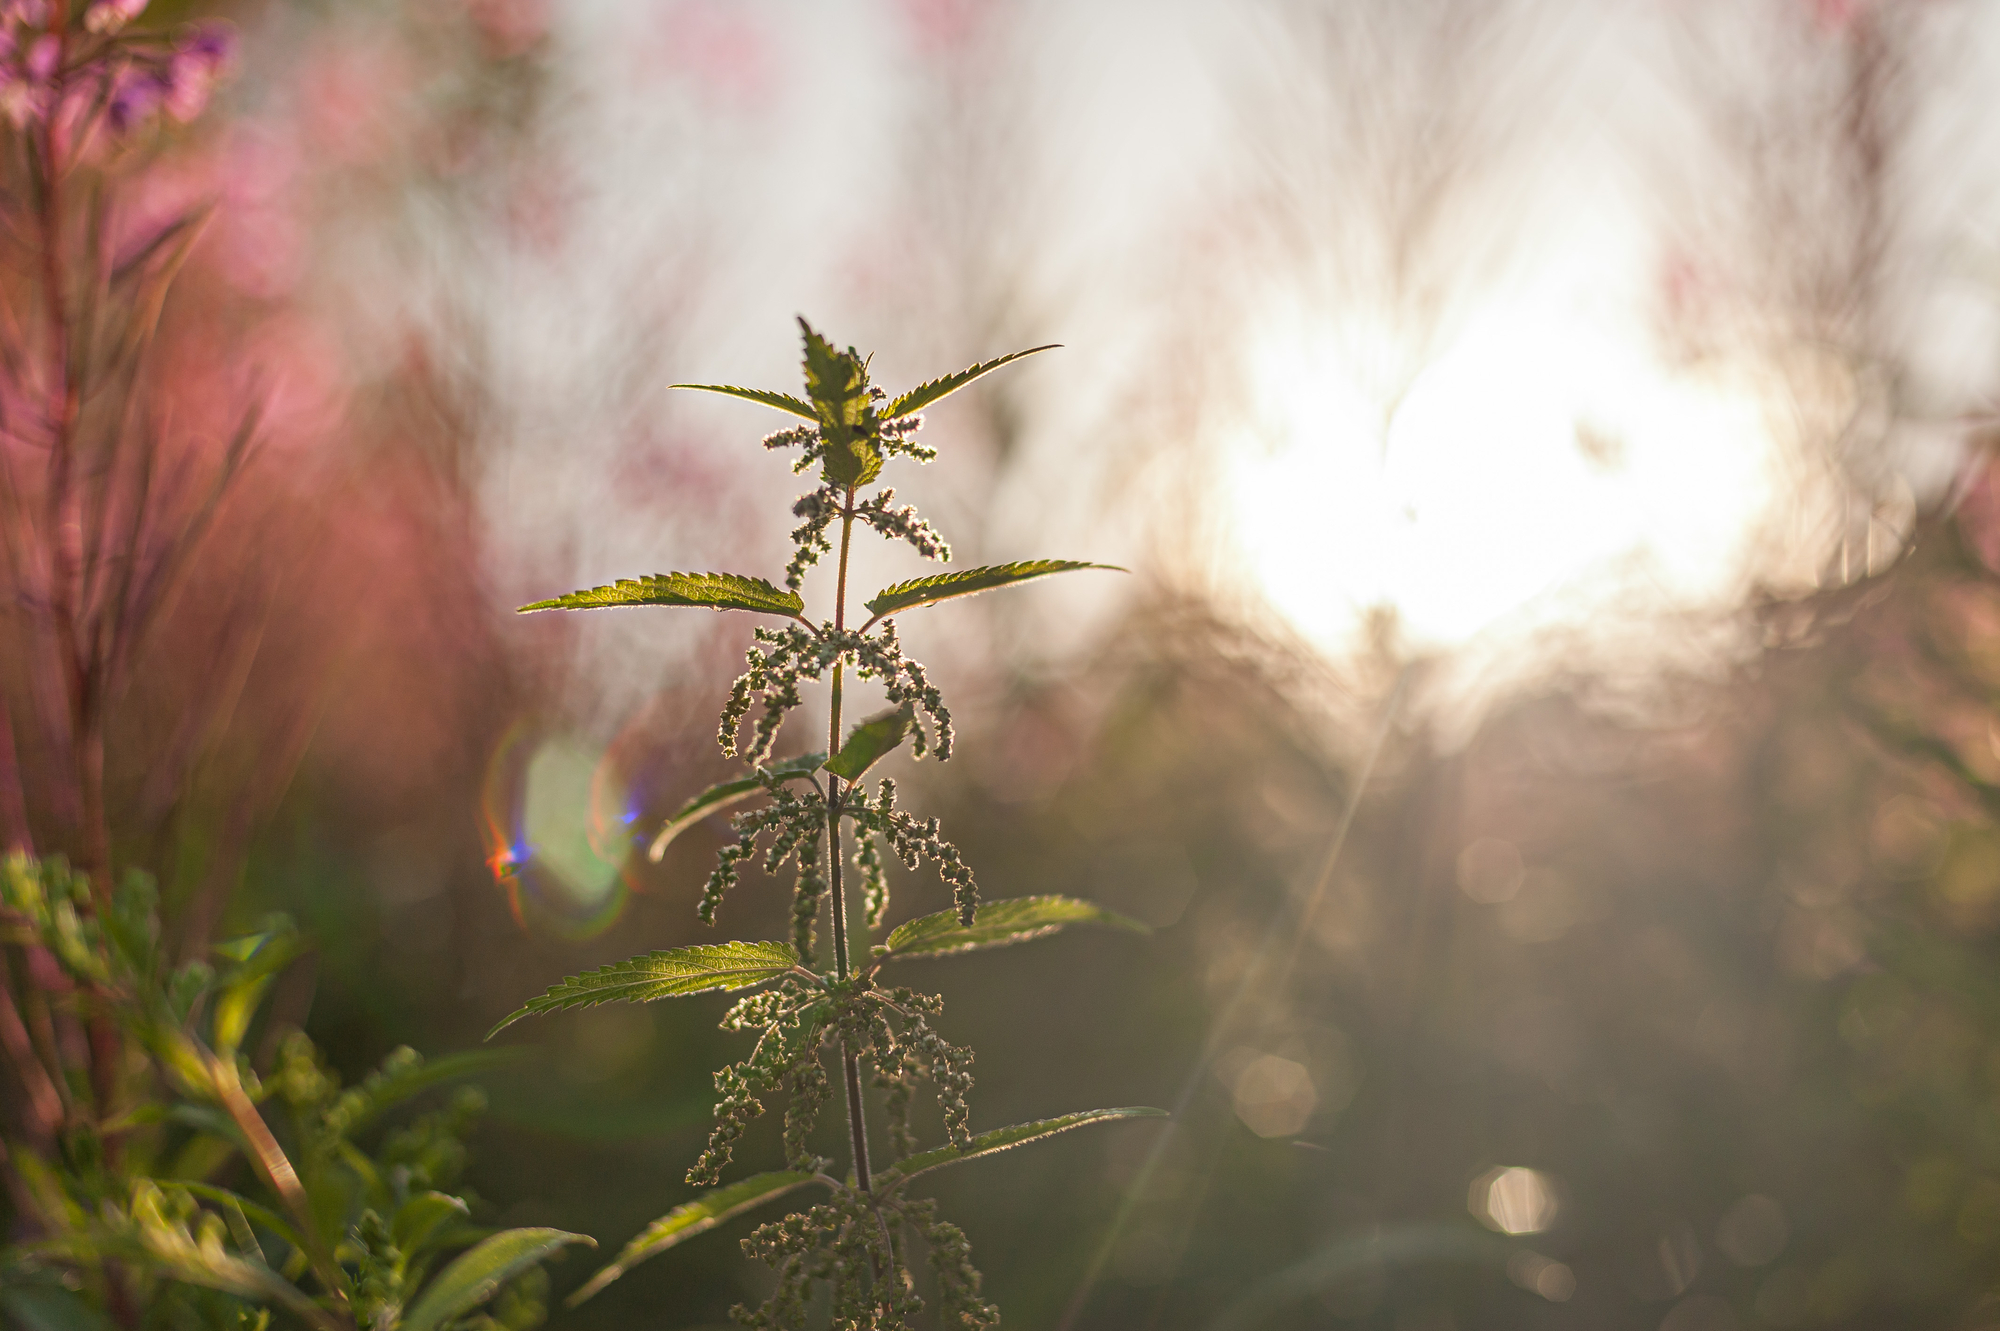
How to create lens flare
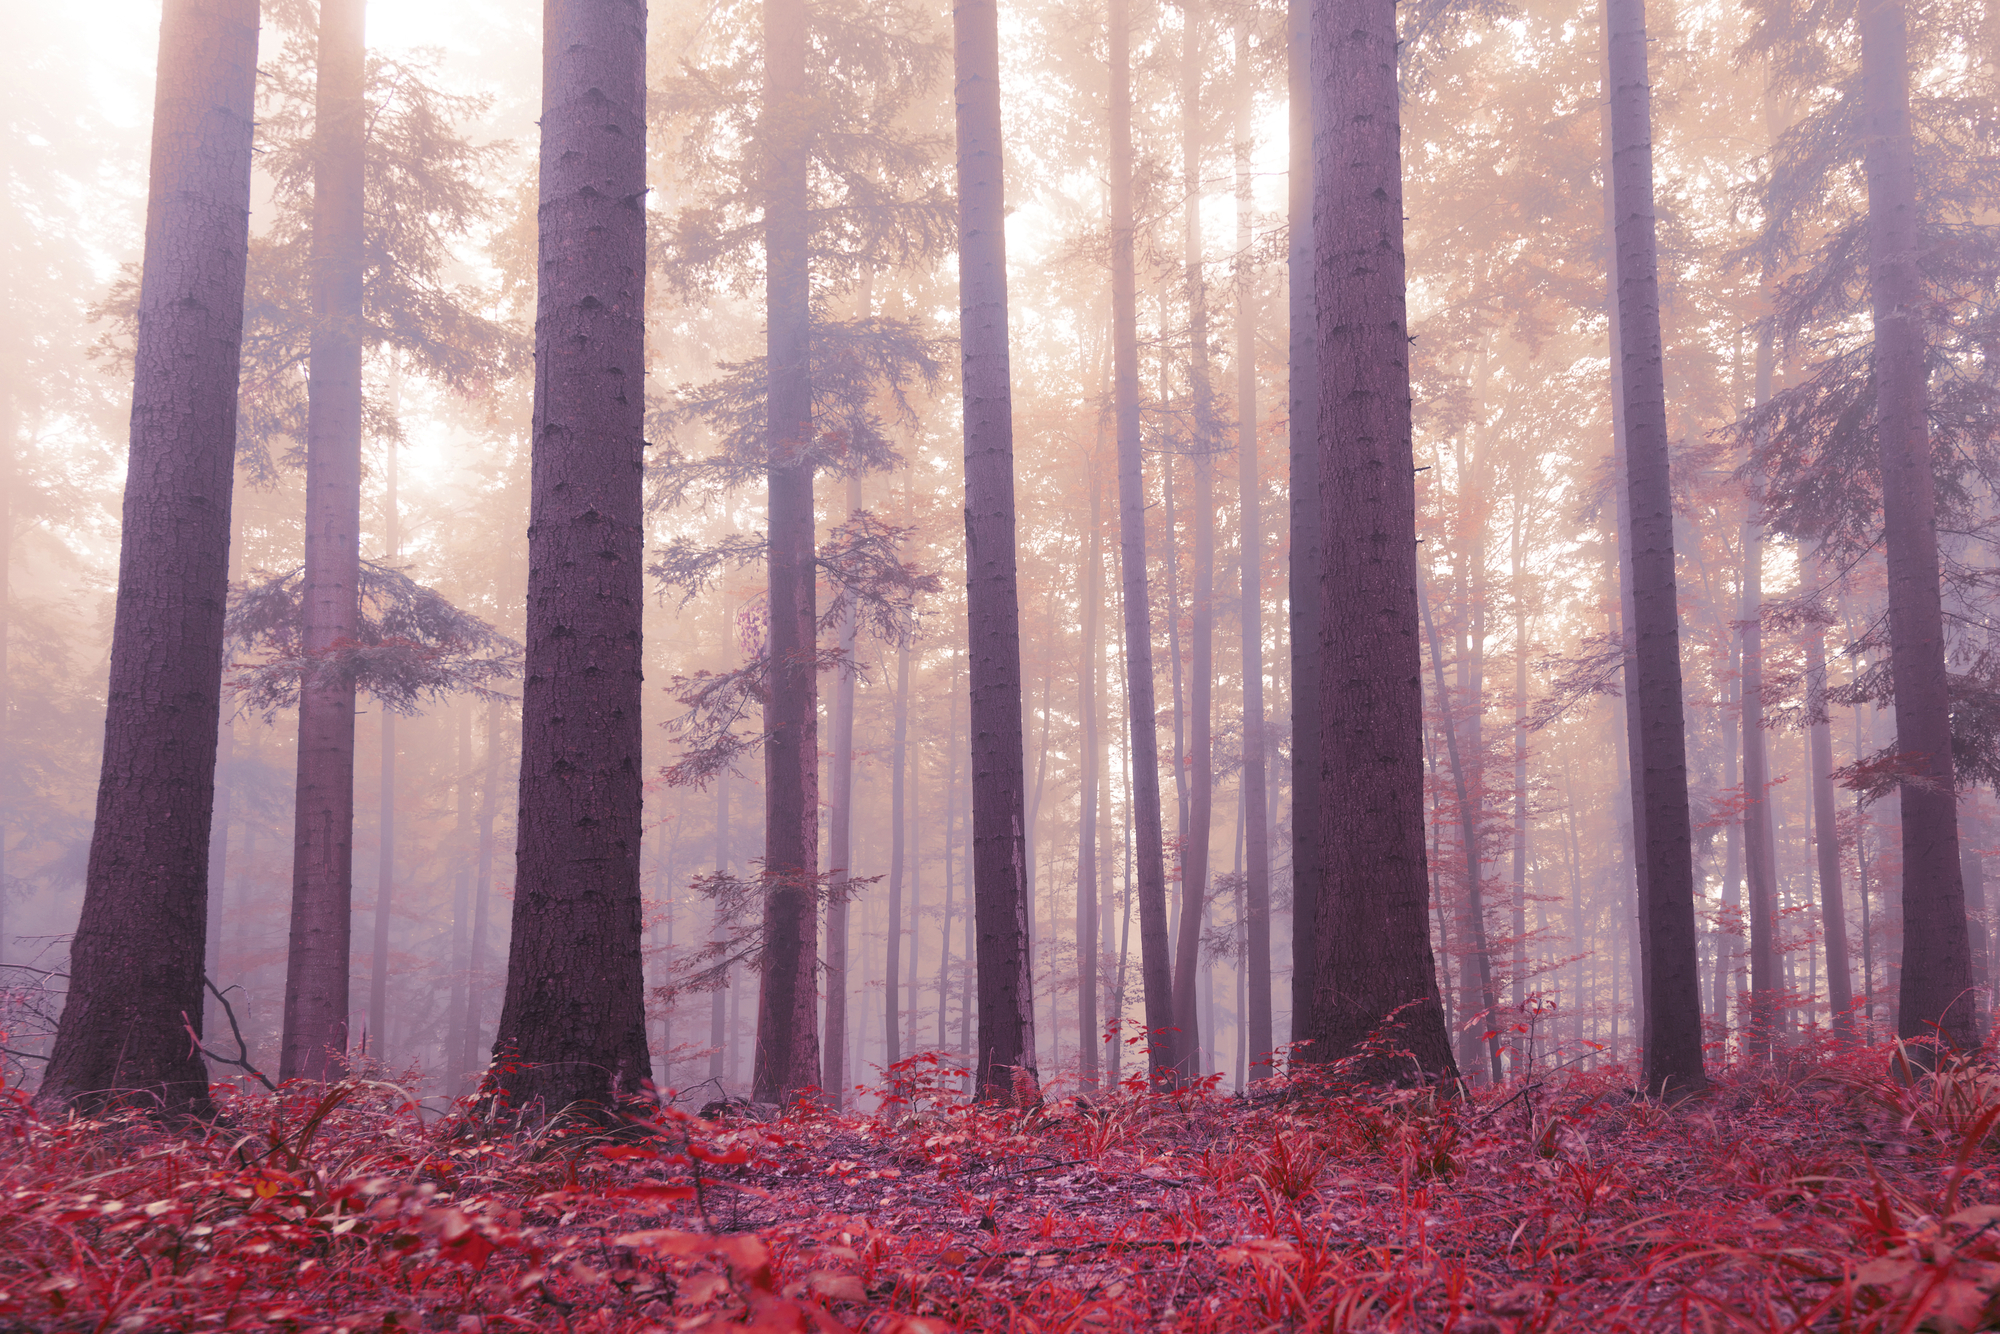
As mentioned above, many photographers try to capture lens flares intentionally. They add a magical touch to your pictures and make them look softer. Shot skilfully, photos with lens flares have a dreamy and even slightly vintage atmosphere. This happens because capturing lens flare might lead to less contrast and saturation within pictures. Here are some ideas on how to achieve lens flare when you shoot outdoors.Place your subjects with the sun in the back
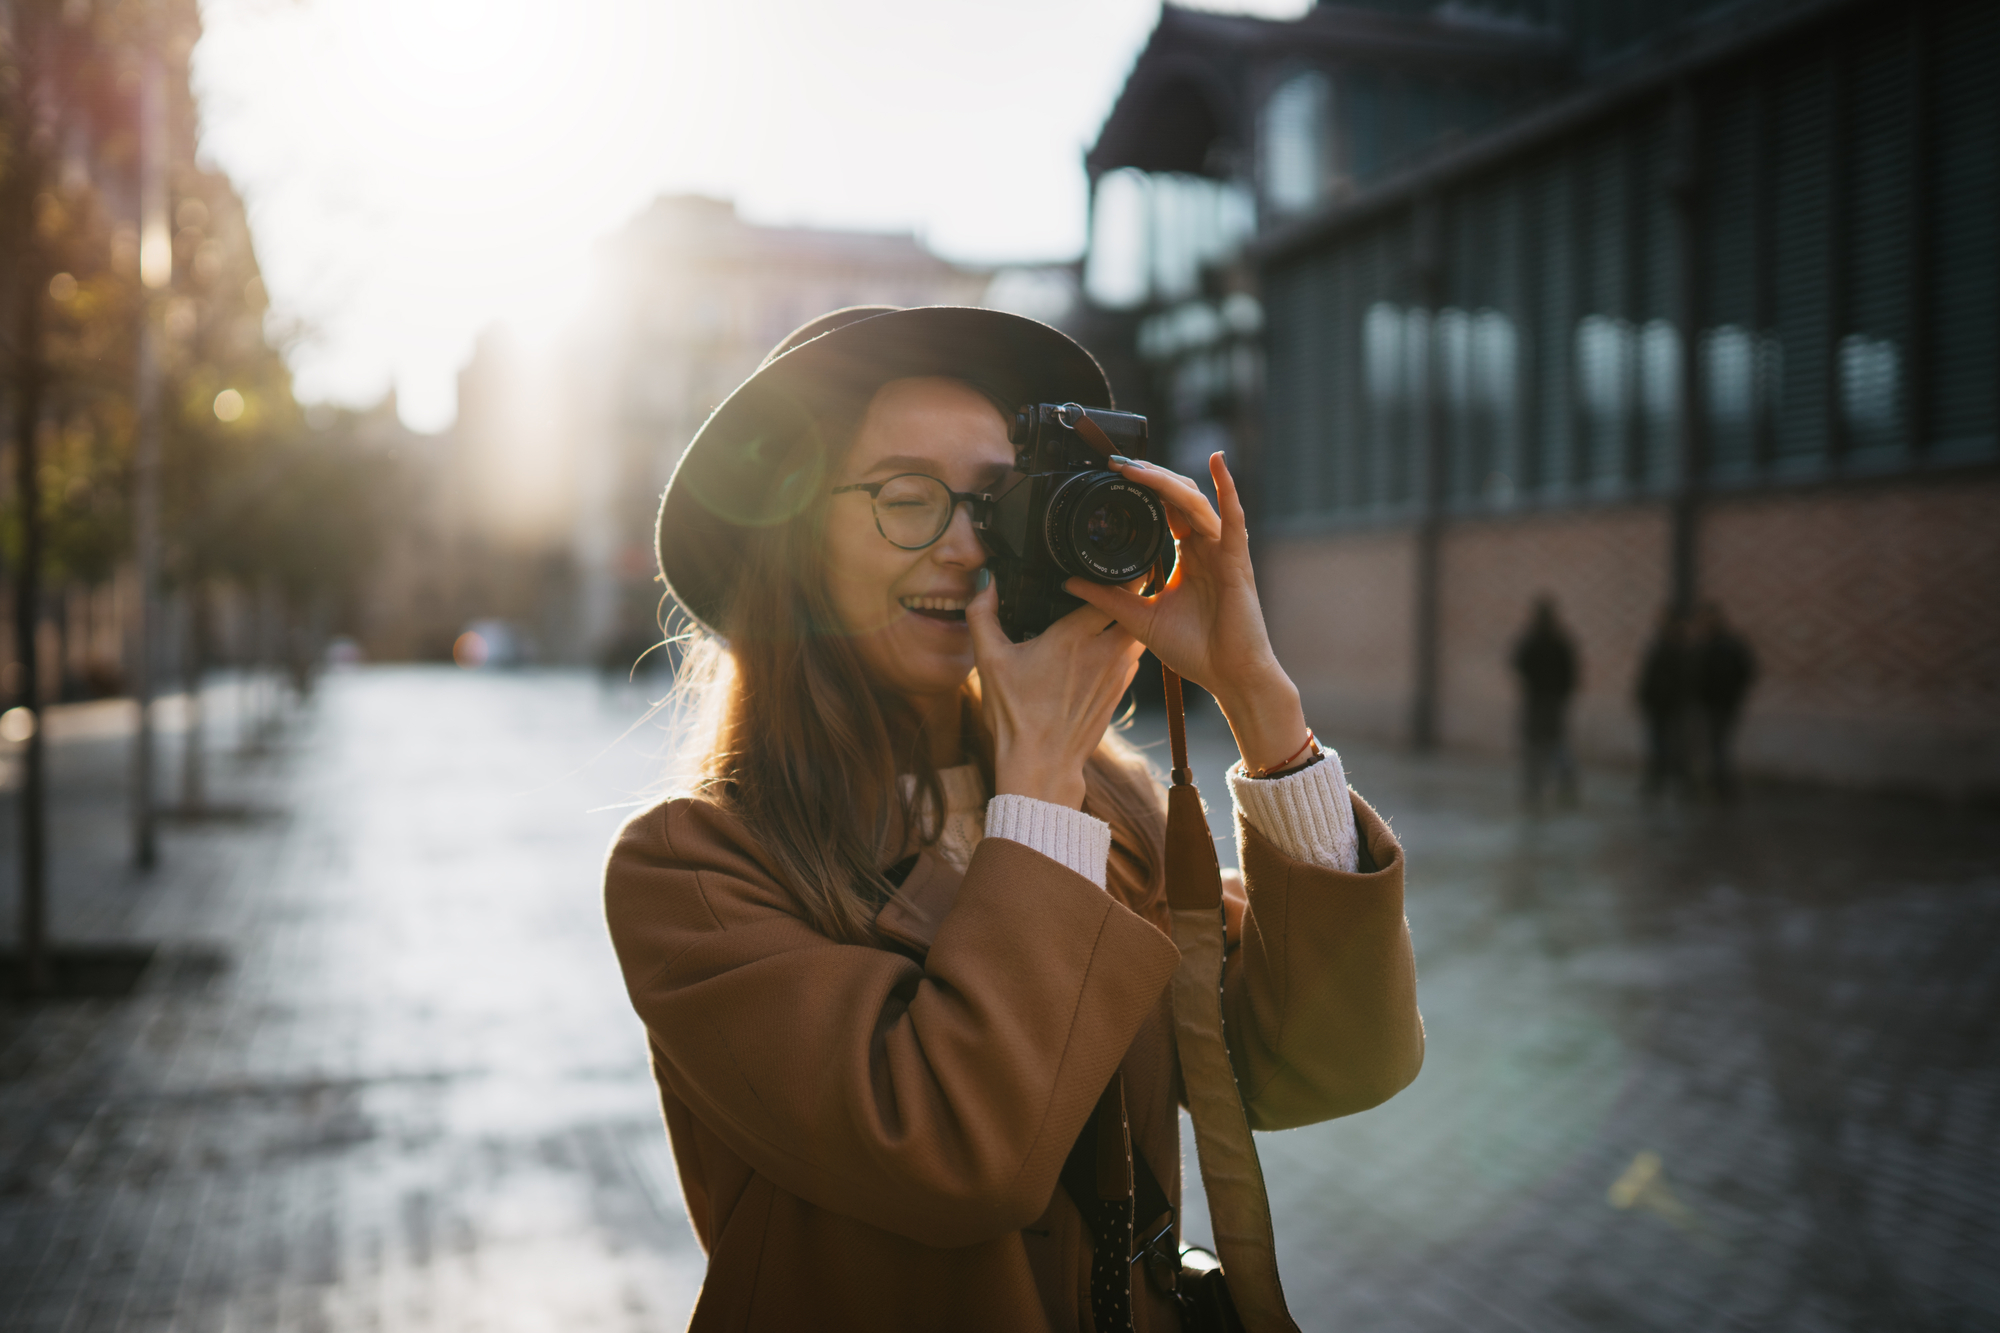
To capture lens flares, you need to shoot into the sun. However, direct sunlight can easily overexpose your images, so you should find ways to make the light come or reflect through something. If you shoot portraits at sunset or have a particular subject within a frame, try to position them in a way that the sun is behind them. This will let you diffuse the direct and harsh light.Choose the right lighting conditions
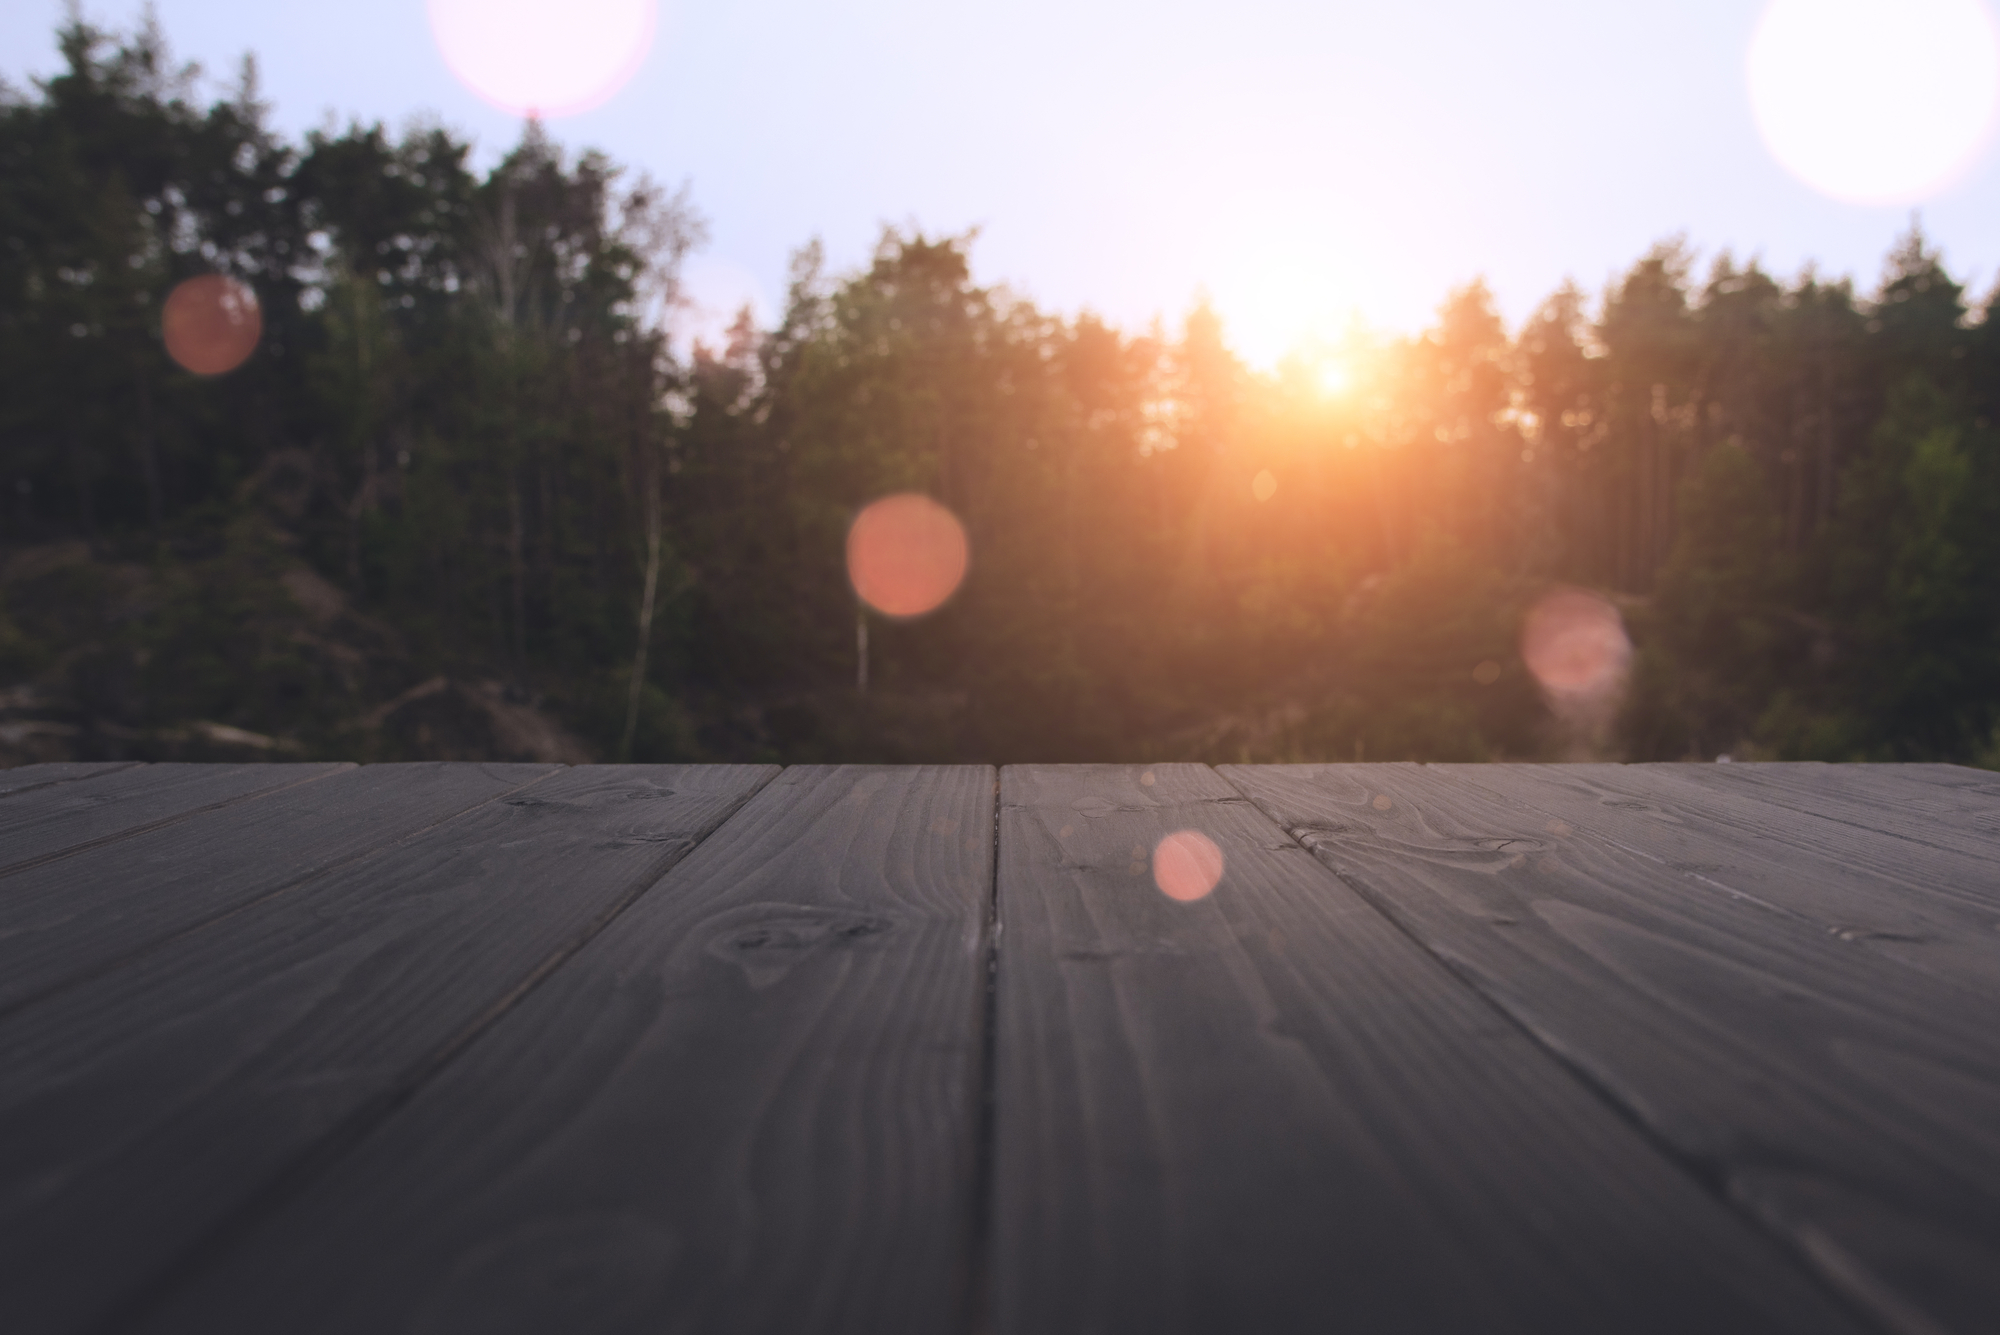
The best time to try to capture beautiful light spots is the golden hour. It is an hour after the sunrise and before the sunset, or periods around dawn and afterglow in general. Shooting during the golden hour is almost a proven way to create lens flares since the sun is at the perfect position and angle in the sky for it. However, you can still achieve the effect during different times of the day, just make sure the sun is present.Change your angle
The trick with lens flare is that you have to actively move and change your position if you want to capture it. Even in favorable lighting conditions, you can miss lens flares because you take a shot from the wrong angle. Get low, shoot from another perspective, and experiment with your composition. This tip can be used both for creating and avoiding lens flares, as changing your position lets you see how a certain angle influences the outcome of your photo.Use aperture to adjust how lens flare looks
Aperture directly influences how lens flares will appear. The light that scatters in your lens reflects off the edges of your aperture. This means you can work closely with an aperture to make lens flares look like you want them to. If you use a narrow aperture, such as f/16, you will receive small, star-looking flares. Making your aperture wider will let you decrease your depth of field and make your background more blurry so that flares appear more smooth and hazy.
How to avoid unintentional lens flare
Not every photo can benefit from having lens flares. Some images might be considered technically incorrect due to lens flare – it is still an error when the usage of the effect isn’t justified. If capturing lens flares isn’t your intention, keep reading to learn how to avoid lens flare.Get a lens hood
The most effective way to protect your lens from accidental lens flares is a lens hood. It serves as a shield that doesn’t let scattering light reach the lenses. Using a lens hood is a must when you shoot in bright lighting conditions and want to receive clear and sharp images with no spots of light.Shoot with prime lenses
As you already know, lens flare is created by light traveling through a lens and reflecting in its inner parts. To avoid lens flares, it’s a good idea to use lenses that are less complex. Shooting with prime lenses lets you dodge from flares more easily than with zoom ones. The best lenses for this purpose are vintage primes – for example, cheap manual focus lenses (50mm). Oppositely, opting for a zoom lens when you try to capture lens flares is quite effective since zoom lenses have way more elements inside them than prime lenses.Block the light source
As a radical solution, you can block your light source. When you shoot outdoors, it’s not hard to do so. Use trees, buildings, mountains, and even people to hide the sun. Be careful though as this tip might also be used to create some lens flares. If you block the light source only partially, the sunlight will diffuse through the block, reach your lens, and create flares in a form of light rays.Remove lens filters
Many nature and landscape photographers use a set of lens filters as part of their workflow. Filters help them protect their lenses from UV damage and errors such as incorrect color reproduction. Note that a filter is an extra glass attached to your lens, meaning it can enhance the lens flare effect. If you catch unintentional flares and use filters, try to remove them and see if it works.