What Is an Intervalometer?
If you want to practice interval shooting, you should get a deviсe that measures intervals between shots — an intervalometer. In other words, this is a specific timer that runs cameras to take a series of photos in a certain period of time. It also has a special feature that built-in timers don’t have. Using intervalometers will allow you to take hundreds of pictures without having to touch the camera shutter. That’s why this piece of equipment is perfect for time-lapse shooting.Intervalometer Functions
When it comes to intervalometers, timers are always a topic of discussion. Photographers use them when they want to bring new qualities to their shots, but regular self-timers don’t deliver. Take a look at what you can achieve with this remote control timer:- Hands-free, long shutter speed photography for blurred images
- Photographs taken from a distance (there’s no need to stand behind the camera when you can take a shot using your remote control timer)
- The ability to shoot creative self-portraits every second, for 1.5 minutes
Long Exposure
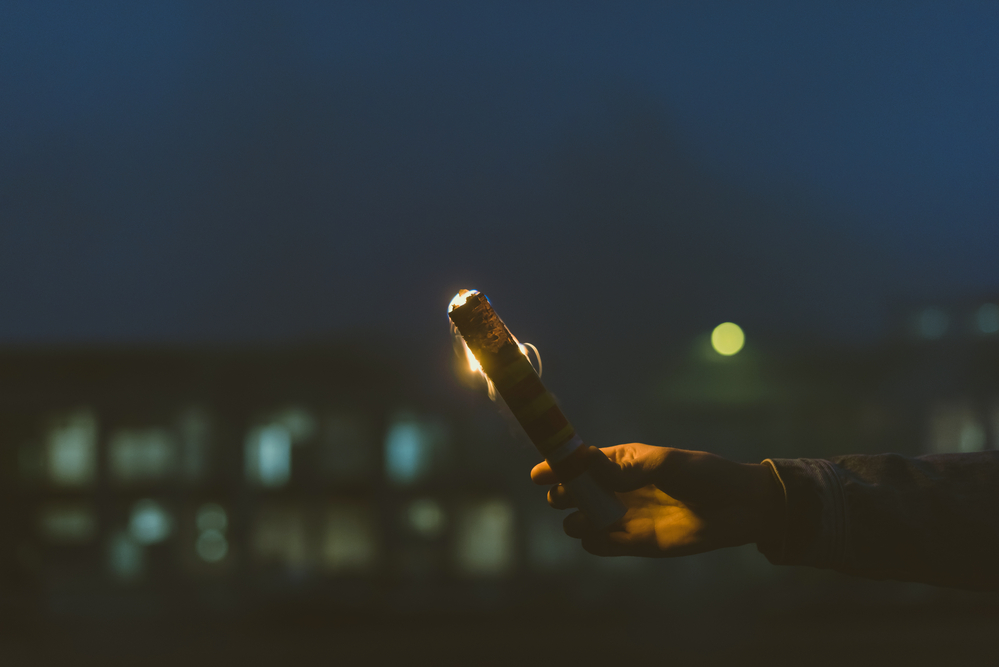
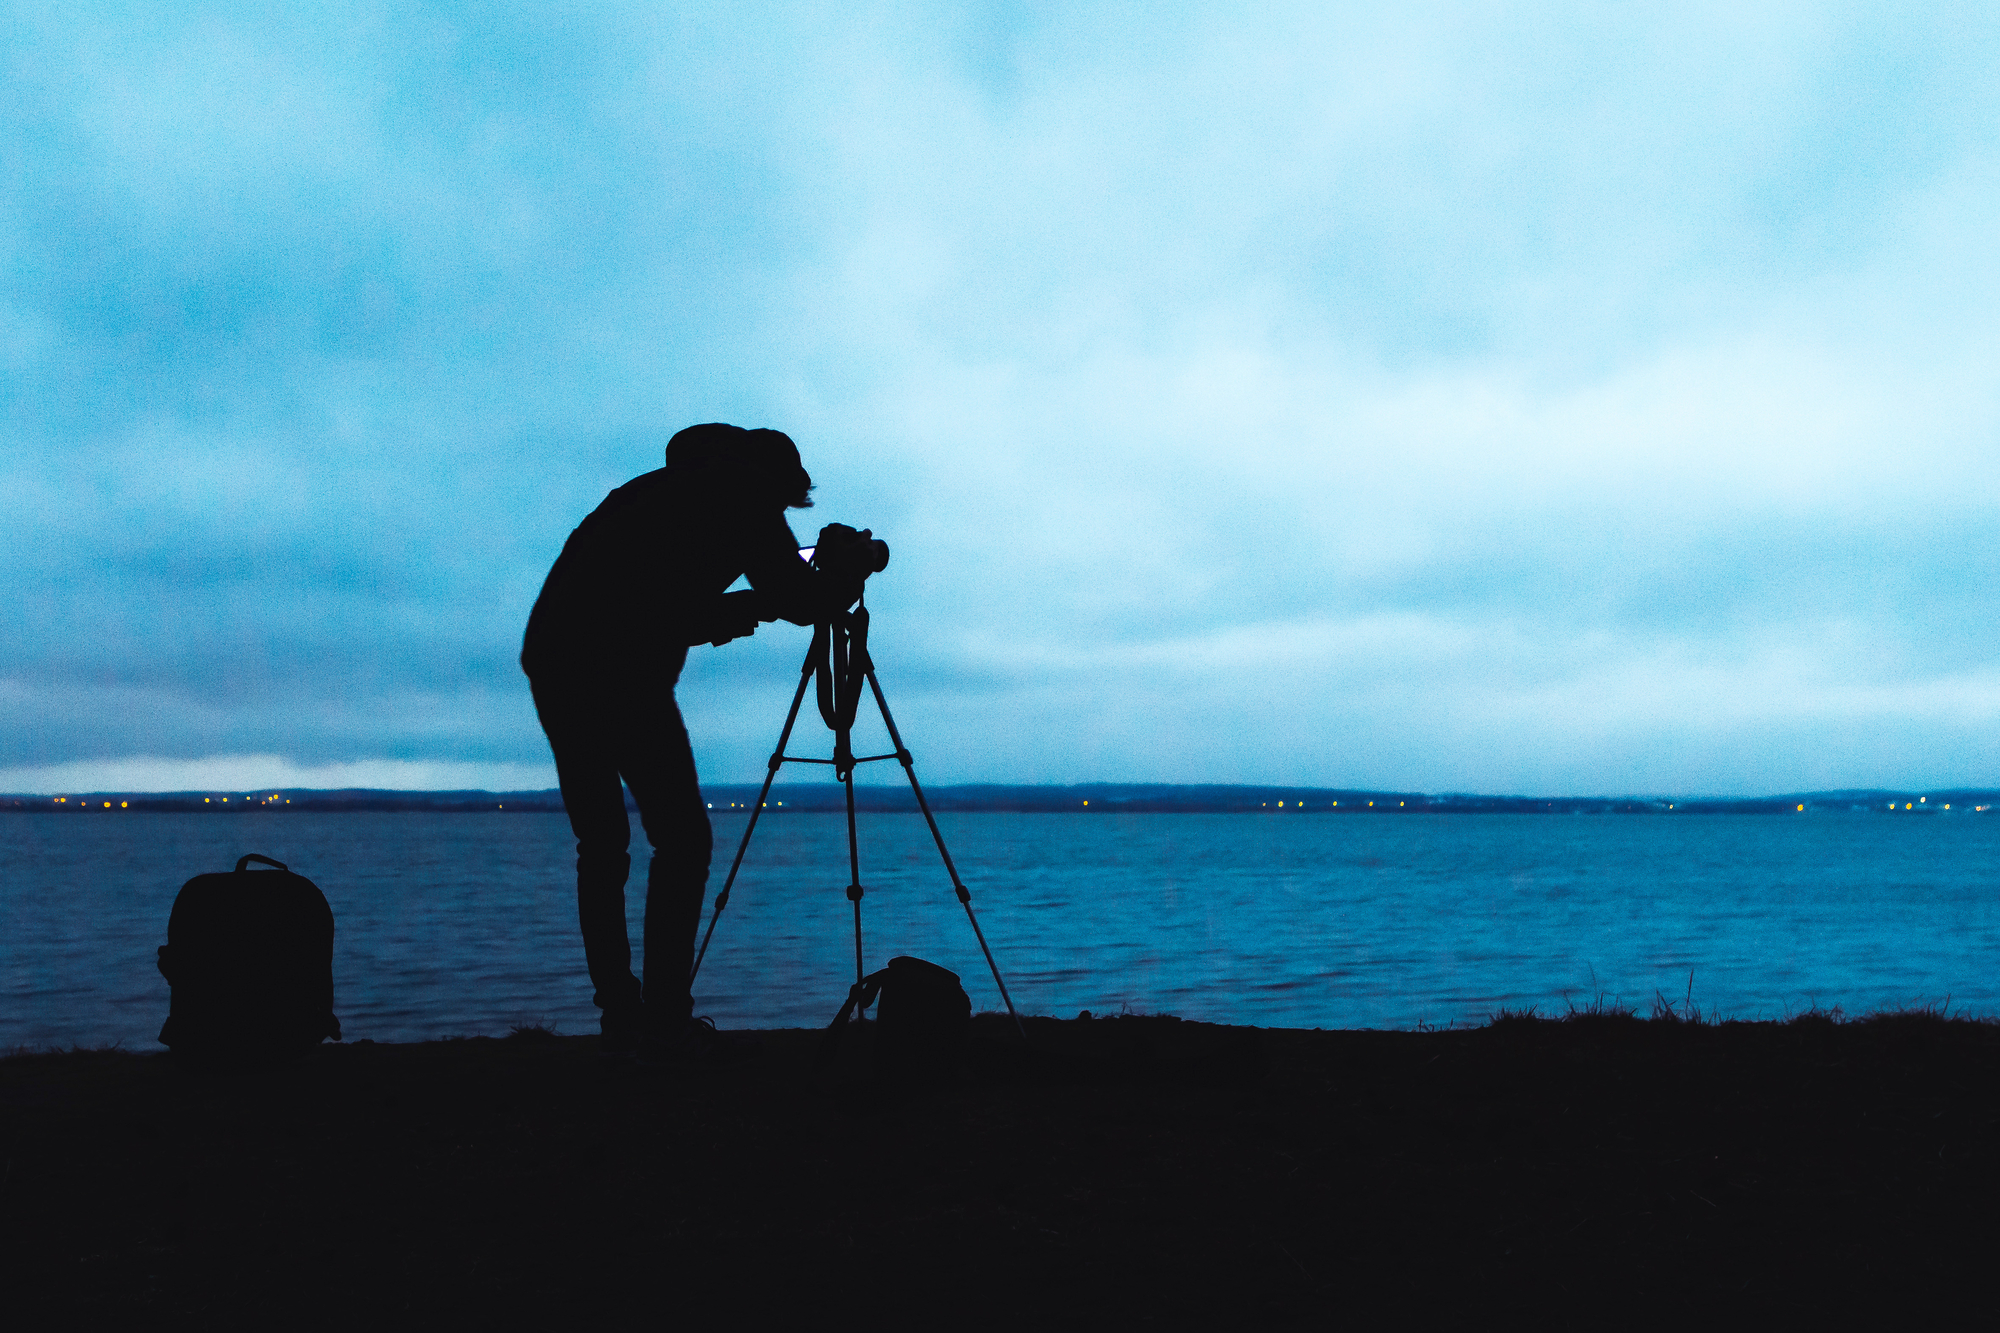
When shooting long exposure photography, your camera might shake from pressing the shutter button. This is an issue because staying still is crucial. Even if you try your best to be careful, it’s still difficult to shoot successfully. A blurry series of photography is something you want to avoid. In this case, you can turn on your camera’s built-in self-timer, or use an intervalometer, especially while shooting at slow shutter speed. A great example of intervalometer use is lightning photography.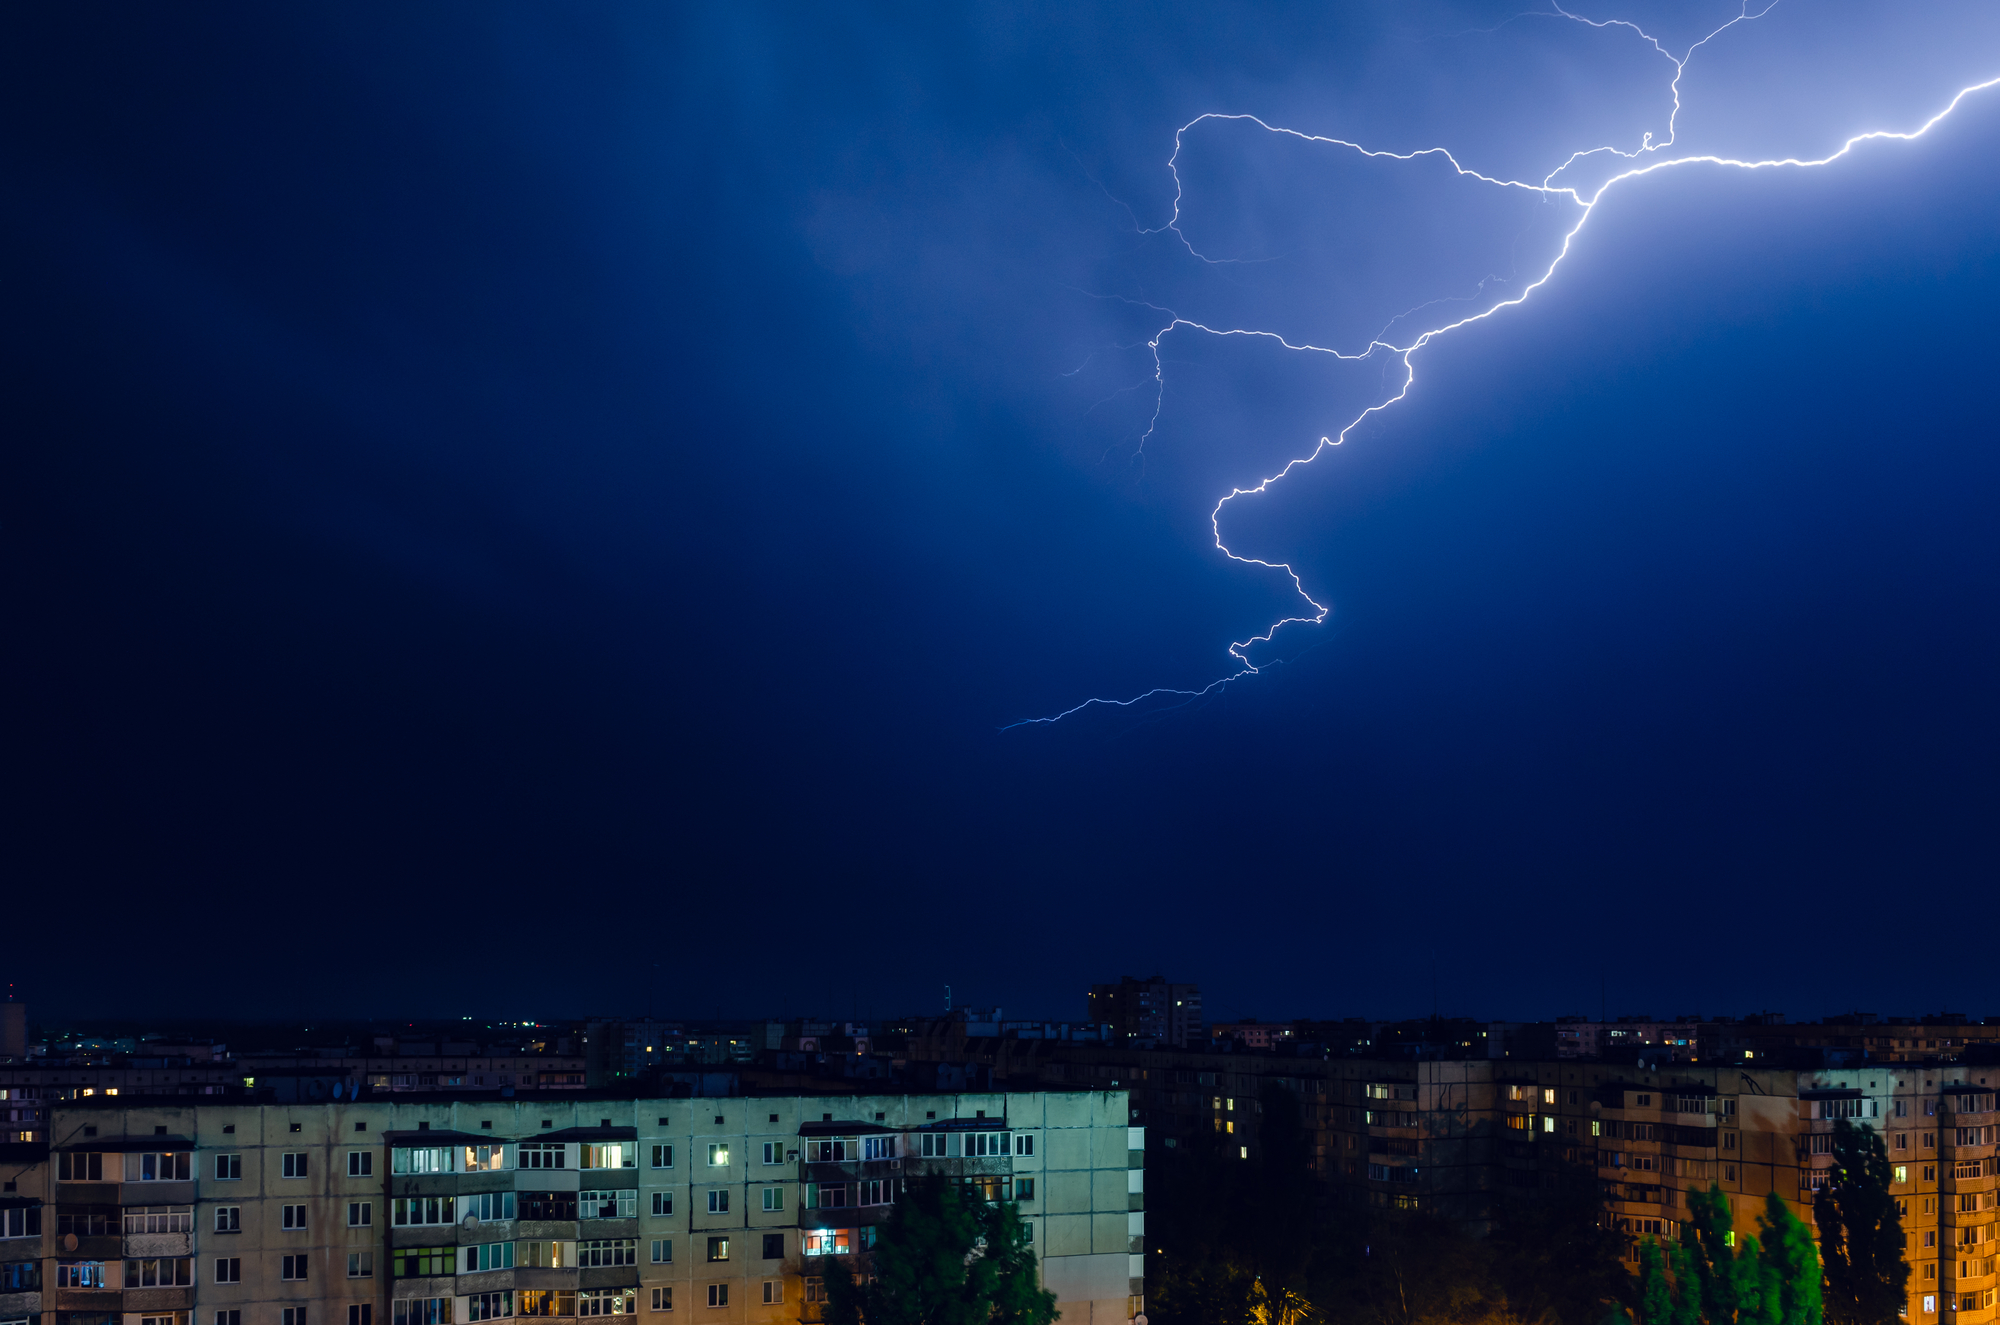
Time-Lapse
We can create cinematic movies at a 24 image per second frame rate. This means that if you want to make a 10-second time-lapse clip, you have to produce 240 shots. Now, that’s almost double for slow-motion videos! As you can see, it’s rather difficult to create a high-quality masterpiece without the help of an intervalometer. Just imagine this — to create series of photos without a self-timer, you’ll have to click the shutter 240 times every few seconds! When using an intervalometer, you can enter the number of images and the speed at which they are taken. The device will do everything by itself and stop once it reaсhes the number of images you entered.Studio Photography
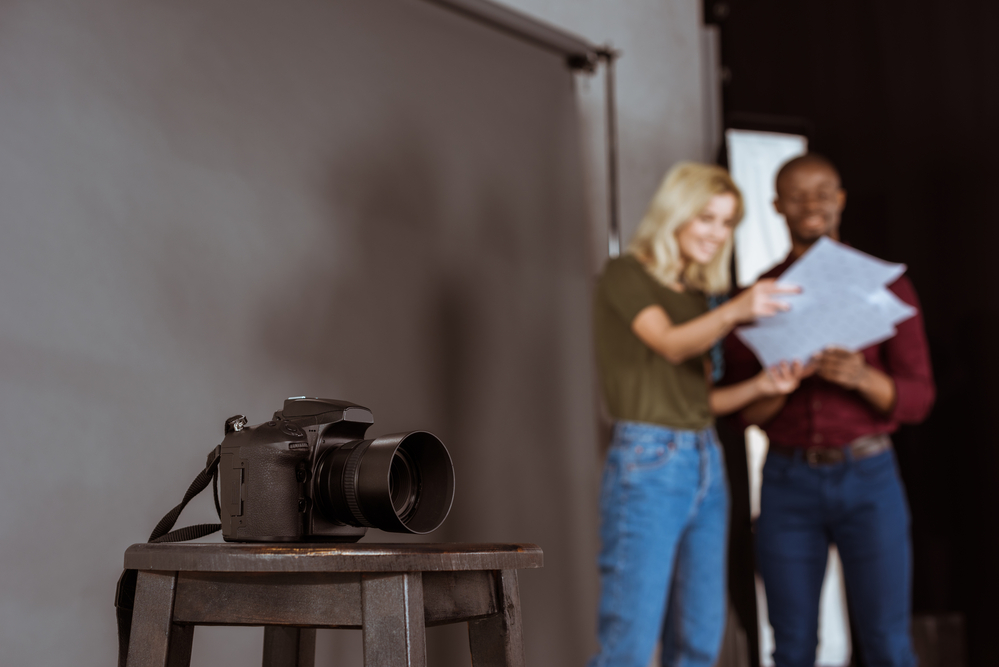
As we’ve mentioned, intervalometers have a remote shutter release function. This means that you won’t have to constantly monitor the camera if you’re interested in shooting self-portraits in a studio. Sounds great, doesn’t it? There are also occasions in which a careless move could ruin the entire image. By using an intervalometer, each image will turn out exactly how you want it to.
How to Set up and Use an Intervalometer
Now that we’re familiar with the core features of the intervalometer, it’s time to learn how to use them. If you already have an interval function on your camera, all you have to do is find it in the menu. Once you activate it, enter the time span between each shot, and select the amount of photographs that need to be taken. In case your camera isn’t equipped with a built-in interval timer, buy an external intervalometer. It’s not difficult to set it up at all. Plug one end of the cable into the tool, and the other into the camera. Once you turn it on, choose the mode you want to use. There, you’ll find the Delay option, which is the same as a self-timer, and you’ll have to set the interval timer. That’s all, you are ready to shoot!Advantages of the Intervalometer
Once you try an intervalometer, you’ll never go back to built-in interval timers. Just check out all of these advantages:- It locks the mechanism. In other words, you сan hold the shutter for as long as you need.
- It sets time intervals. With the help of this tool, you can enter the necessary time interval between shots.
- It controls the amount of taken photos. Actually, you do, by entering the required number of images.
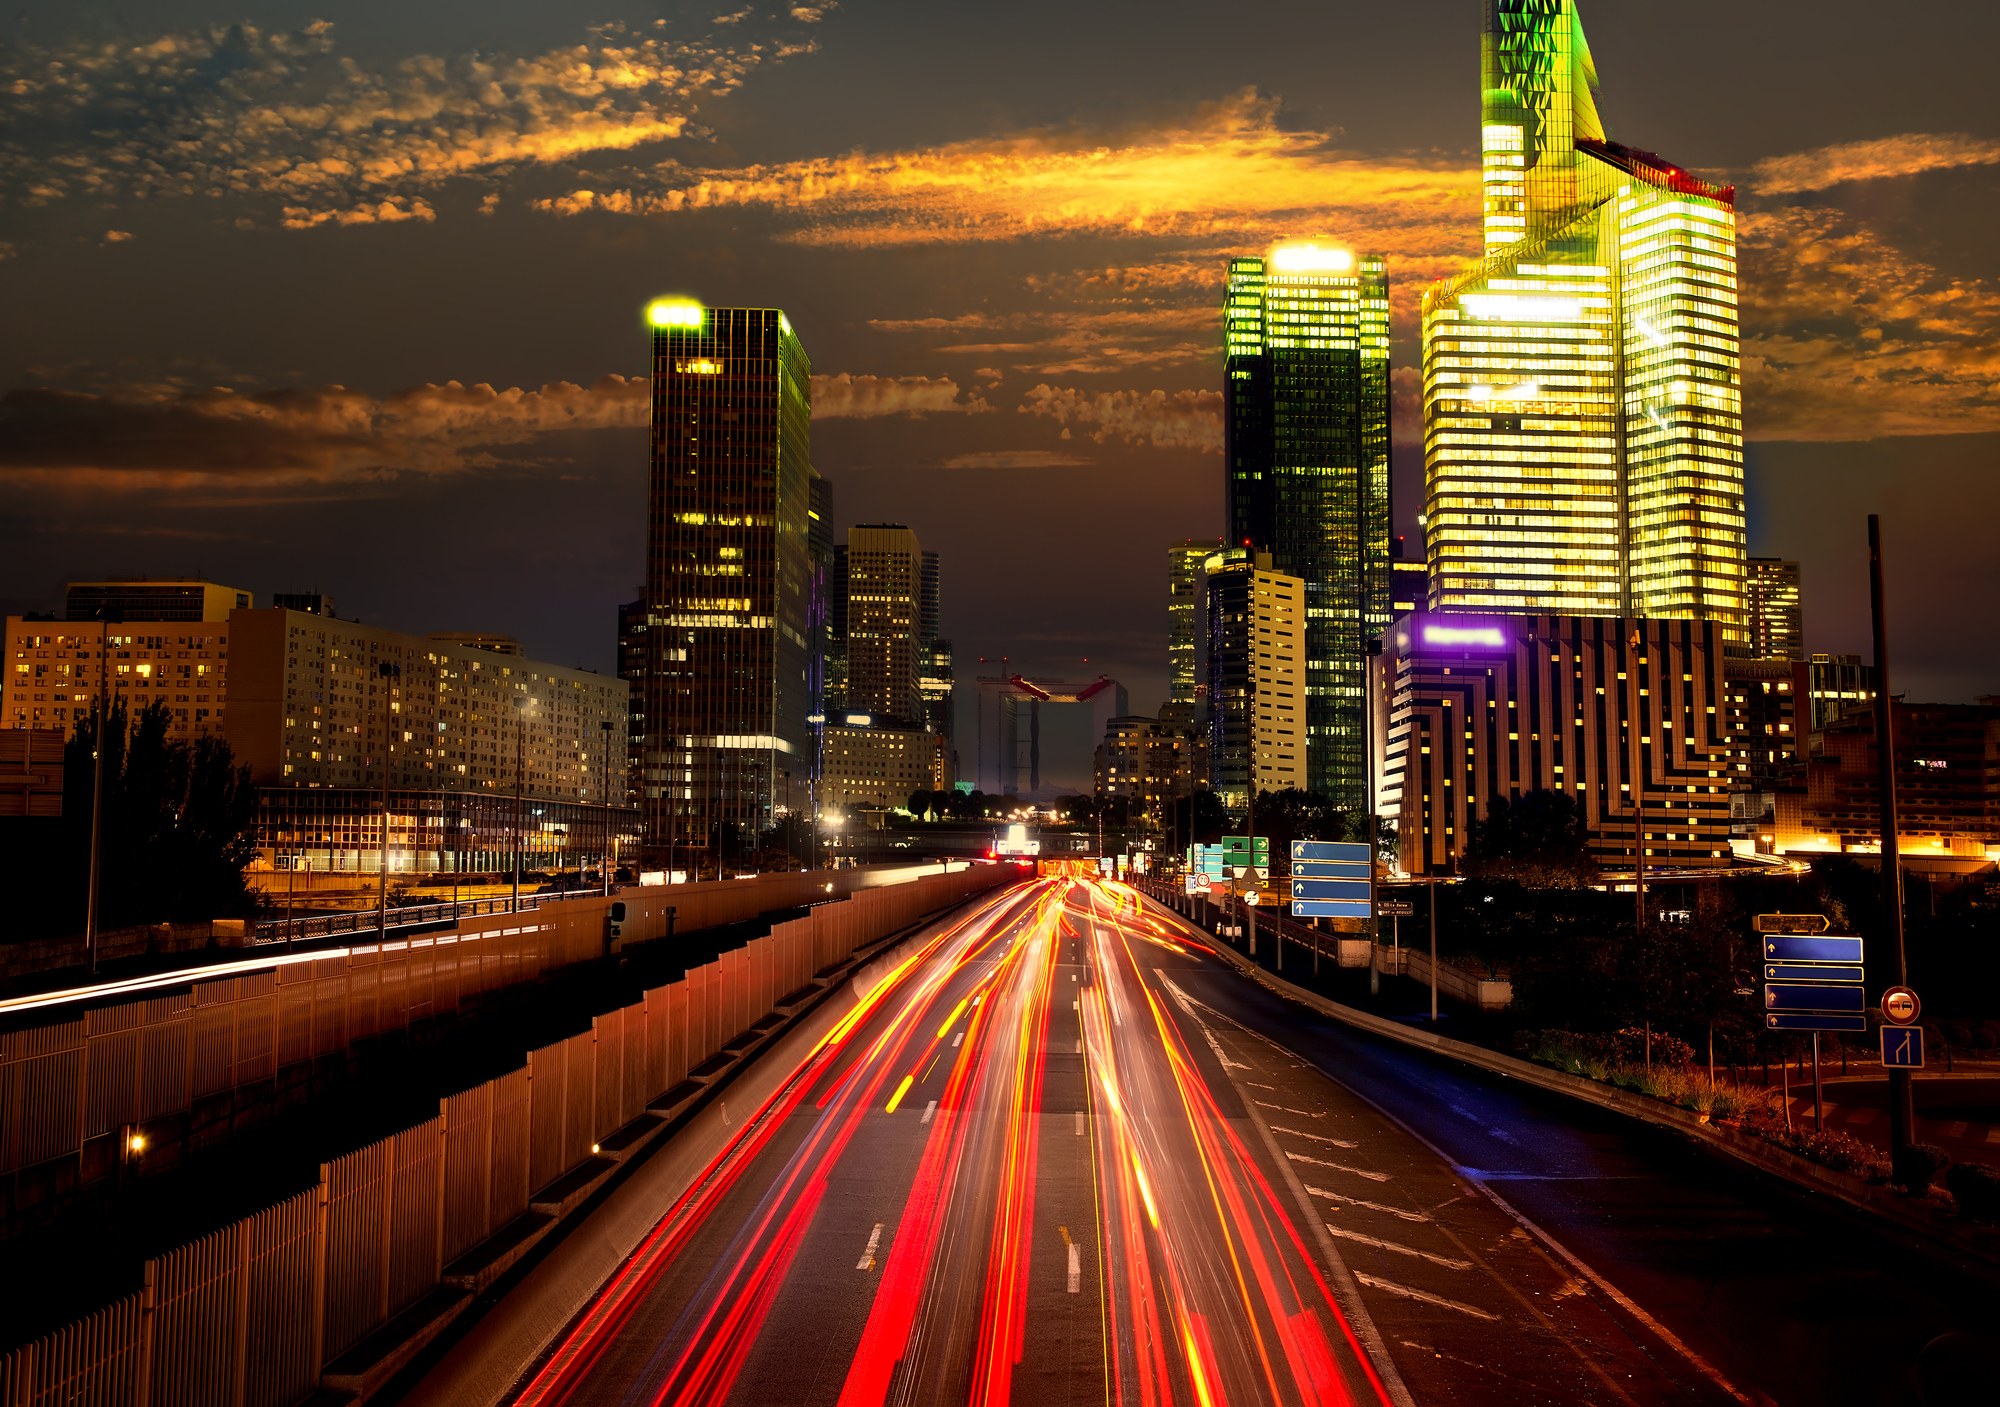
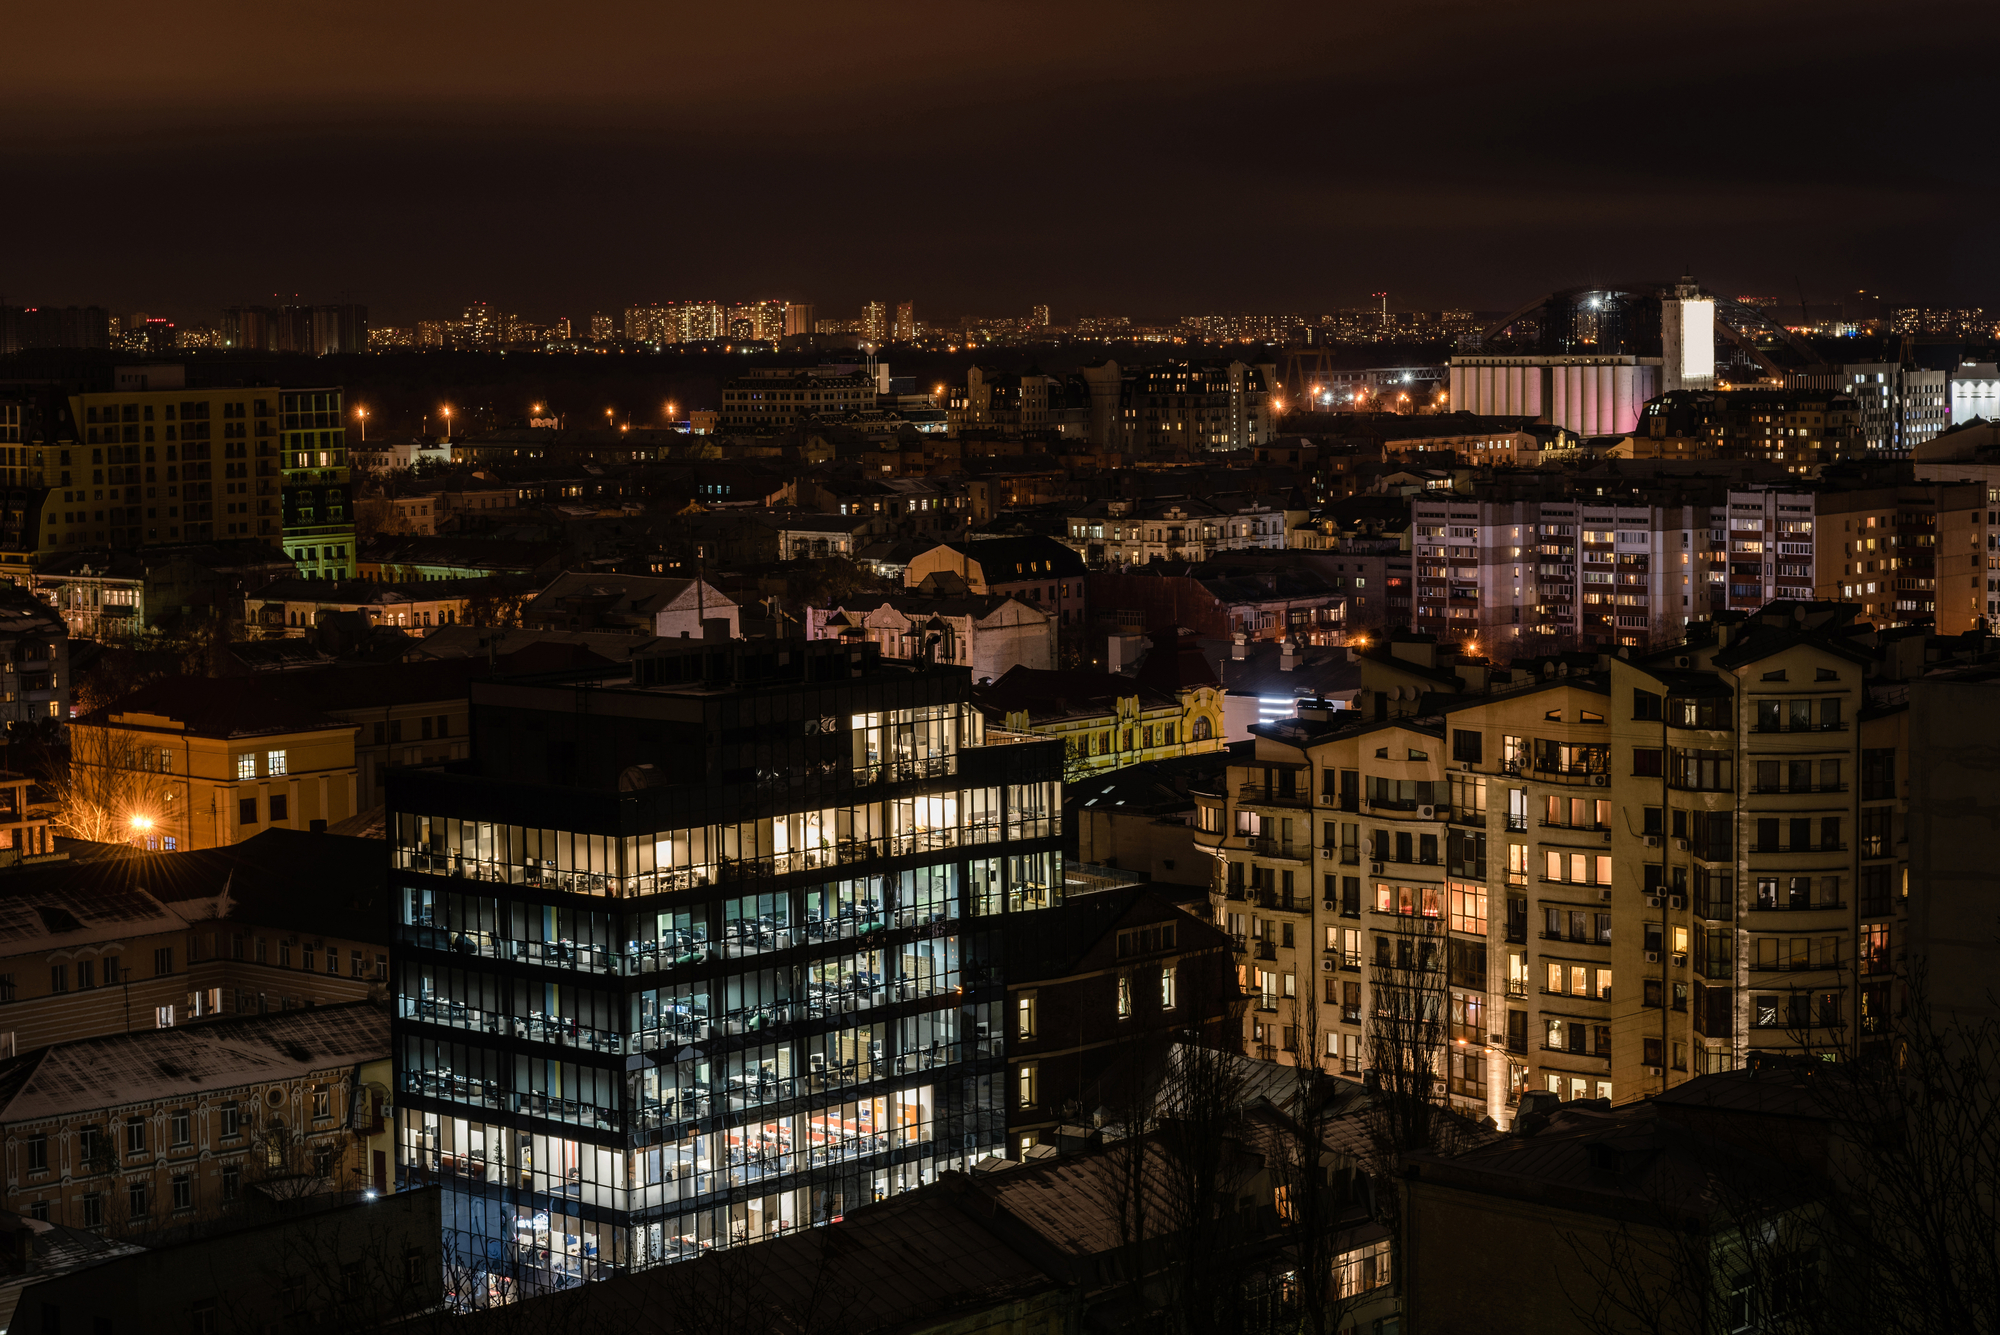
- It reduces сamera shake. Since you don’t have to touch the shutter, you won’t have a shaky camera that shoots blurry images. You’ll see the difference, especially if you are a fan of shooting neon lights.
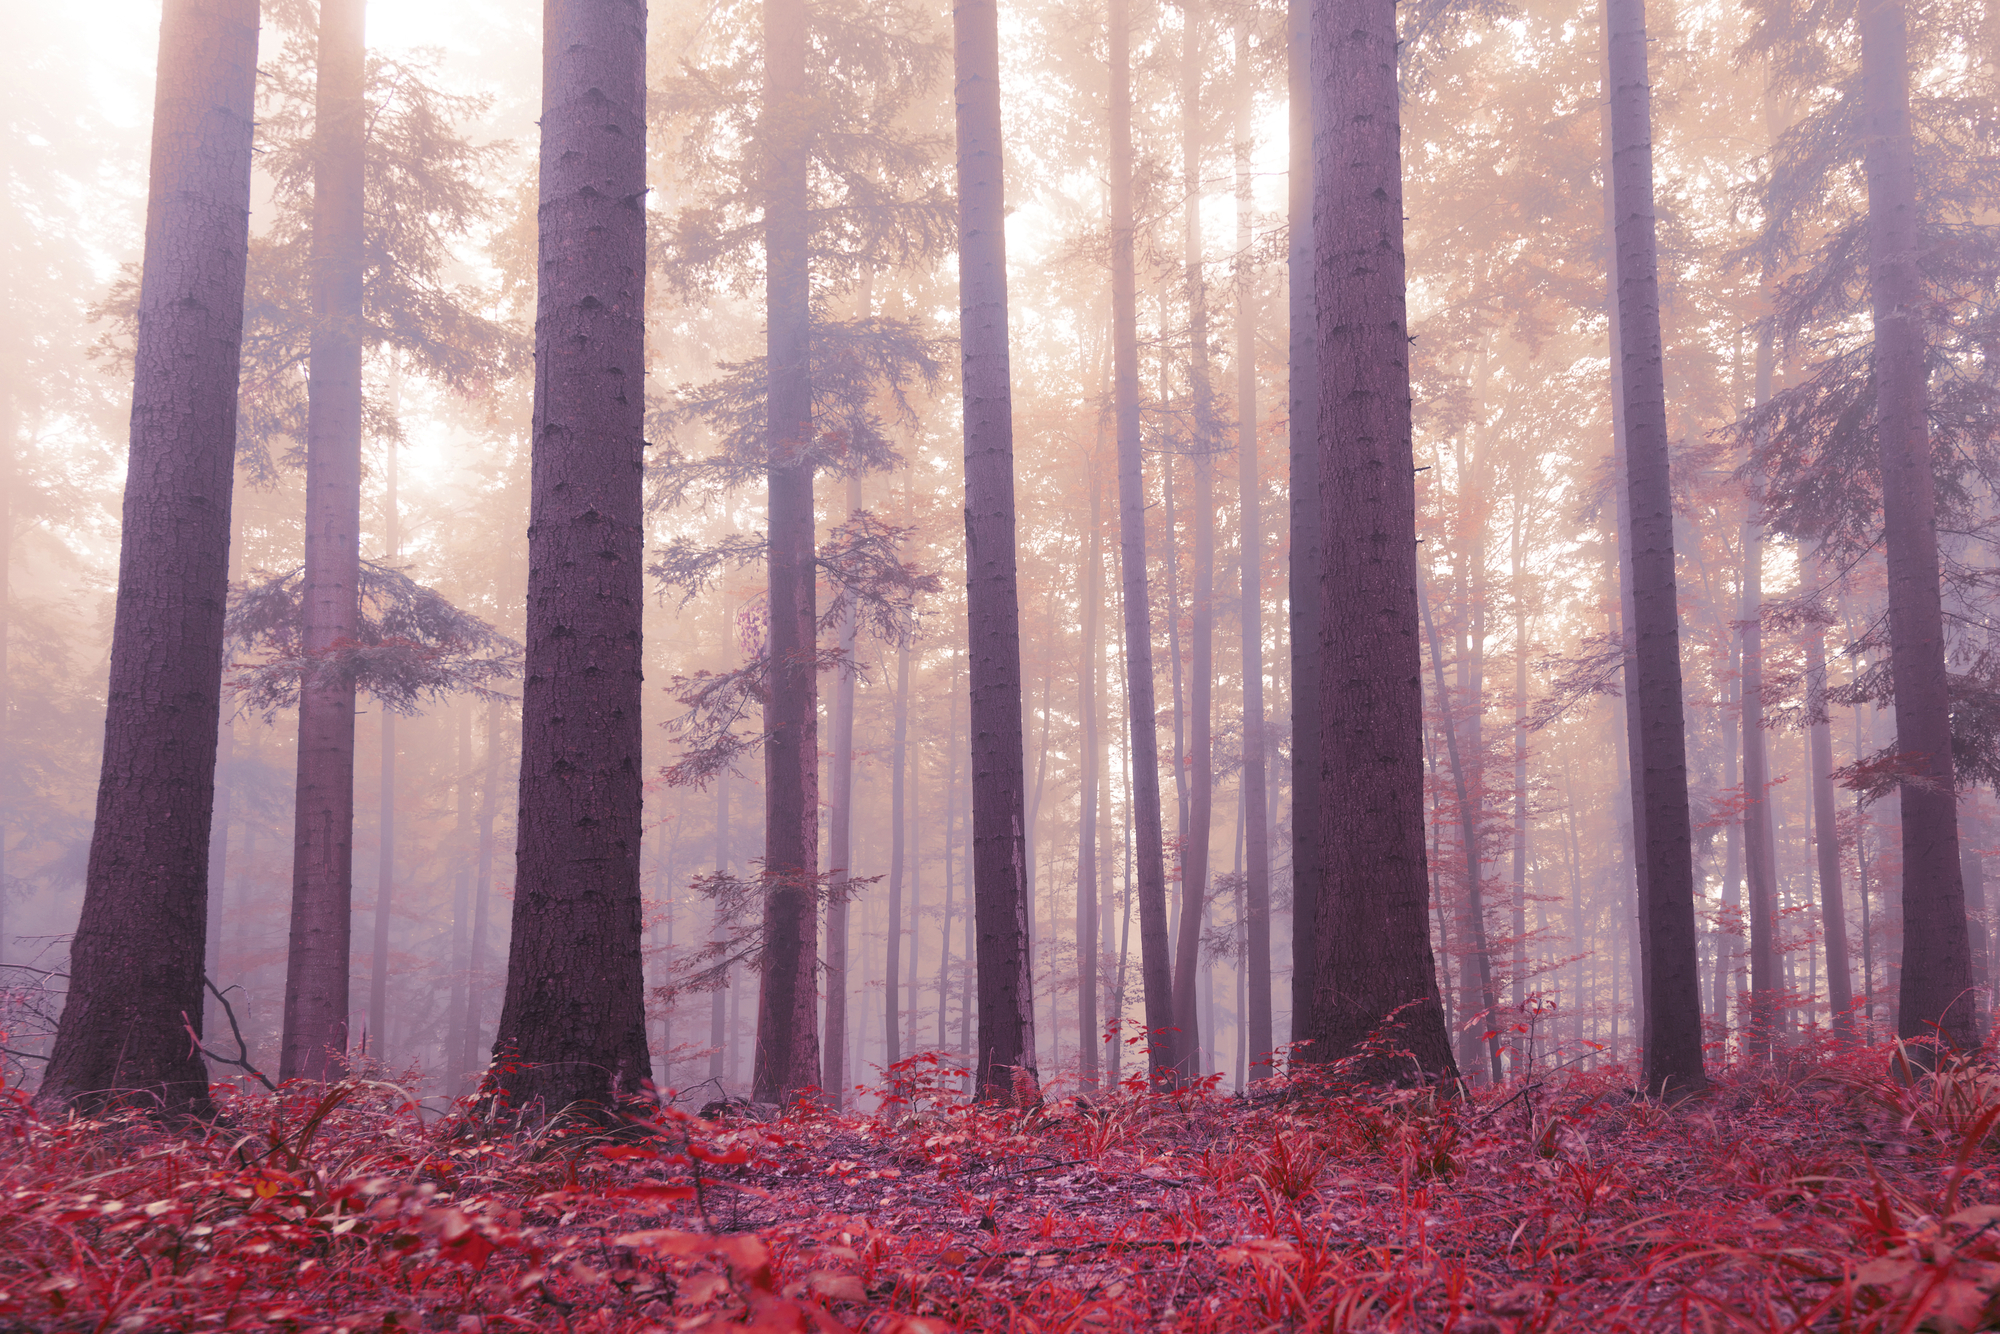
Collection of Images Made Using the Intervalometer