What Is the Exposure Triangle?
Exposure is the amount of light an image receives through a camera’s sensors and lenses. This amount of light is determined by three characteristics: shutter speed, the aperture of a lens, and ISO (light sensitivity of a camera’s sensors). These settings are called the exposure triangle because they have to work together for the right exposure in a shot. Once you’ve changed one of these settings, you will need to adjust the others to make sure your overall exposure is fine. The exposure triangle is a crucial component of a good shot since it influences how bright or how dark an image will come out. What’s more, the settings of the exposure triangle also influence less obvious characteristics of a photo, such as how grainy or noisy it will appear, how objects will look within the frame, how blurred the background will become, and how motion and action will be captured in a shot. That’s why understanding how to set these parameters is a must for anyone who wants to take on photography professionally or as a hobby.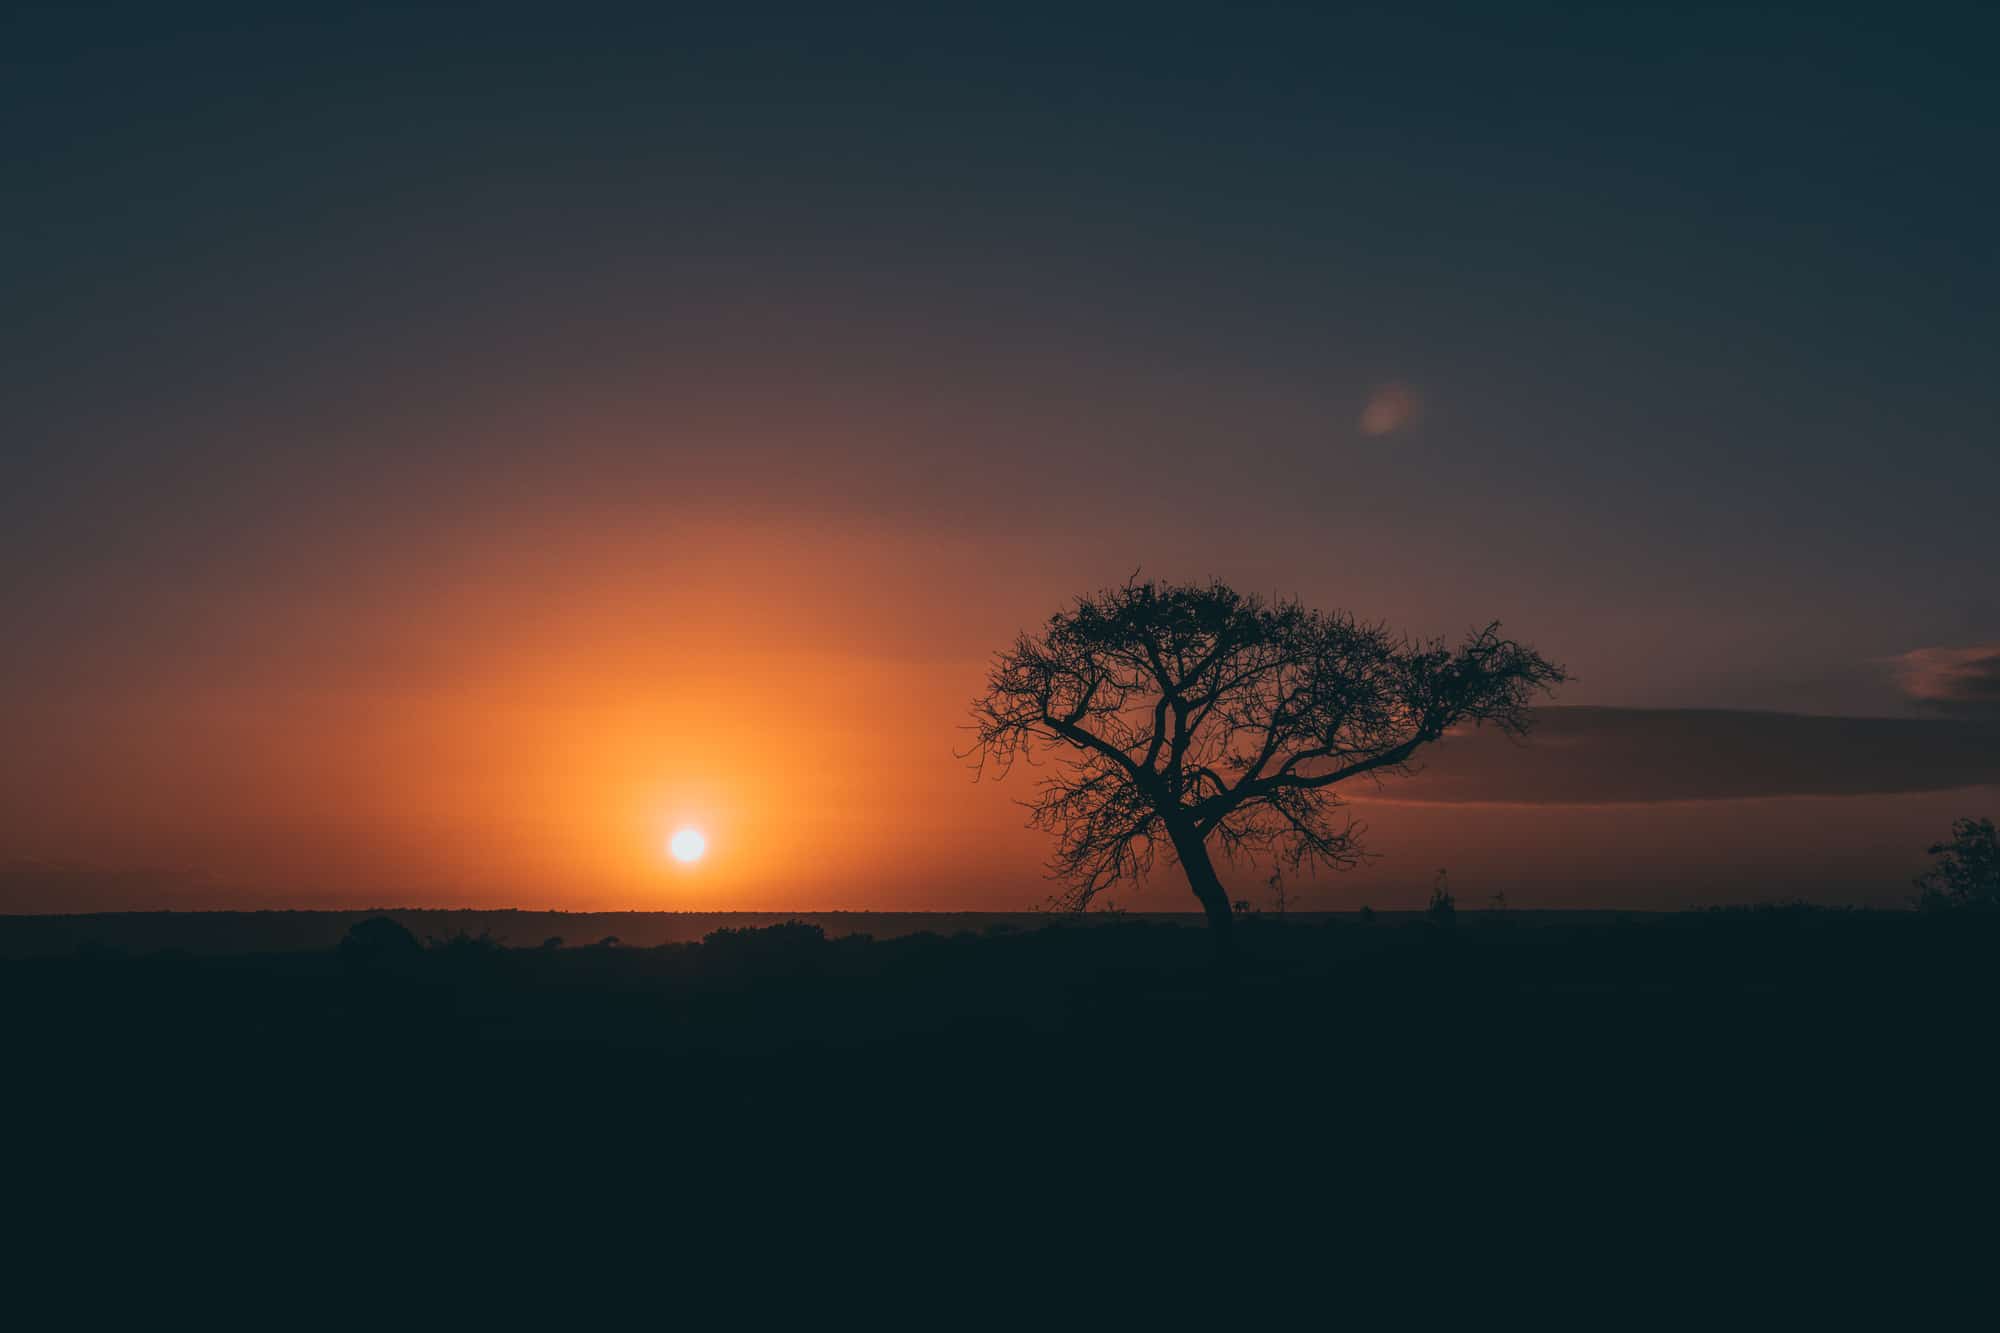
How to Choose the Right Settings for Exposure
As mentioned above, you need to think about each of the settings that make up the exposure triangle as something integral for each shot. For instance, when a scene is too dark, many beginner photographers would opt for higher ISO levels, which seems logical, but can lead to not so satisfying noise in your shots. If you want to be in full control of the outcome of your photos, you need to understand how to adjust your exposure with all three settings that account for it.ISO
ISO is the light sensitivity of a sensor of a camera. To put it simple, lower ISO settings result in darker images and higher ISO settings result in brighter photos. However, you shouldn’t rely entirely on setting your ISO higher when there is a lack of light. When you shoot with high ISO in dim lighting conditions, there is a certain chance your photo will be grainy or noisy. Consequently, some details within the frame might become less visible. Sure, sometimes grain or noise is something photographers use for artistic purposes, but if you want to take crystal clear and sharp shots with no visible noise, you should opt for lower ISO settings. It’s always better to have a relatively low ISO (for instance, ISO 200 is often enough) and change aperture and shutter speed to get better exposure and more light.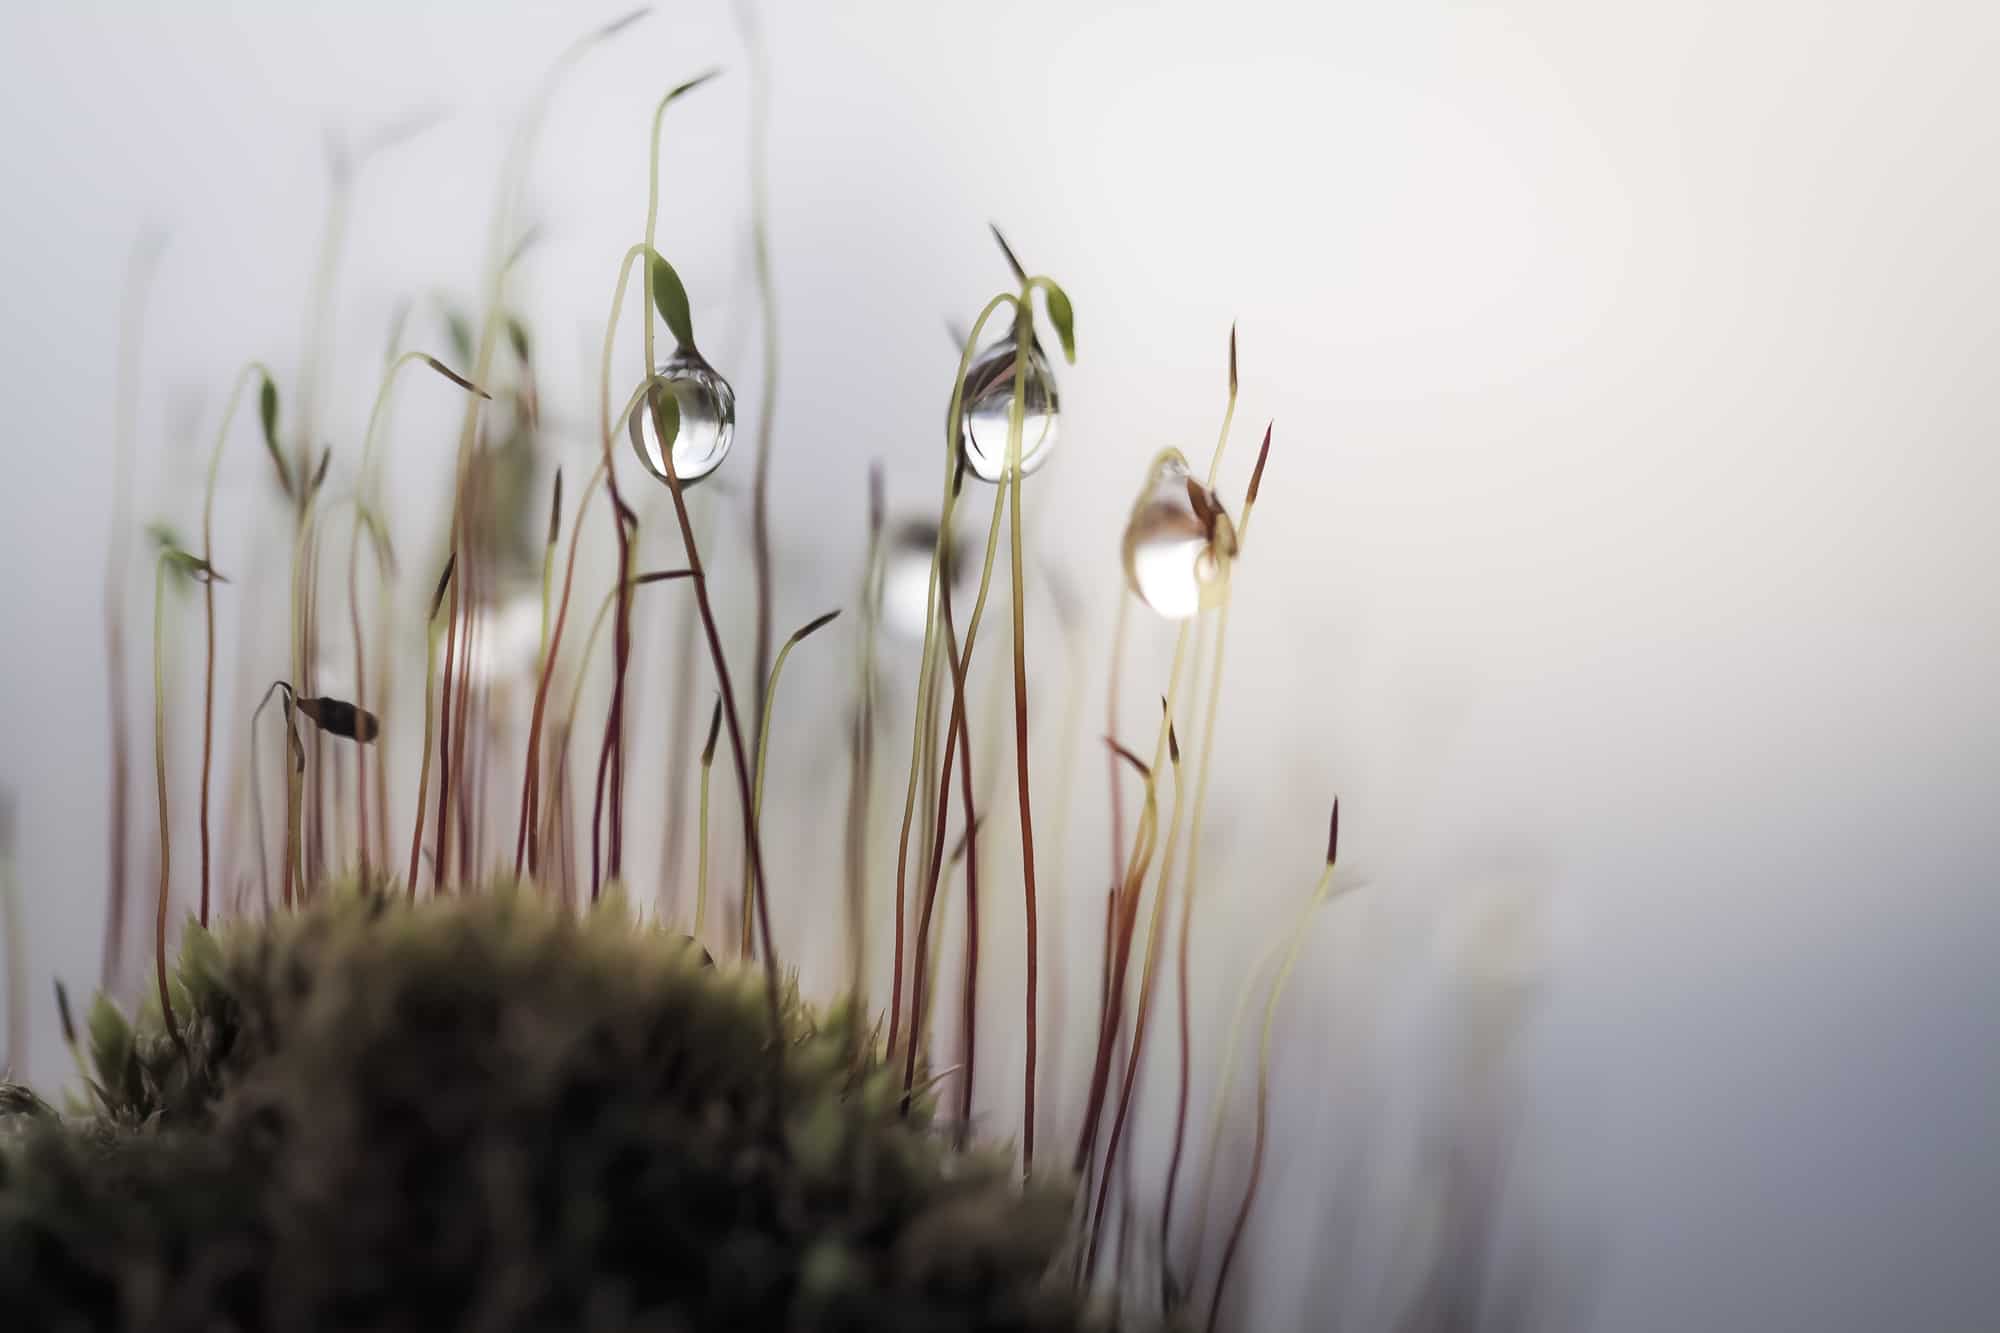
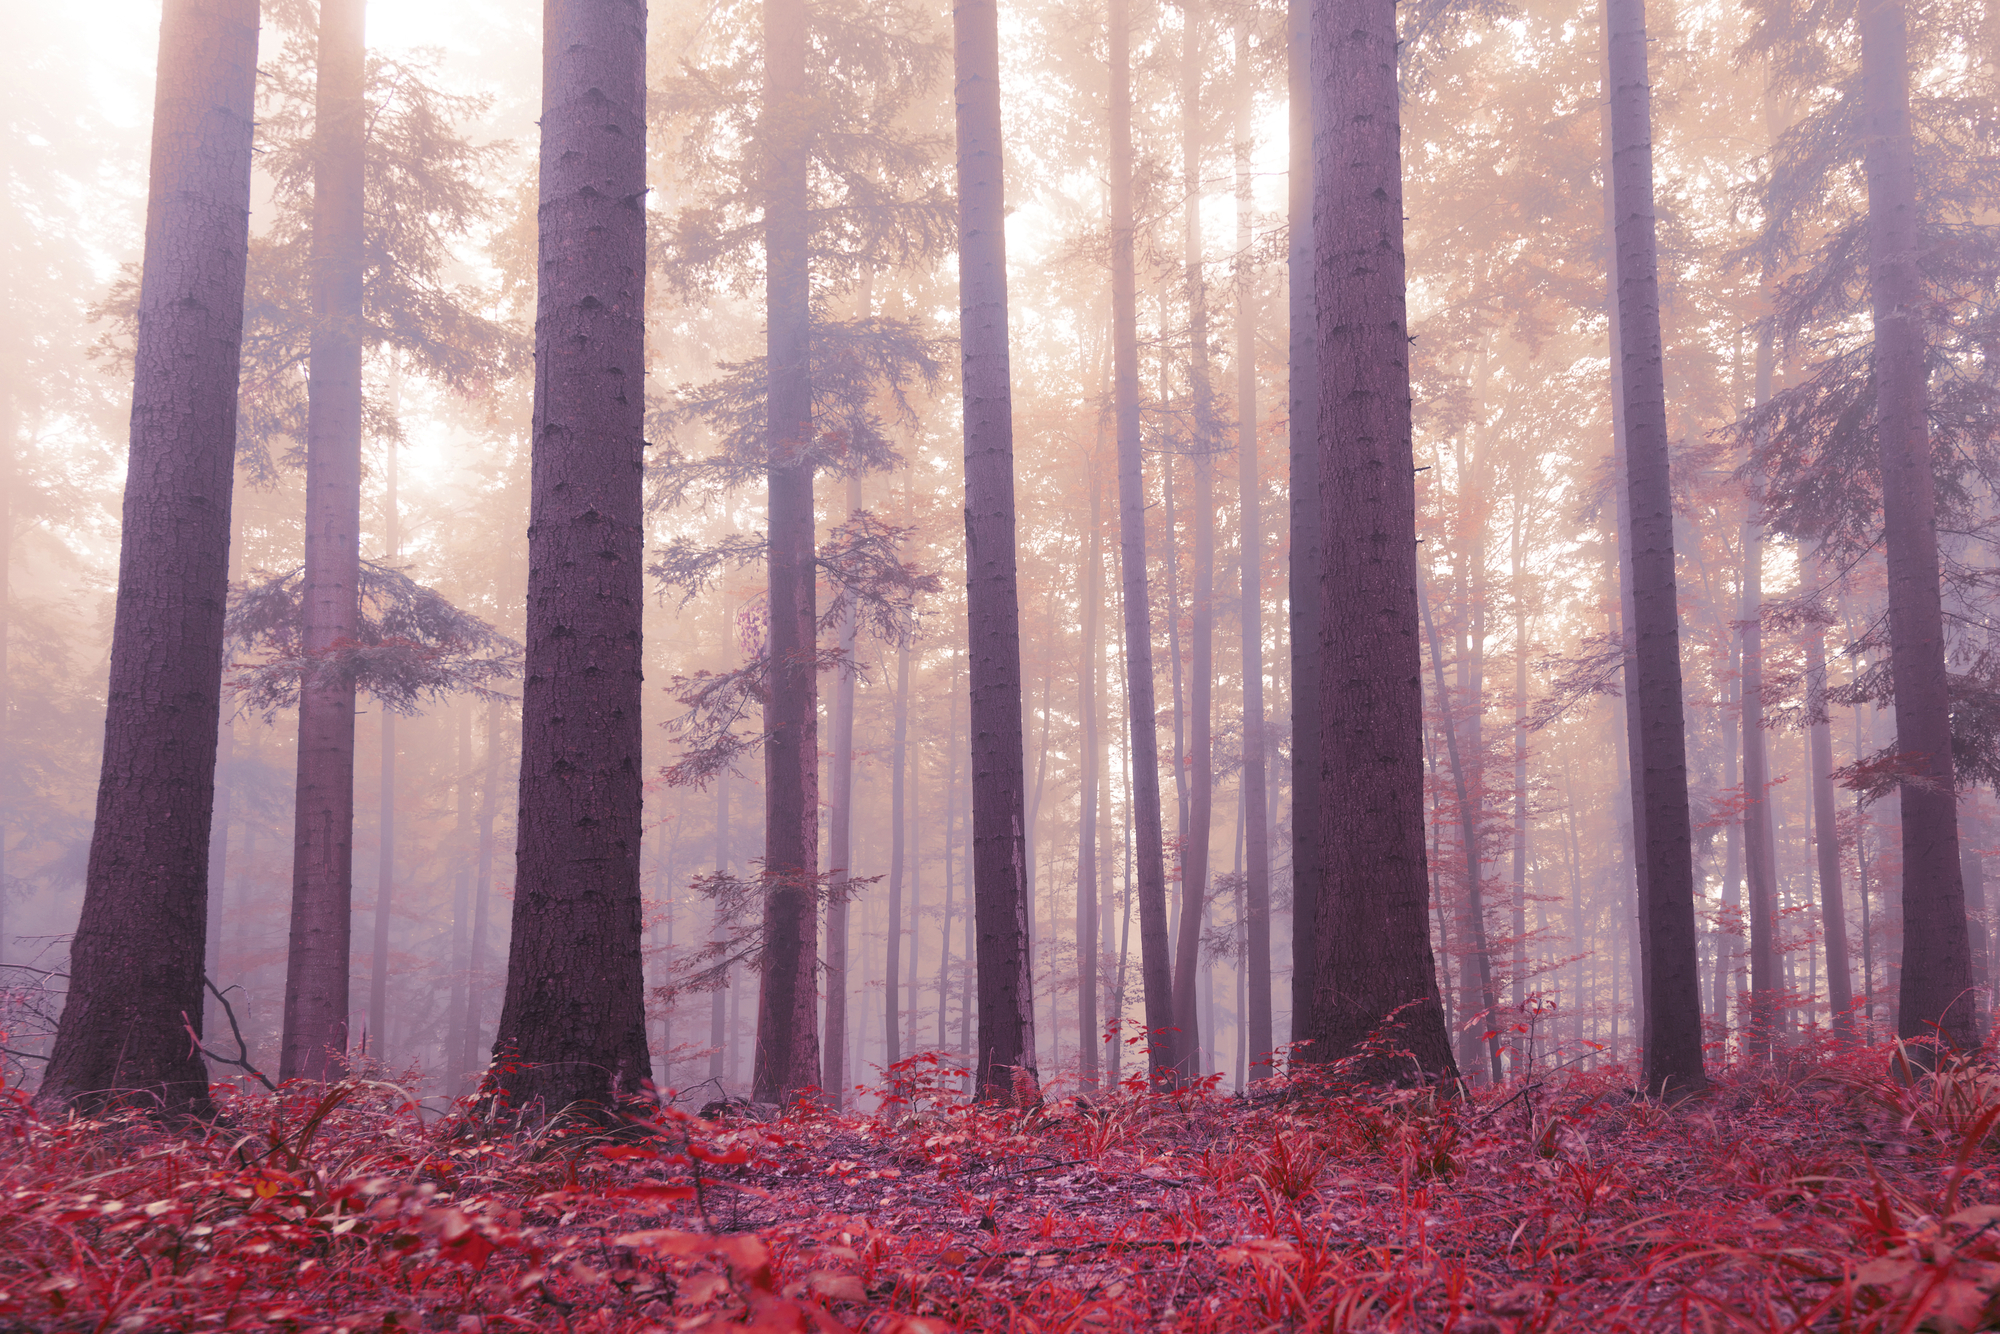
Aperture
Aperture is a photography setting that indicates how open your lens is. This has a direct correlation with the amount of light your shot will receive, which is logical since the more open your aperture is, the more light will be able to get through the lenses. Aperture is measured in f-numbers. Unlike with ISO or shutter speed, a higher aperture number displayed in your camera settings doesn’t mean wider aperture, since it’s a reverse proportion. For instance, f/1.4 is a wider open aperture than f/2.8, and f/16 is a very small aperture that lets little light through the lens. Apart from the amount of light received through lenses and its place in overall exposure, a certain set of aperture results in a certain depth of field. You have probably seen the blurred backgrounds of images with bokeh when the background is out of focus and the subject or object is sharp and focused, which creates a sense of layers and depth within a photo. Photographers achieve this effect with the use of wider apertures. This is called a shallow depth of field. On the contrary, small aperture results in a large depth of field, which means more objects will be in focus at a shot, not isolated like with a shallower depth of field. Keep this in mind when you choose the right aperture for your photography needs.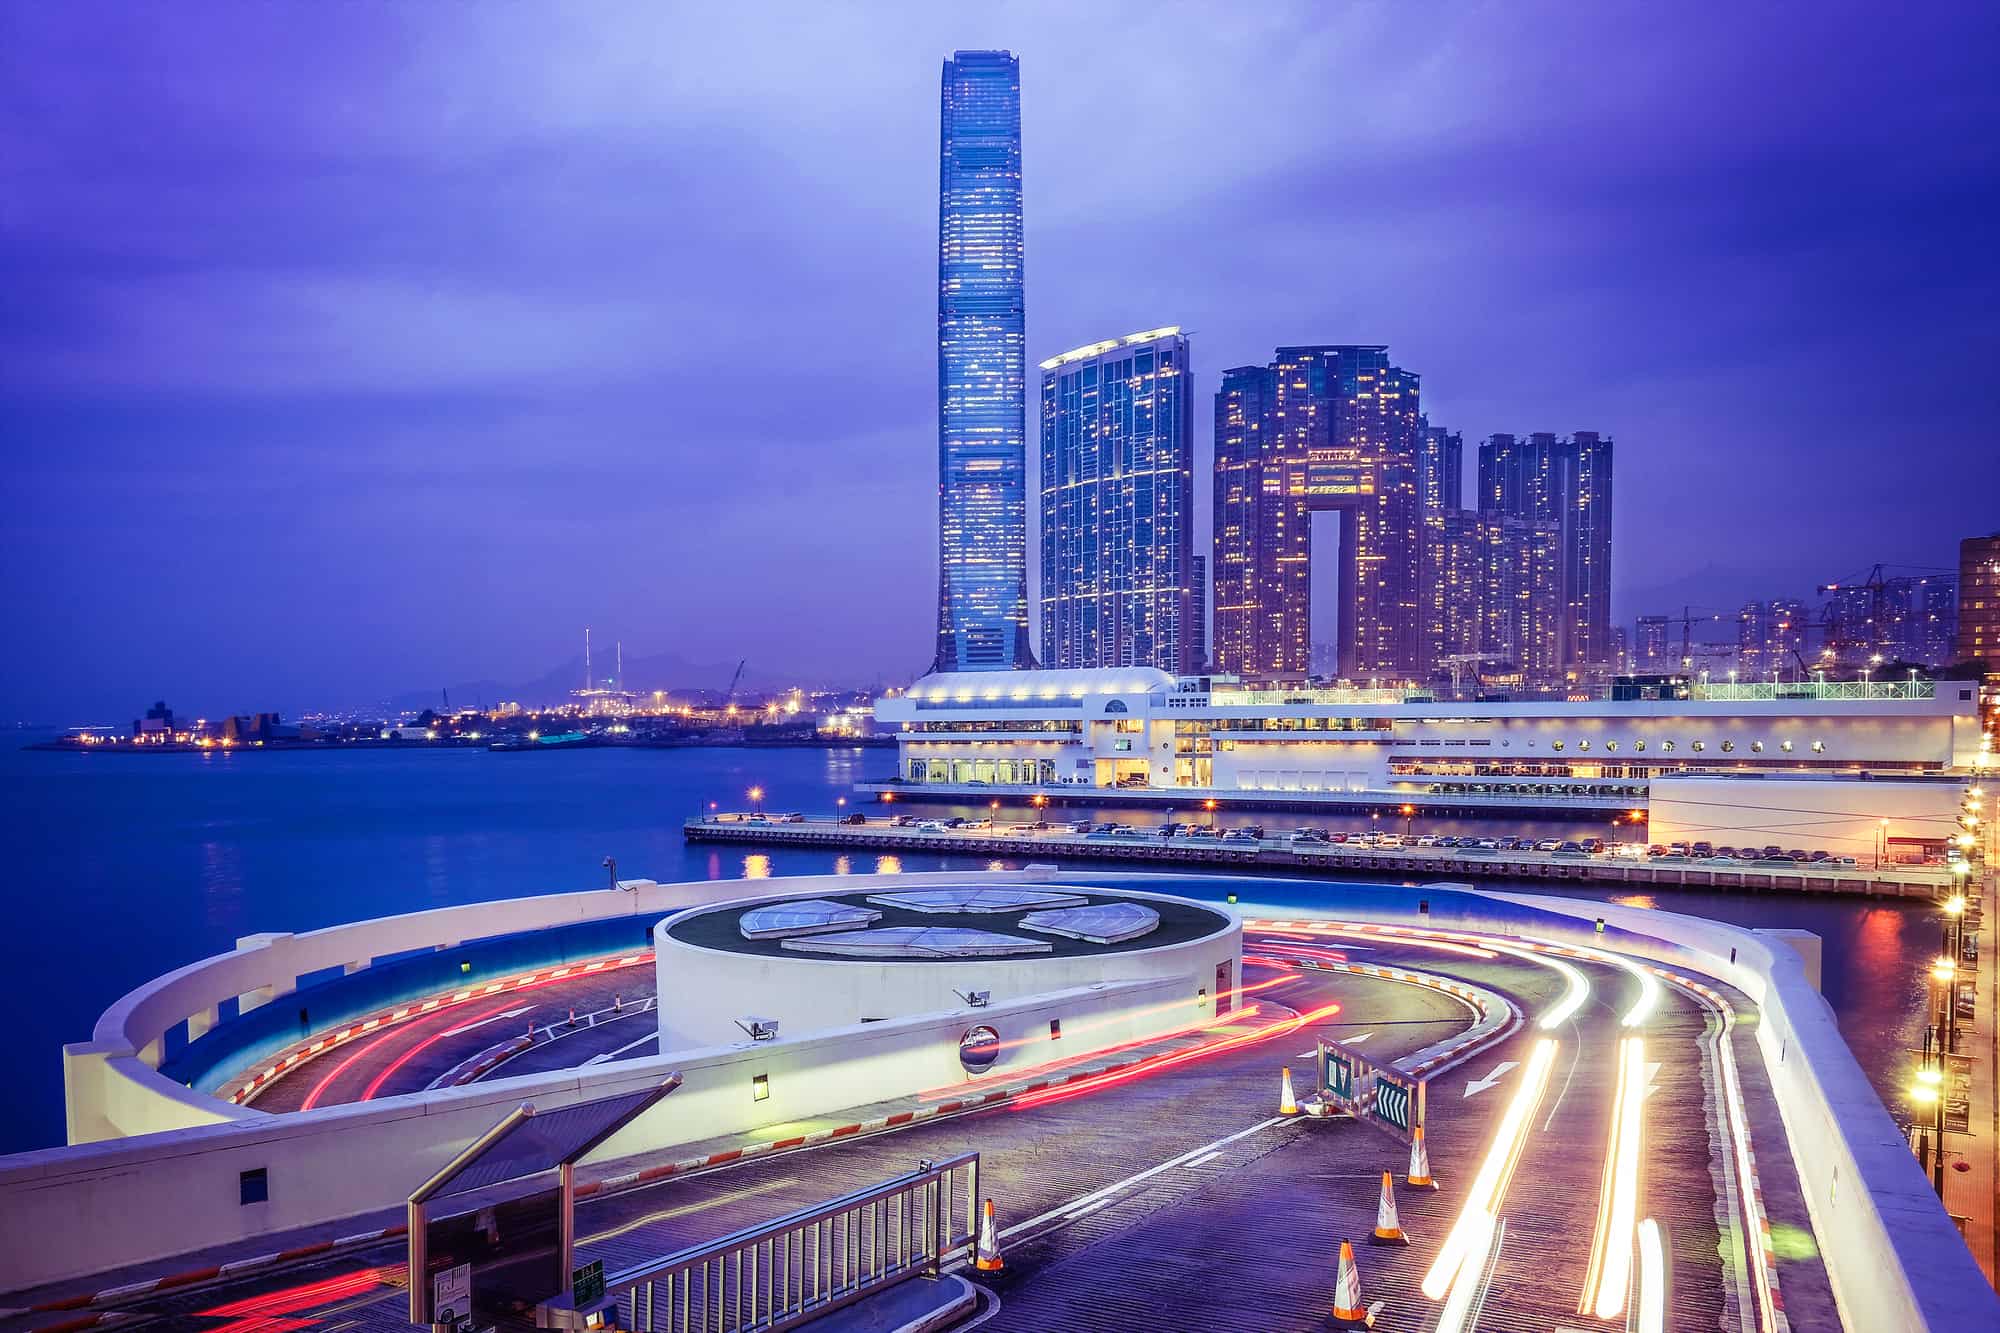
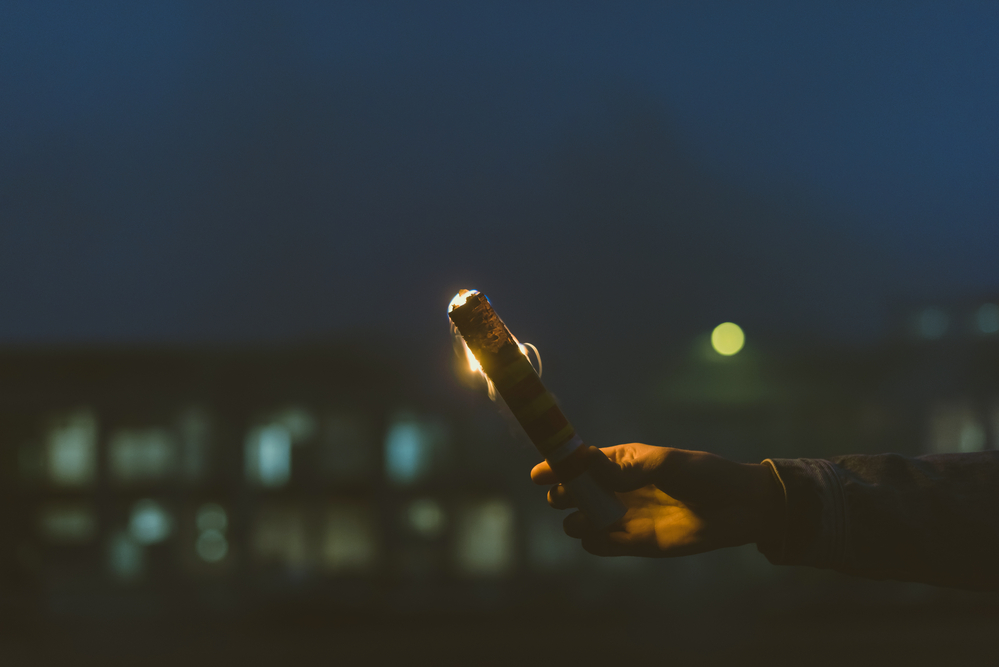
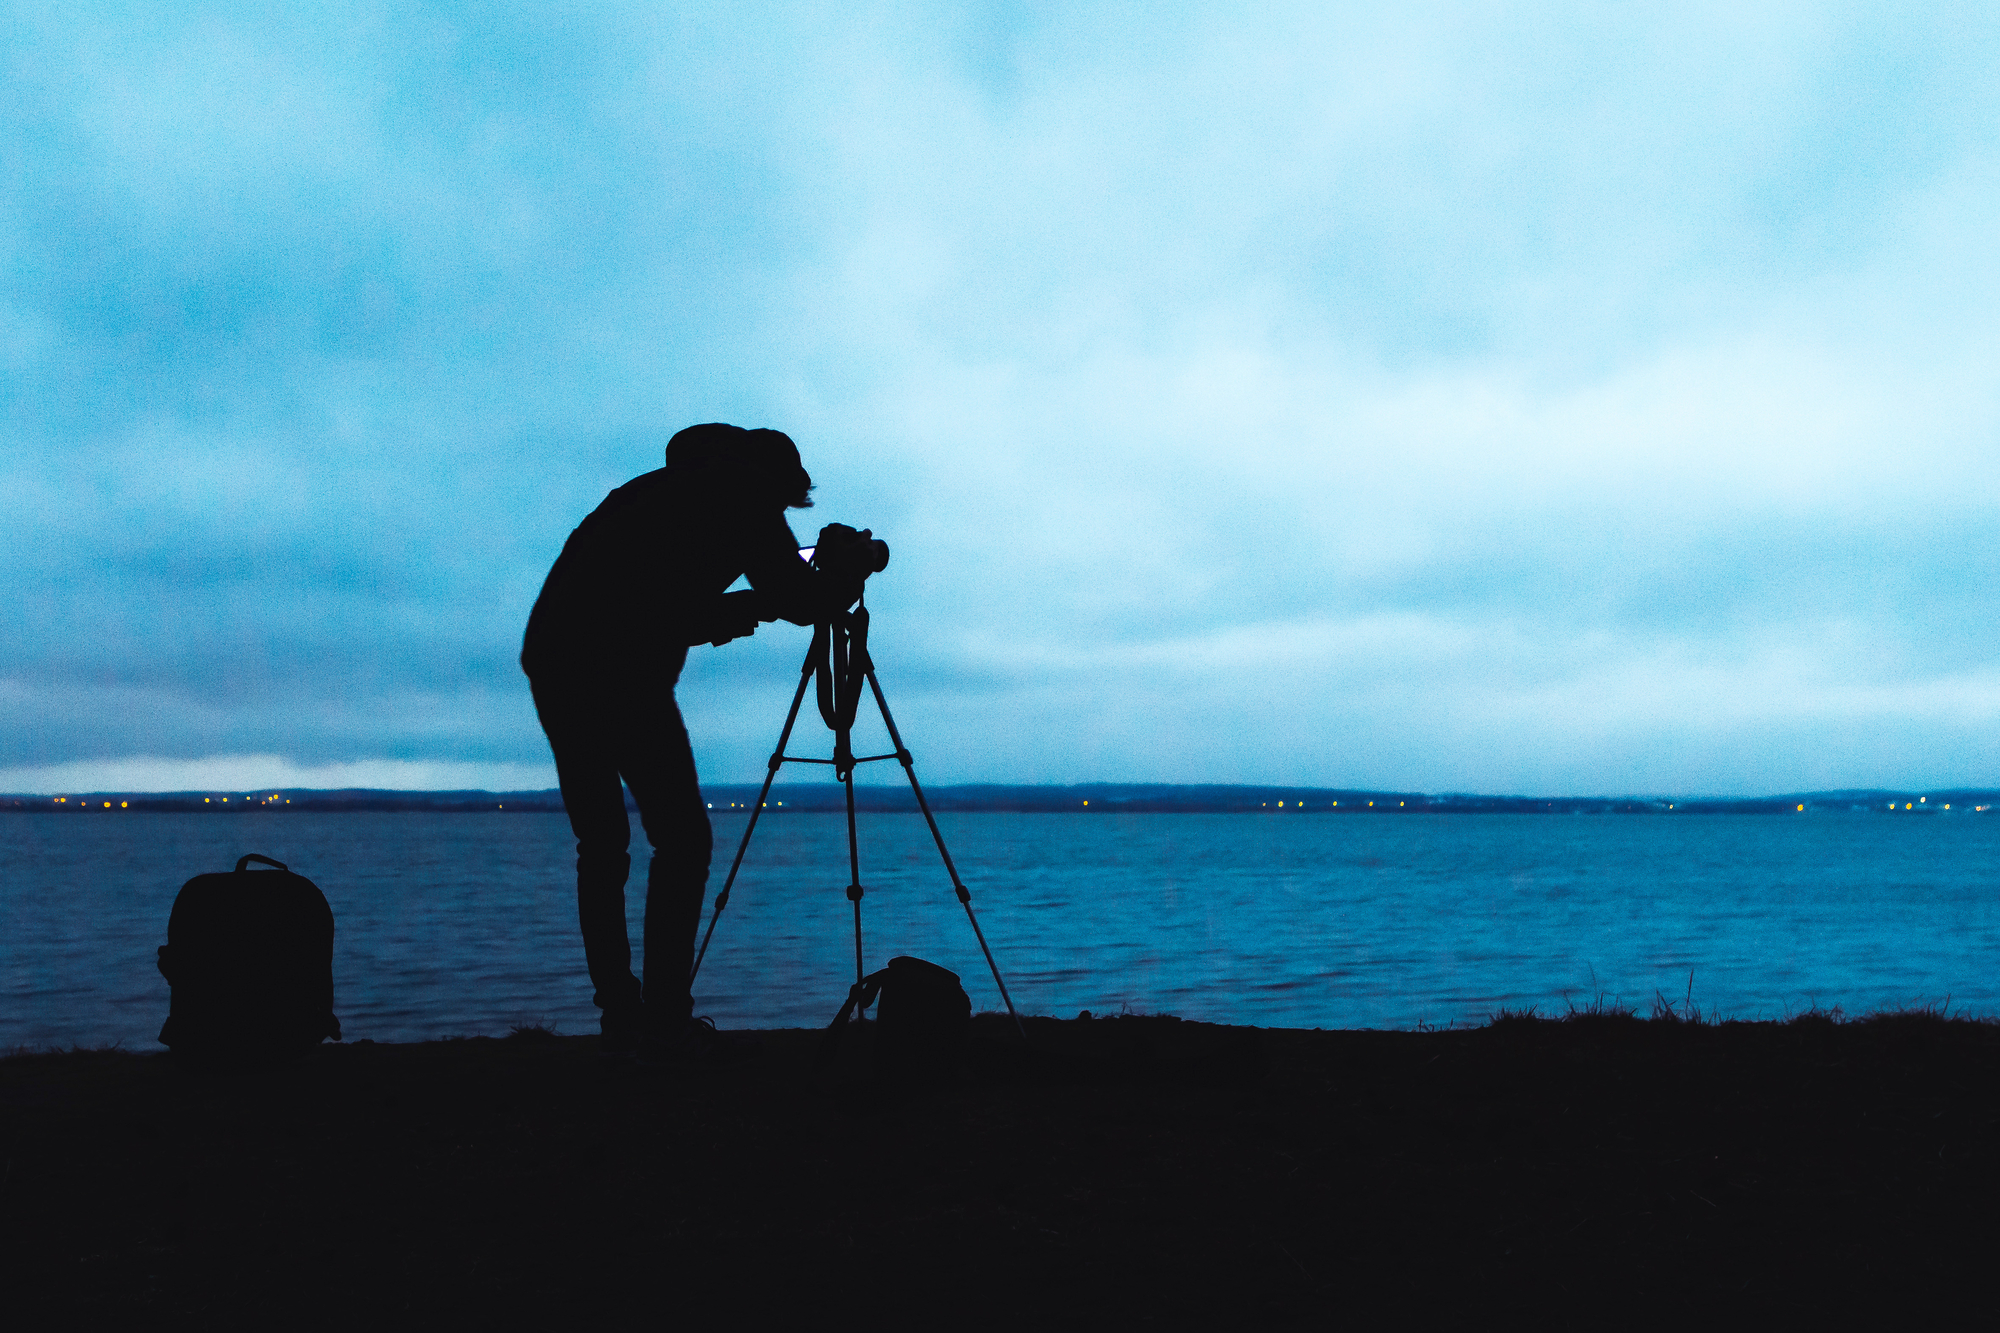
Shutter speed
The shutter is a curtain that separates your camera’s sensors from light when you are not taking a shot. When you take it, the shutter opens and lets light through the lenses. The amount of time your shutter is open varies. Shutter speed indicates this time, which means that a long shutter speed allows your camera to receive more light. Shutter speed is an important photography setting to understand. It influences how the movement will be captured in an image. Your camera takes a picture as long as the shutter is open. For instance, when you set the shutter speed at 1 second, your camera will be taking a photo for this whole second and everything that moves and changes in this second will be captured by your camera. This effect is called motion blur and is widely used by photographers for artistic intentions. For example, mesmerizing night shots with long trails of light or blurred water in motion in images are created with the usage of slow shutter speeds. Slow shutter speeds are any shutter speed above 1 second and longer, up to several minutes. You need to use a tripod when you shoot with a slow shutter speed as any disturbance of your gear might ruin the shot. Oppositely, fast shutter speeds are used to ‘freeze’ the movement, not blur it. When you shoot sports, actively moving people, children, animals, or any activities in general, it is crucial to take a picture as fast as possible. You want to receive a sharp image. 1/4 of a second or even 1/30 is not enough for certain types of photography. So you should opt for the shutter speed as fast as 1/500 or even 1/1000 of a second, or simply the fastest shutter speed your camera supports. Remember that when you use fast shutter speed, the amount of light your sensors receive is limited, so you need to shoot in good lighting conditions or get an extra lighting kit.