Chat with us, powered by LiveChat
Knowledge Hub

How to Compress Images and Which Tools to Use

If you have a blog, you probably had to deal with image optimization by now. If you haven’t yet, beware that the website might start to lag and take a long time to load if you don’t compress photos. It then becomes annoying and a hassle to have to find ways to compress images from your whole database one day. To avoid this, learn how to compress images today and which tools you can use to quicken this process and save yourself a whole lot of time.

Why Do You Need to Compress Images?

It’s not just bloggers that have to be aware of this. If you have a website, run social media accounts, work with designs, and so on – compressing images is not an option but a must. With the example of a website, compressing images makes it load faster. Compressing an image is basically reducing the file size. If you attempt to do this with simple dimension reduction and over-compression, you’re going to lose image quality. It’s therefore important to know how to do this the right way to avoid falling into the trap of blurry images. Can you reduce an image by just 10%? Even this small number will go a long way to helping your blog or website. How to Compress Images - Tips for photographers

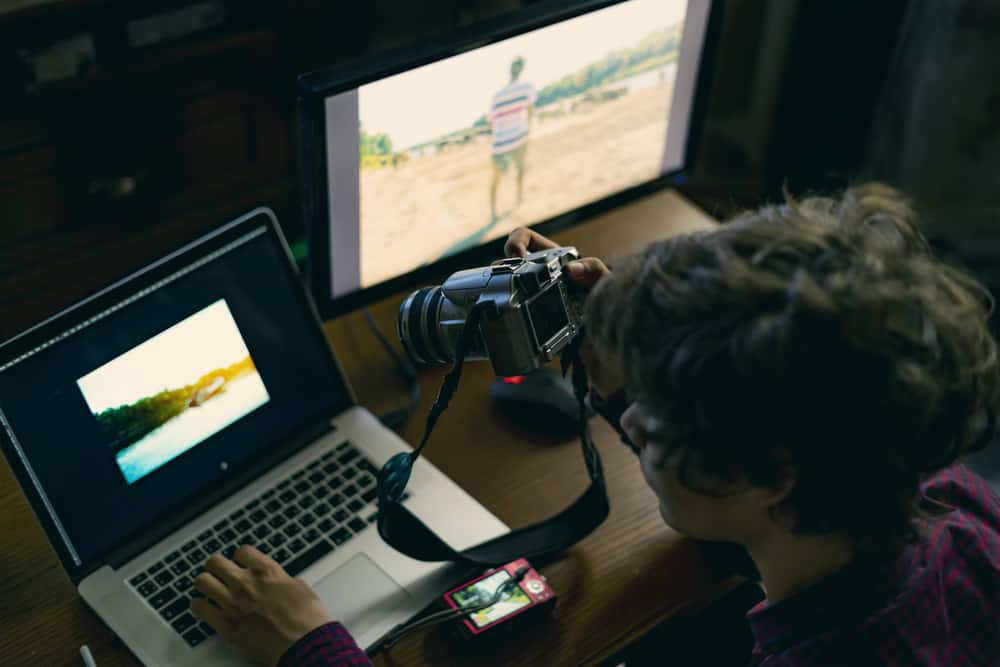
Tips for Photographers to Compress Images

There are three simple tips to keep in mind before we get to the different methods of compressing images. Remember before you find a comfortable workflow to compress single images or do so in bulk.

1. Make it a habit

Compress all your images before you upload them to your website or blog. You’ll notice that reducing the size and weight of your images will result in faster uploading as well. If you have a website, you can also look into the different options to make this an automatic process instead of compressing each image one by one.

2. Find ways to automate your workflow

Some of the free online tools to compress images mentioned below allow you to upload images in bulk to compress them. This saves a whole lot of time if you already know the ideal settings for the compression. If you don’t, test some different methods before automating your workflow.

3. A note on file formats

Use the default JPEG option when resizing and compressing. PNG images, for example, can only be saved with lossless compression (quality stays the same when compressed, file can be restored to original quality).

The Best Tools to Optimize Images Online (+ Offline)

The quickest and easiest solution is to use some free online tools to compress images because it’s hassle-free and some even allow you to automate the process. You can upload batches of articles and do it all in one go. If you have a few images to optimize, it’s the easy route to take. 1. https://compressjpeg.com/ – You can compress up to 20 images at once. JPEG, PNG, PDF, SVG, and GIF formats available for compression. A useful tool, and not just for your images. As a perk, you can also convert PNG to JPEG, JPEG to PNG, and SVG to PNG. 2. https://tinyjpg.com/ – smart JPEG and PNG compression tool. Get quality images after analysis that will help optimize them without wasting storage space. 3. https://compressor.io/ – online tool to compress JPEG, PNG, GIF and SVG files. Option for lossy and lossless compression. 4. https://www.iloveimg.com/compress-image – Compress JPG, PNG or GIF, saving quality during compression. Reduce the filesize of several images at once. 5. https://compressnow.com/ – reduce the weight of your images by adjusting a compression level. 6. [Offline] – You can use Adobe Photoshop, Lightroom, and GIMP. We will look at one example of a way to compress images with the three programs below. tools to optimize images

Different Ways to Compress Images

In the following example, we’ll take you through the steps to compress images and optimize them using Adobe Photoshop, Lightroom, and GIMP. These are all useful tools if you work with photography and are offline.

Compressing images in Adobe Photoshop

Step 1: Open your image in Adobe Photoshop and click “File”. Scroll down to “Save for Web” and click on it. Step 2: You will see the optimization format menu, where you can select different file formats. For this example, select “JPEG”. Step 3: In the Preset menu, click “Optimize to File Size”. Enter the numbers you need in the box to fit your image to your desired file size. Step 4: Set the compression level. You can choose Low, Medium, or High in the menu under the format menu. You can also adjust the quality pop-up slider. Lastly, you can adjust the numbers in the quality box. Entering a higher number saves more details in your image, but the file will weigh more. Step 5: Save your image by clicking OK. Name your file and click Save again.

Compressing images in Lightroom

Step 1: Open your image in Lightroom and click “Export”. Step 2: In the new window, open the “Image Sizing” tab to view all your options. Step 3: Click “Resize to Fit” to view settings you can adjust. Step 4: Compress your image by adjusting the dimensions, width and height, long and short edge, and megapixels. Step 5: Adjust the resolution of your image to 72 ppi (for desktop) or 300 ppi (for print). Export and you’re done!

Compressing images in GIMP

Step 1: Open the photo in GIMP and click “File”, “Export As”. Step 2: Add the name of your file ending with .jpg and click “Export”. Step 3: Find “Quality” settings and lower them. You can also adjust the “Subsampling” menu until you find the balance you need. Step 4: Tick the box “Show preview in image menu” to see the current file size. Step 5: Uncheck boxes “Save Exif Data”, “Save thumbnail” and “Save XMP data”. Export to save your image.

Opt for an Efficient Way That Works for You

The method you choose to compress your images really depends on what needs to be done. If you want to find an efficient way to optimize images for your blog, you can look into tools that can help you automate this process with a WordPress plugin. If this is a one-time thing, you can use the free online tools to compress images. If you are getting into photography, it’s worth spending more time with editing software such as Adobe Photoshop or even Lightroom to help you efficiently do this in batches of images today and in the future.