What Is Sunset Photography?
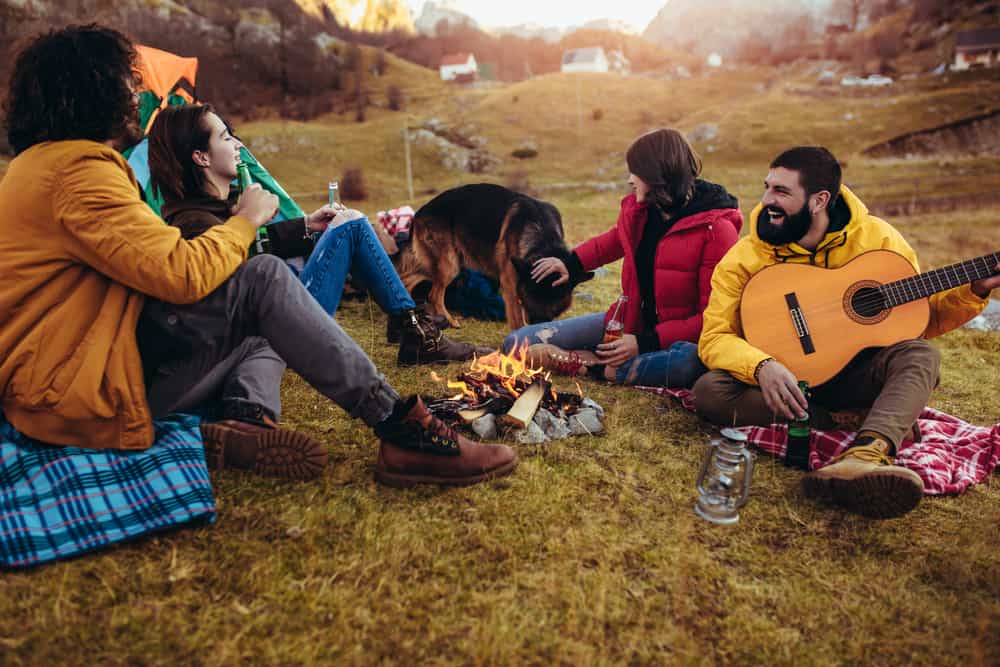
Sunset photography is photography dedicated to shooting during a specific time of day. Sunsets provide beautiful and soft light, and the sky is constantly changing colors, which is why sunset photography is so popular with many photographers – from beginners to professionals. While sunset photography is considered to be part of landscape photography, many photographers shoot other genres during sunsets that can also be classified as sunset photography, such as portraiture or architectural photography.
Gear for Sunset Photography
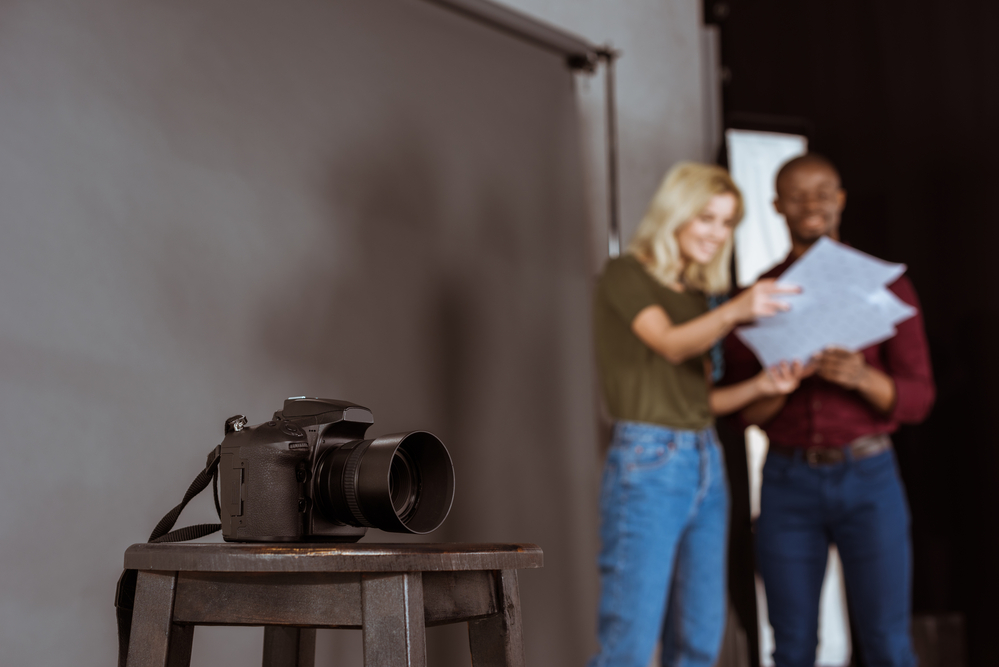
Nowadays, you can take a good photo with almost any gear you have at hand, especially if you happen to have a DSLR camera. Most importantly, opt for the manual mode to adjust settings so that you are in control of exposure with every shot. Even modern smartphones have pro and manual modes in their camera apps, and there are many apps with more advanced settings such as shutter speed and even shooting in RAW.Camera
While you can take a great shot with a phone, most of them still don’t compare to DSLRs or mirrorless cameras in terms of control over images. For those who want to update their gear or research on a perfect camera for sunset photography, purchase the one that supports a higher dynamic range. It influences how many details are captured both in light and dark areas of a picture. For instance, when your image is underexposed or overexposed, a high dynamic range camera still provides details in light and dark places of your shot and takes less grainy images.Lenses
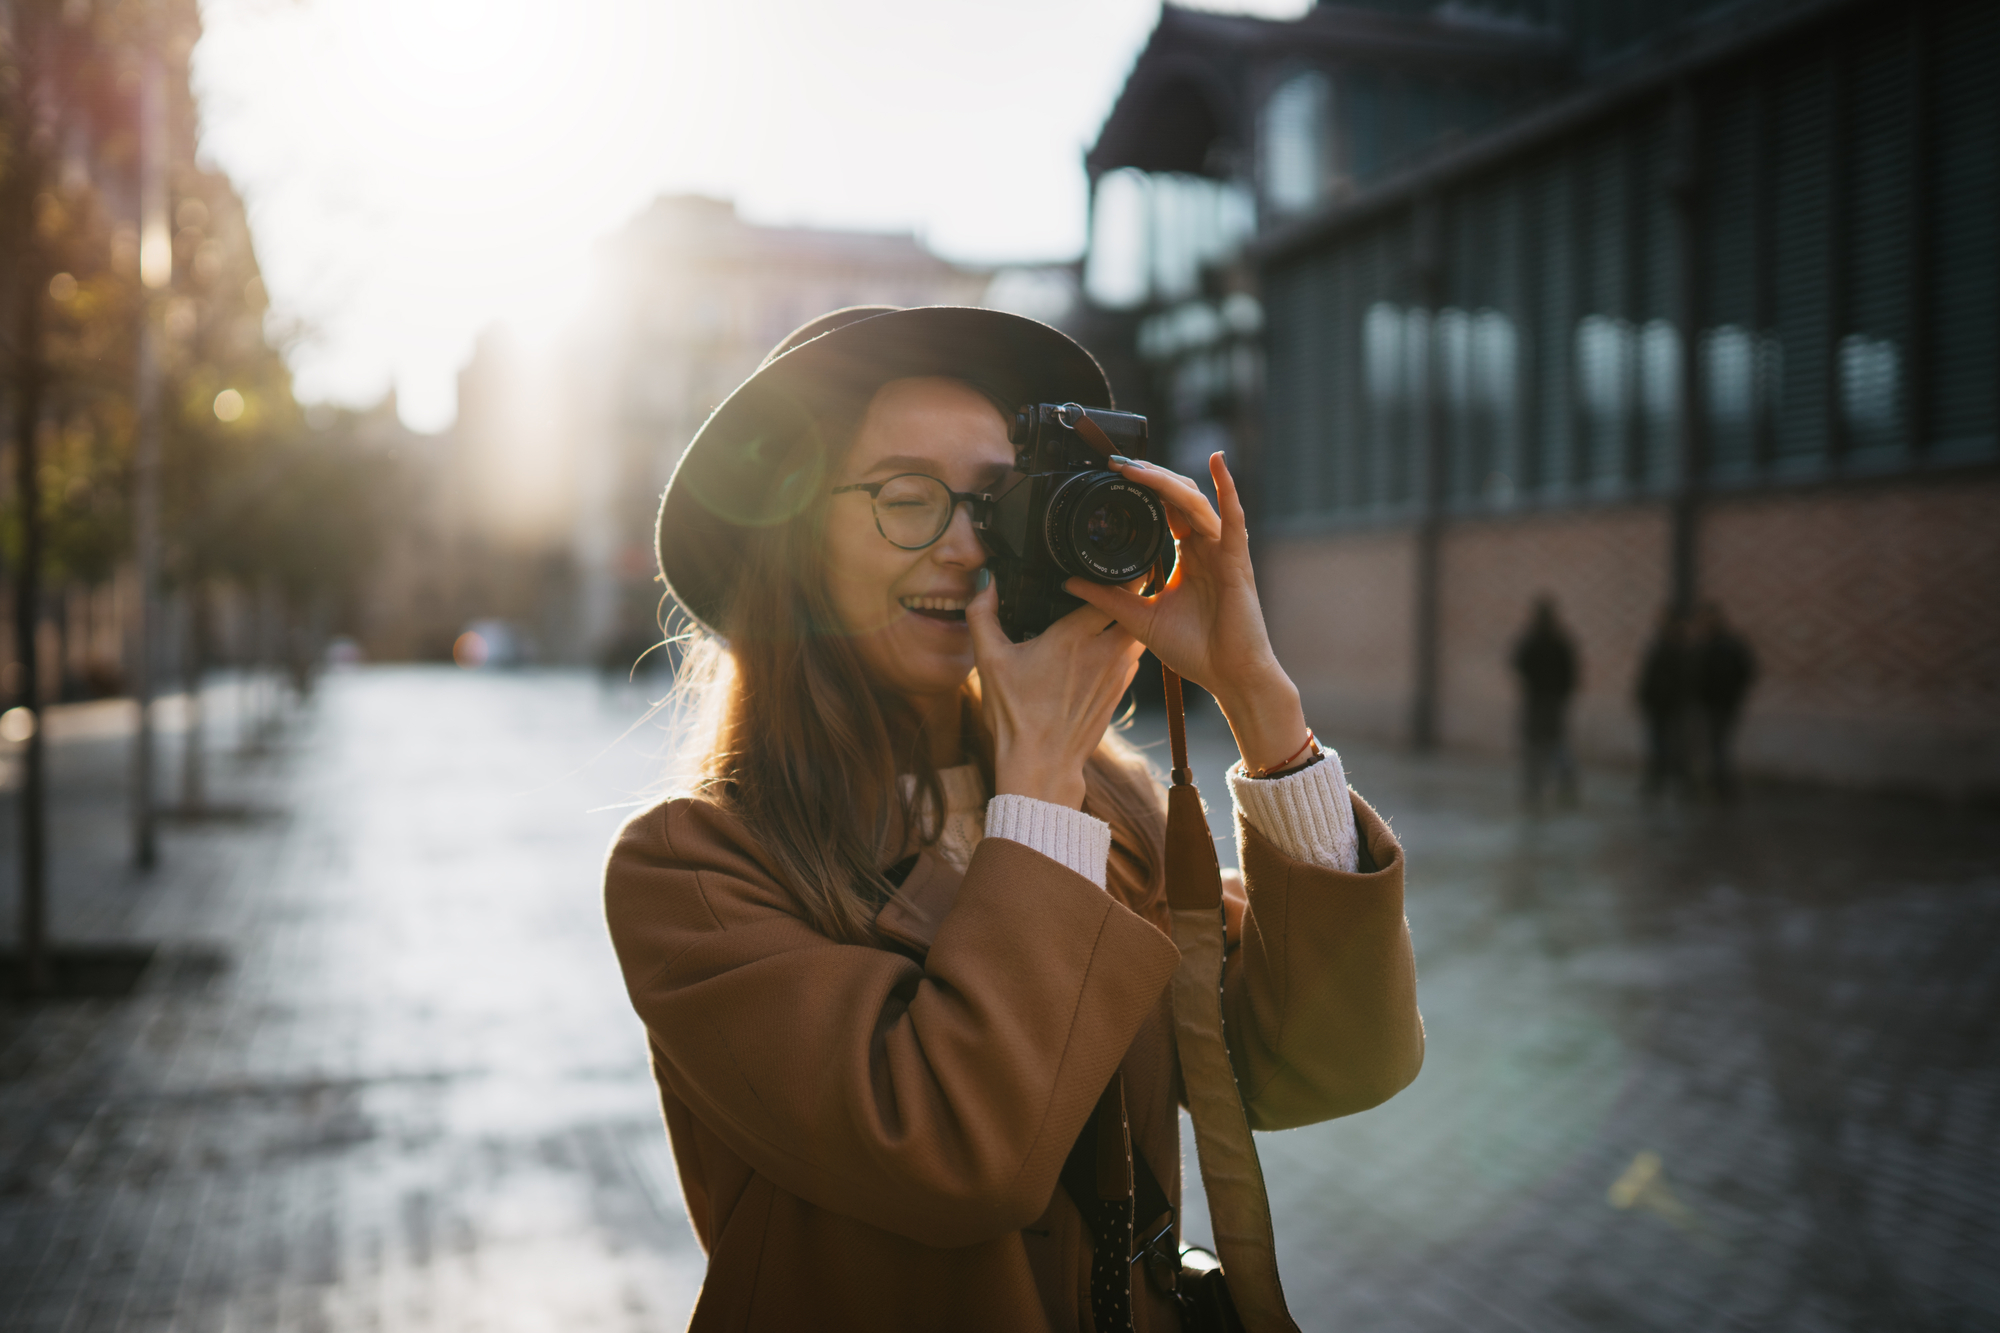
Many photographers take sunset pictures with wide-angle lenses as they help them capture more of the scene, just like with landscape photography in general. However, if you want to shoot close-ups or portraiture at the beach during sunset, working with other lenses might bring better results in terms of the framing. For more on types of lenses and how their focal lengths work, read our guide on focal length in photography.Tripod
A tripod is an absolute must for making the most of sunset photography. Sometimes you will need to shoot with longer shutter speeds, and it’s not very convenient to hold your camera steady for several seconds or even minutes. A tripod helps you prevent unintentional motion blur and better frame your shot. Besides, it’s a good investment for almost any photography genre, so it will come in handy if you want to pursue photography as a hobby or a profession.
Settings for Shooting Sunsets
Sunsets are the beautiful yet tricky time of the day in terms of lighting conditions. While light is not so harsh as during the daytime, there is still a lot of light, which is why you need to find the right exposure for each shot to avoid overexposed pictures that didn’t capture the beauty of a sunset. There are three settings that influence it, which are aperture, ISO, and shutter speed. They also influence each other and are called the exposure triangle, so remember to adjust other settings when you change one of them. When you capture a scene with delicate and unique lighting, sometimes it’s hard to rely on auto mode to be able to shoot exactly what you want. It’s a better idea to adjust exposure in manual mode since it gives you more control of the outcome of your photo.Aperture
This is arguably the most important setting of the exposure triangle for sunset photography. Aperture controls the depth of field, which influences the focal point against the background in an image. In general, you will want to capture the whole scene when you shoot landscape pictures, and for that, you need to use a narrower aperture – higher aperture number, like f/8 or f/16. Wide apertures (marked with smaller numbers) such as f/1.4 or f/2.8 result in a shallow depth of field. This means that objects in focus will be visually isolated from the background which will appear blurry as with the bokeh effect. Sometimes you can use this when you shoot something close, have a certain focal point within your frame, and want to blur the sun or the skies.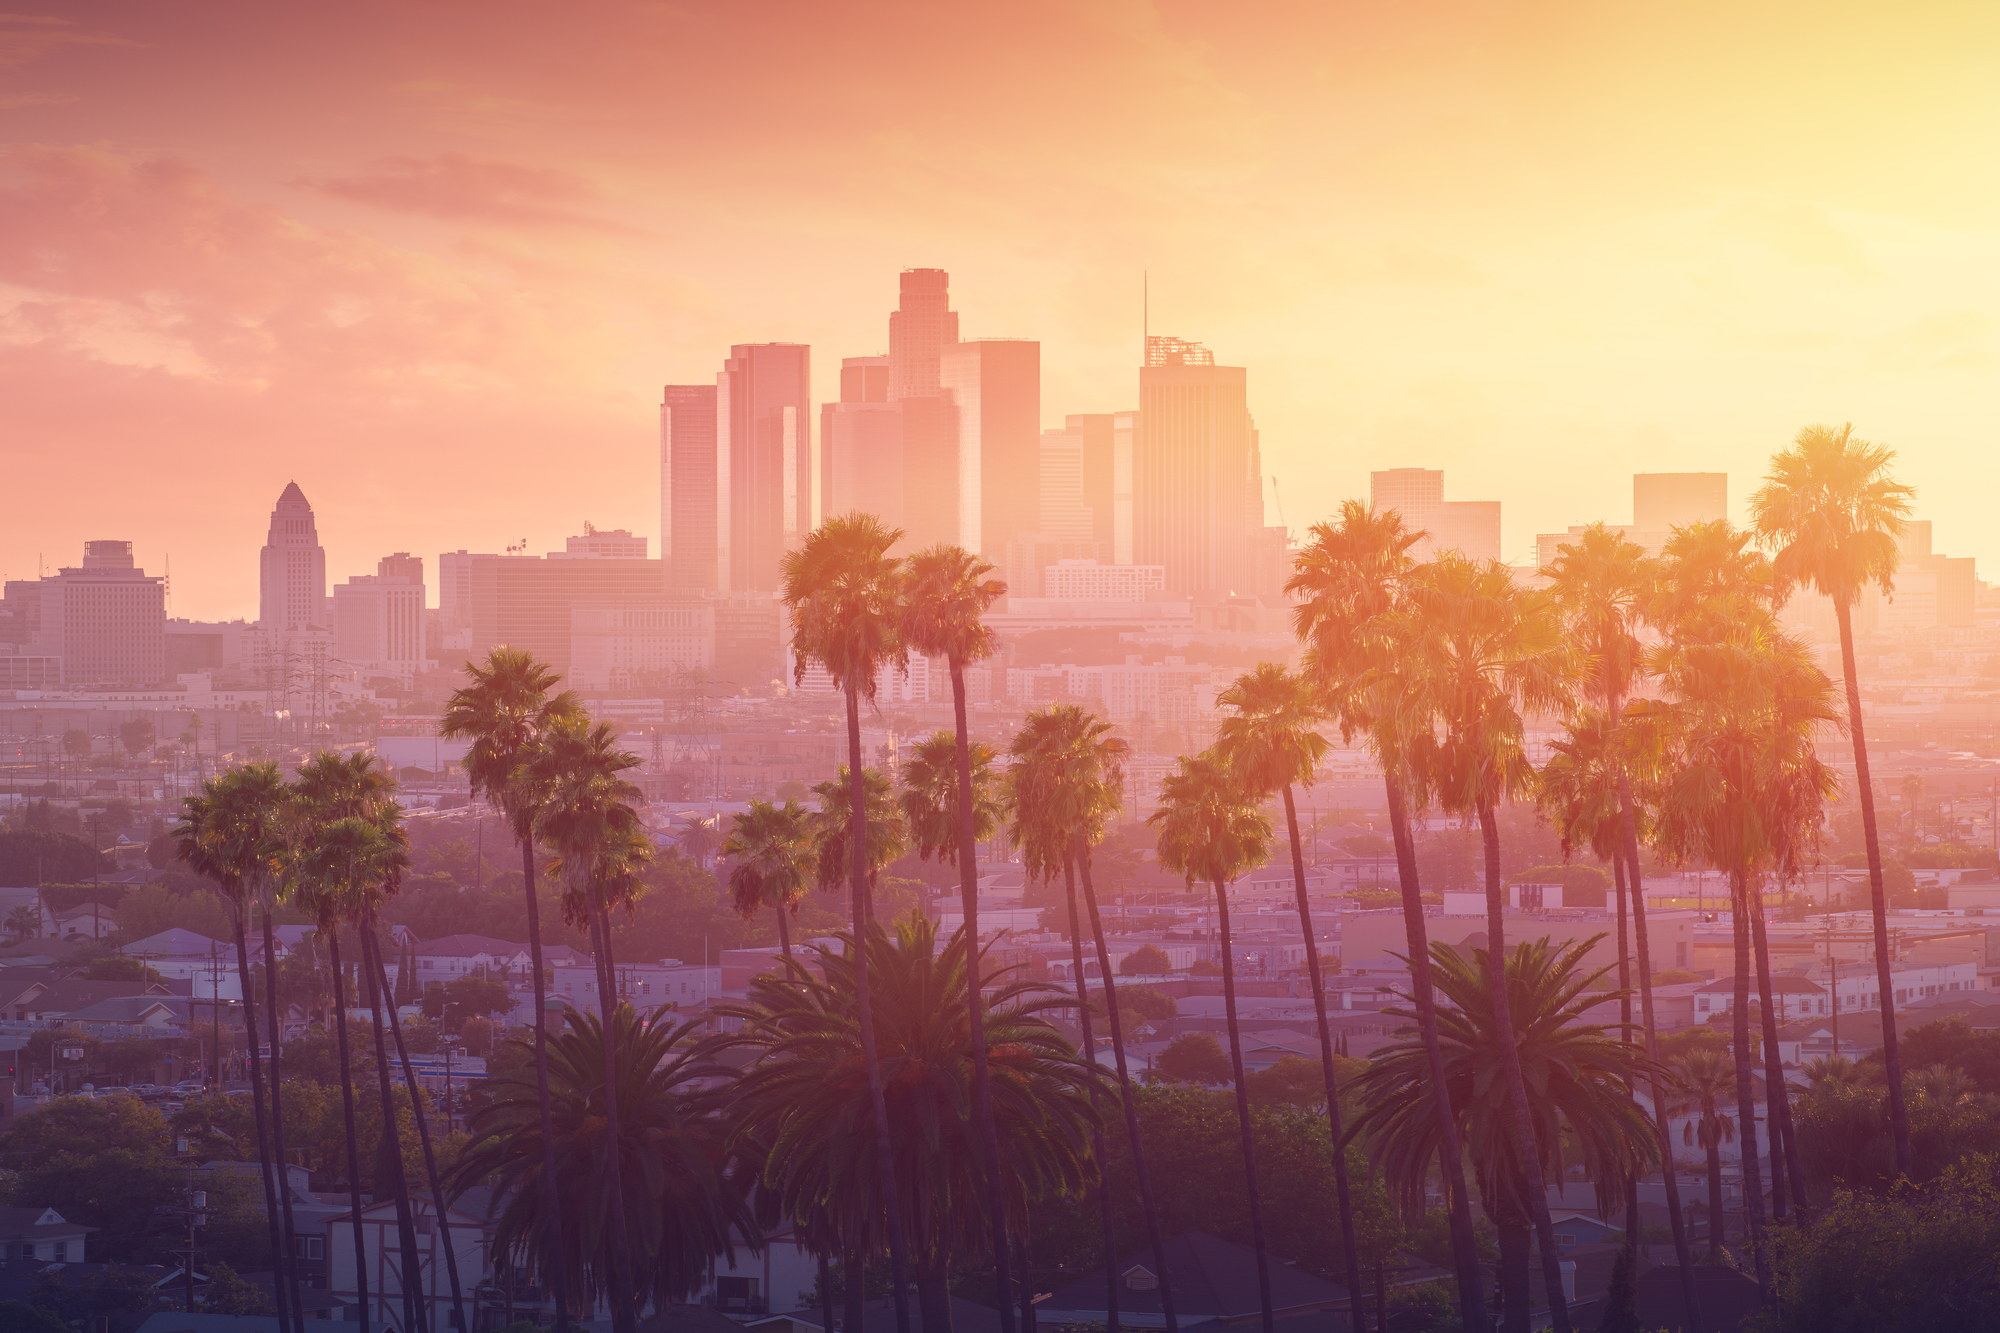
ISO
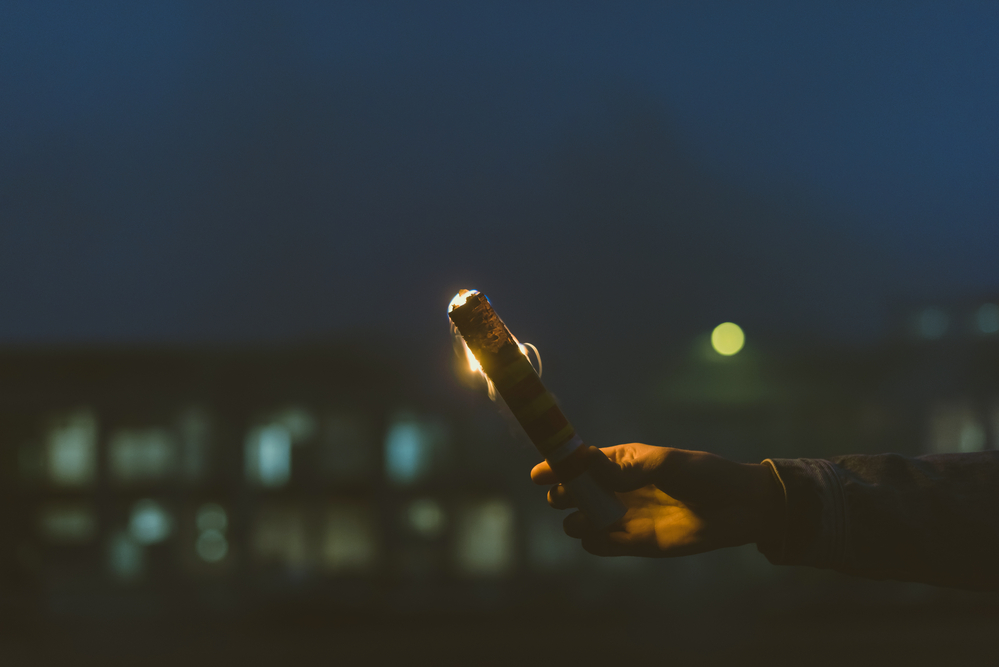
When you take photos in well-lit conditions, it’s better to keep your ISO level low. Even if you think it gets darker, making ISO higher might result in unwanted grain and noise in your images. In general, it’s enough to set ISO at 100 or 200 when you shoot during sunset.Shutter speed
Shutter speed is the amount of time your shutter curtain is open, and while it’s open, a photo is ‘recorded’. It is measured in fractions of seconds, seconds, and minutes. Shooting with longer shutter speeds lets your camera receive more light, and it’s helpful when your aperture is small (your aperture number is high), but it also results in motion blur, meaning that any moving objects will appear blurry. If you need to use a fast shutter speed, you will need to compensate it with a higher ISO level or a wider open aperture. If you still feel uncomfortable balancing both aperture and shutter speed, you can use the aperture priority mode, which will set the shutter speed automatically.JPEG or RAW
Most professional photographers and those who devote more time to editing their images shoot in RAW. This format gives you full control when it’s time to edit an image, basically because a JPEG is a compressed version of a RAW image. A RAW file contains all the info and metadata on a shot, which is why it is heavier than a JPEG image, so mind the free space in your camera! It’s perfect if you have a spare memory card at hand that you can use when you are running out of space.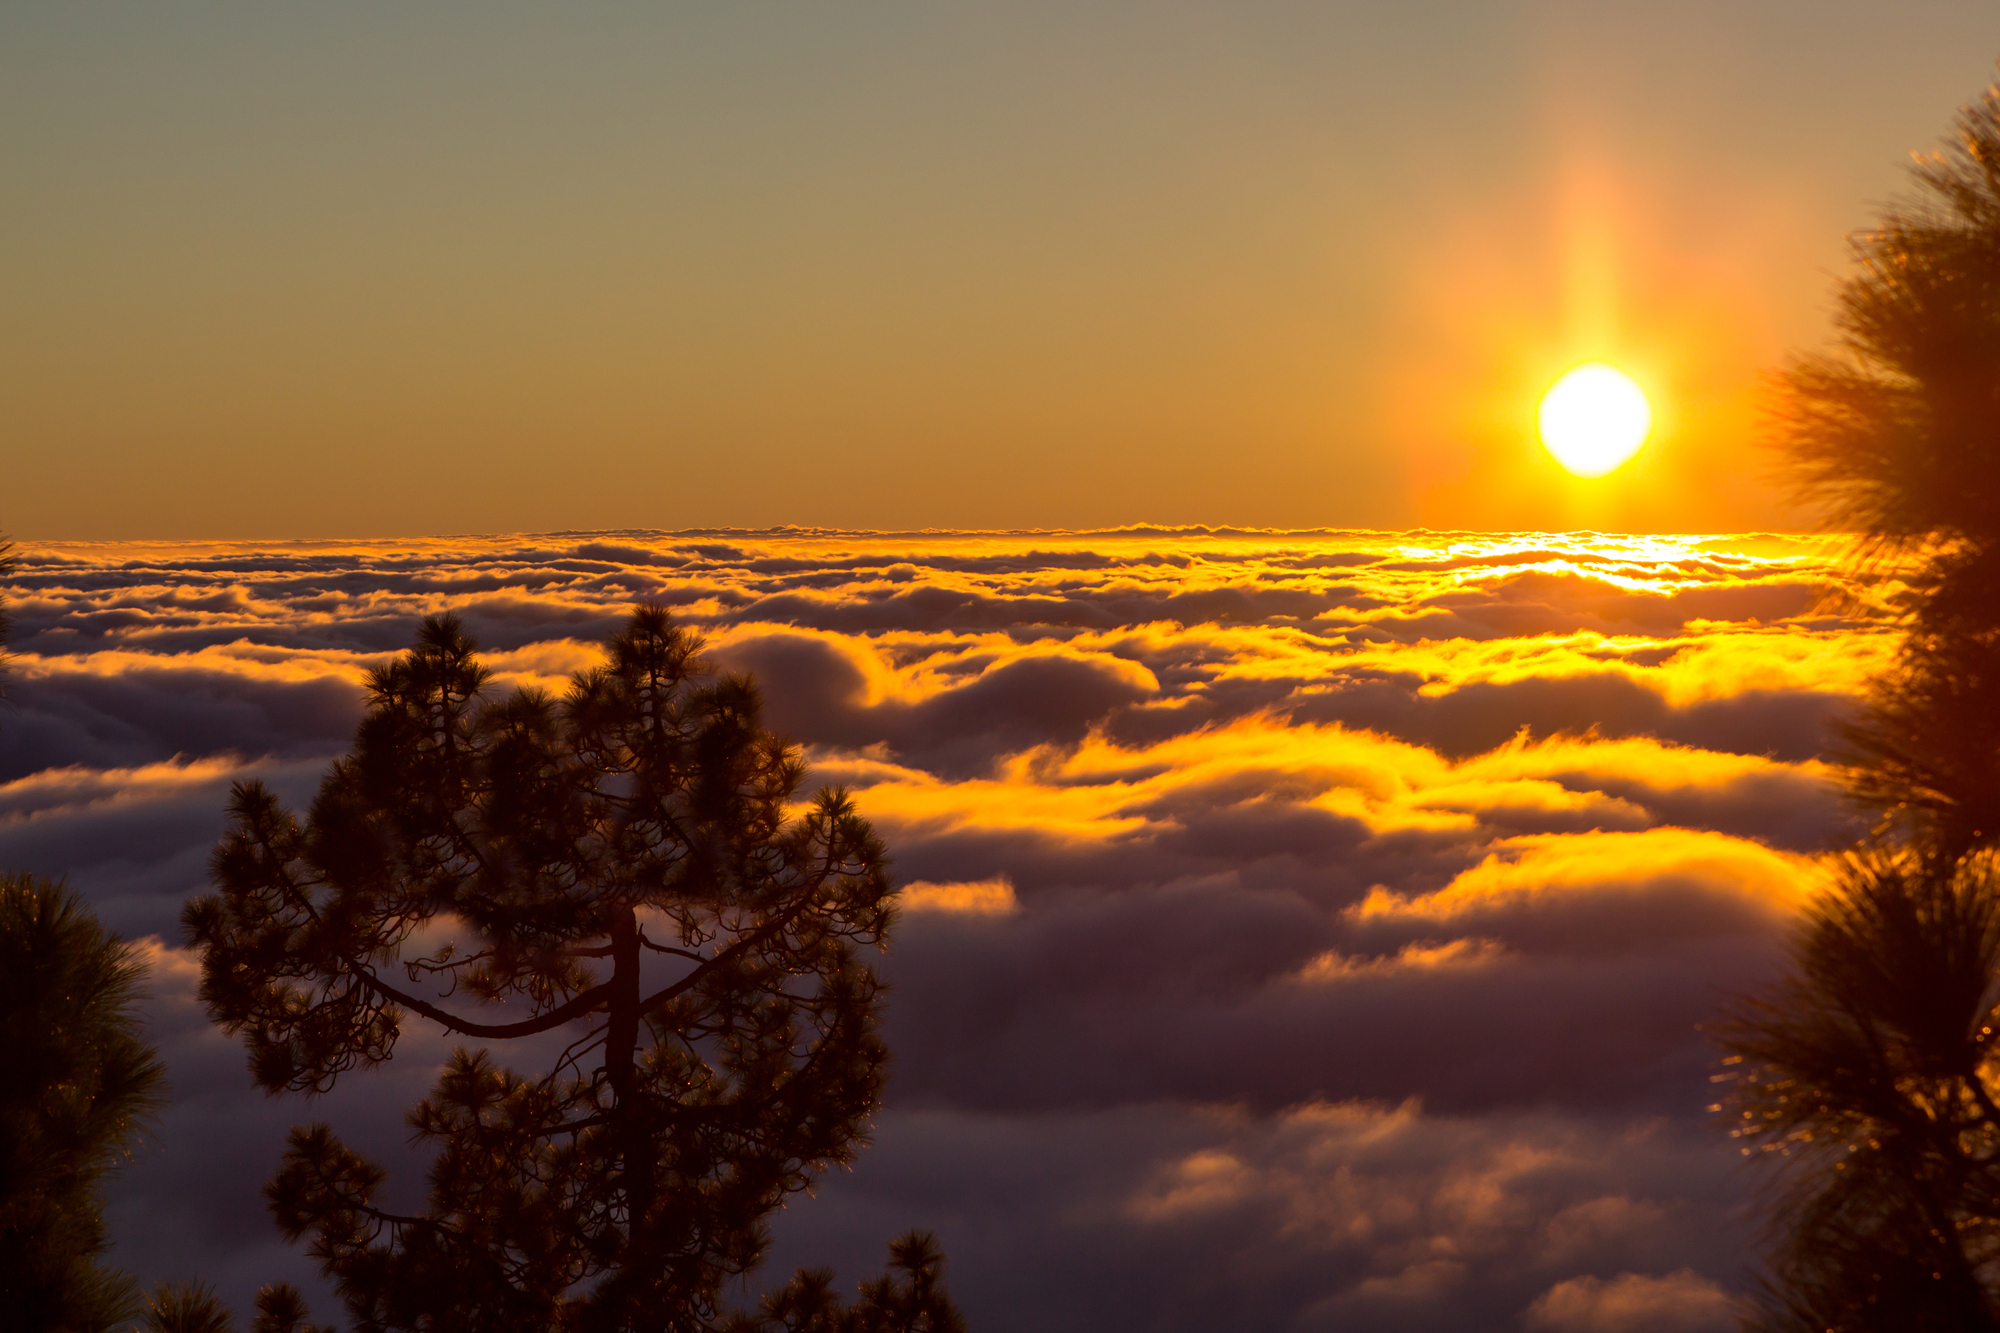
Useful Sunset Photography Tips
1. Use your screen instead of a viewfinder
Sunset photography deals with shooting the sun, and it’s dangerous for your eyes to take a direct look at the sun. Even when you look at it with your viewfinder, you might hurt your eyes. Sure, the light is not so bright during the sunset compared to the daytime. But if you feel that the sun is still bright, opt for framing images with your digital screen.2. Start with your own place
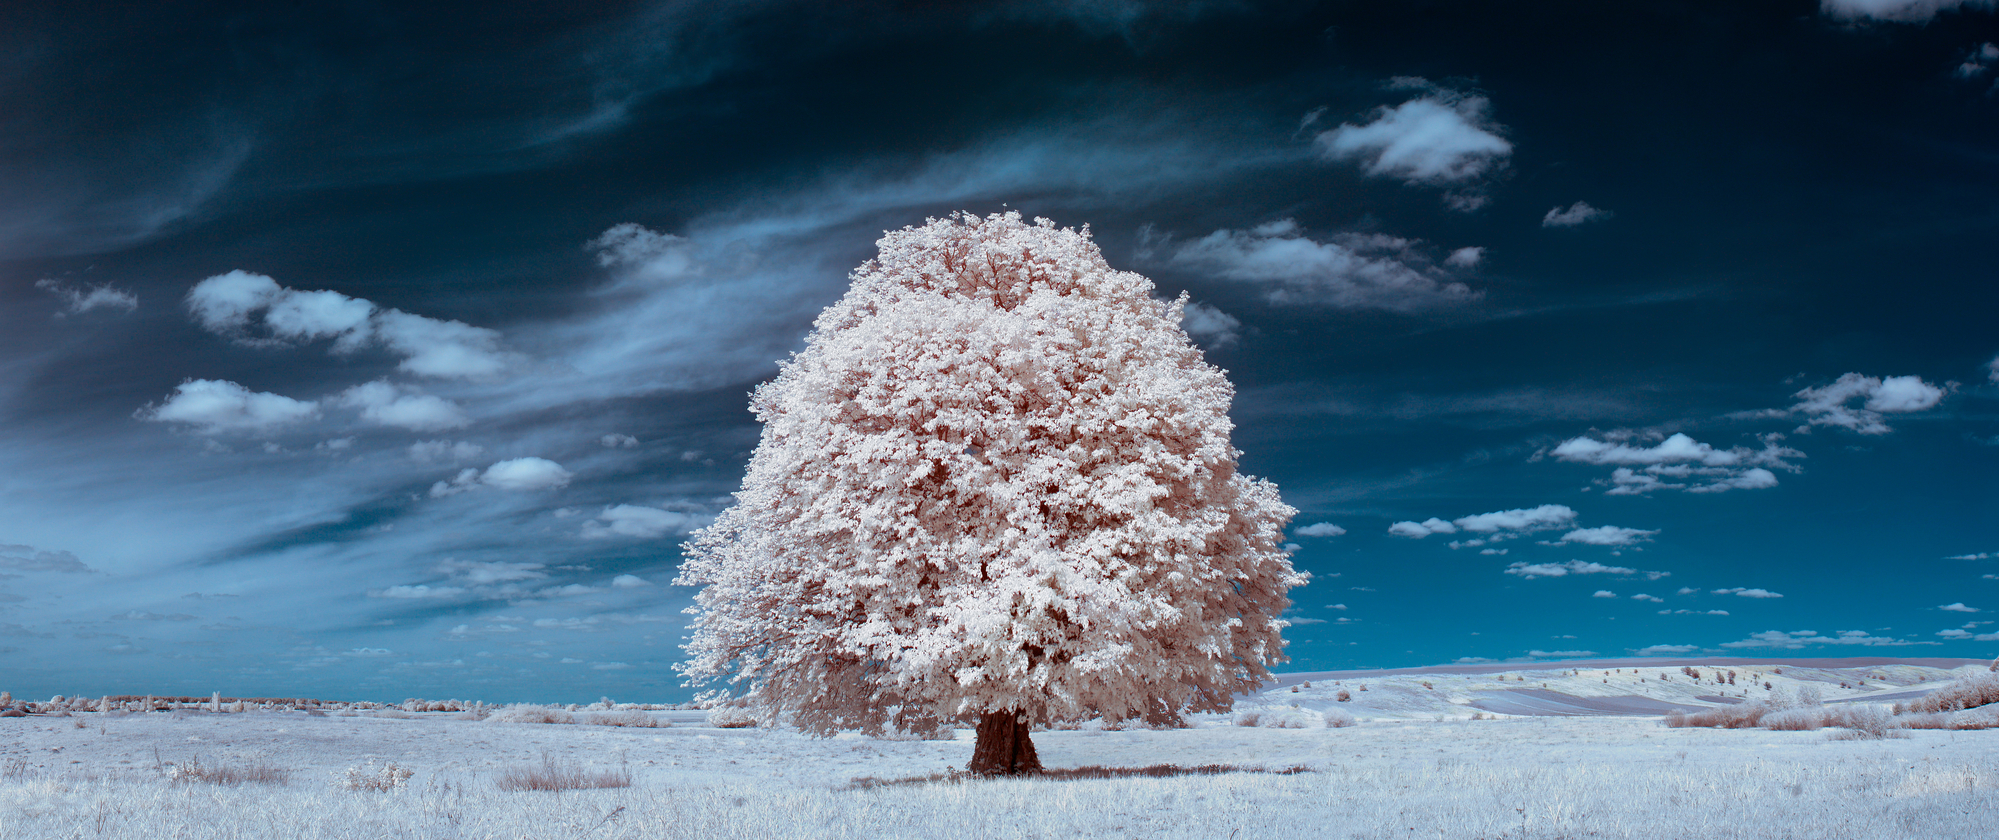
You don’t have to travel anywhere to take a mesmerizing photo of a sunset! Actually, urban backgrounds can provide great texture contrast to your sunset pictures, and you can take a beautiful sunset photo as soon as you leave your house. Make sure you explore your neighborhood as it has so many interesting scenes and details you don’t usually notice. If you have a river or the sea nearby, you are a lucky one as you can capture some amazing reflections.3. Plan in advance
Many stunning sunset photos were taken spontaneously, without any preparation. However, if you get ready in advance, you will have more opportunities to practice your skills and take a great picture. Check out the weather forecast. But don’t be upset over cloudy days. They actually can boost your sunset shots with all the beautiful shapes and forms of clouds in the sky. With the help of the internet, you can also learn when the sunset happens so that you don’t notice it from your window when there is not enough time to shoot.